
How to Crochet Two Strand I-Cord to Make Shoelaces + Video Tutorial
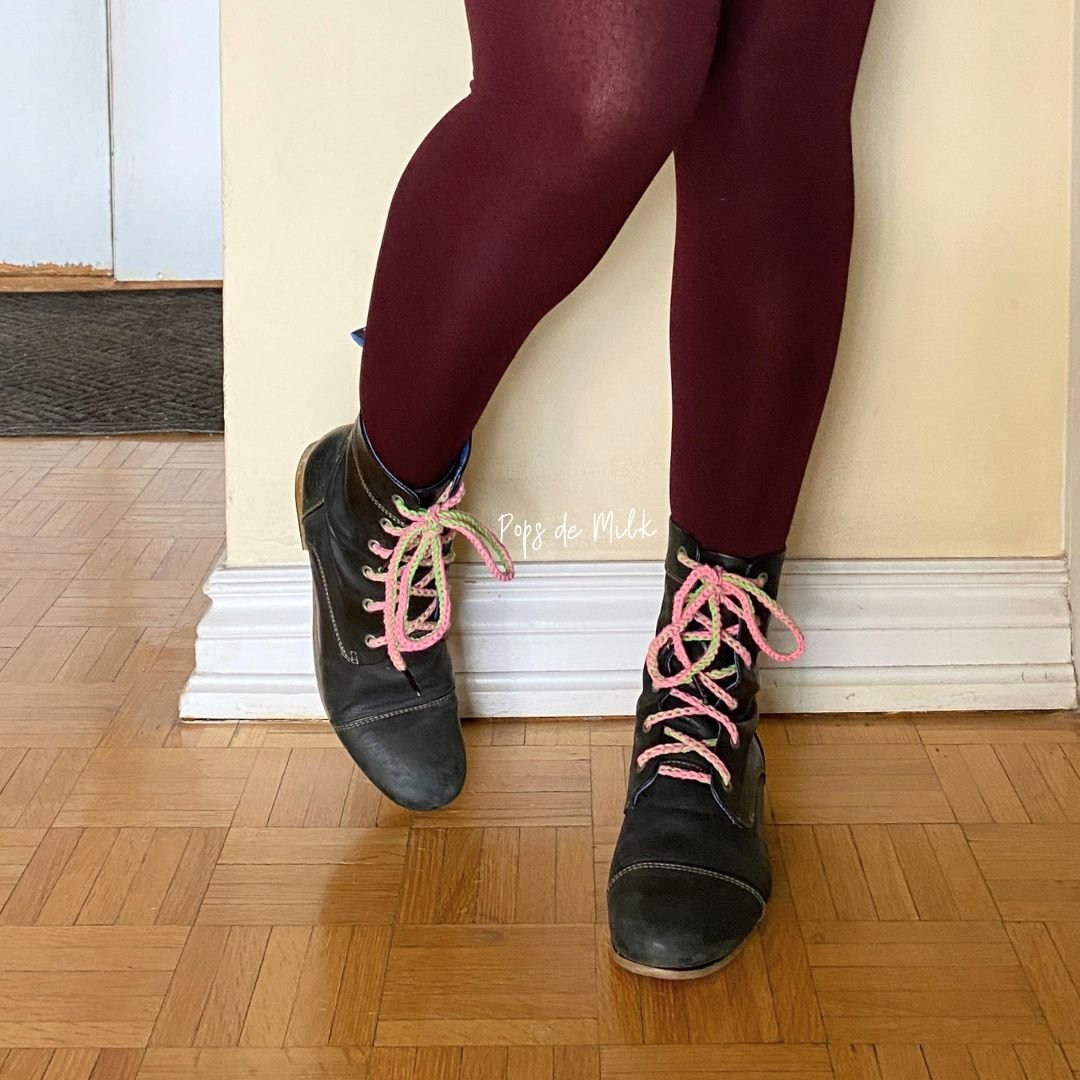
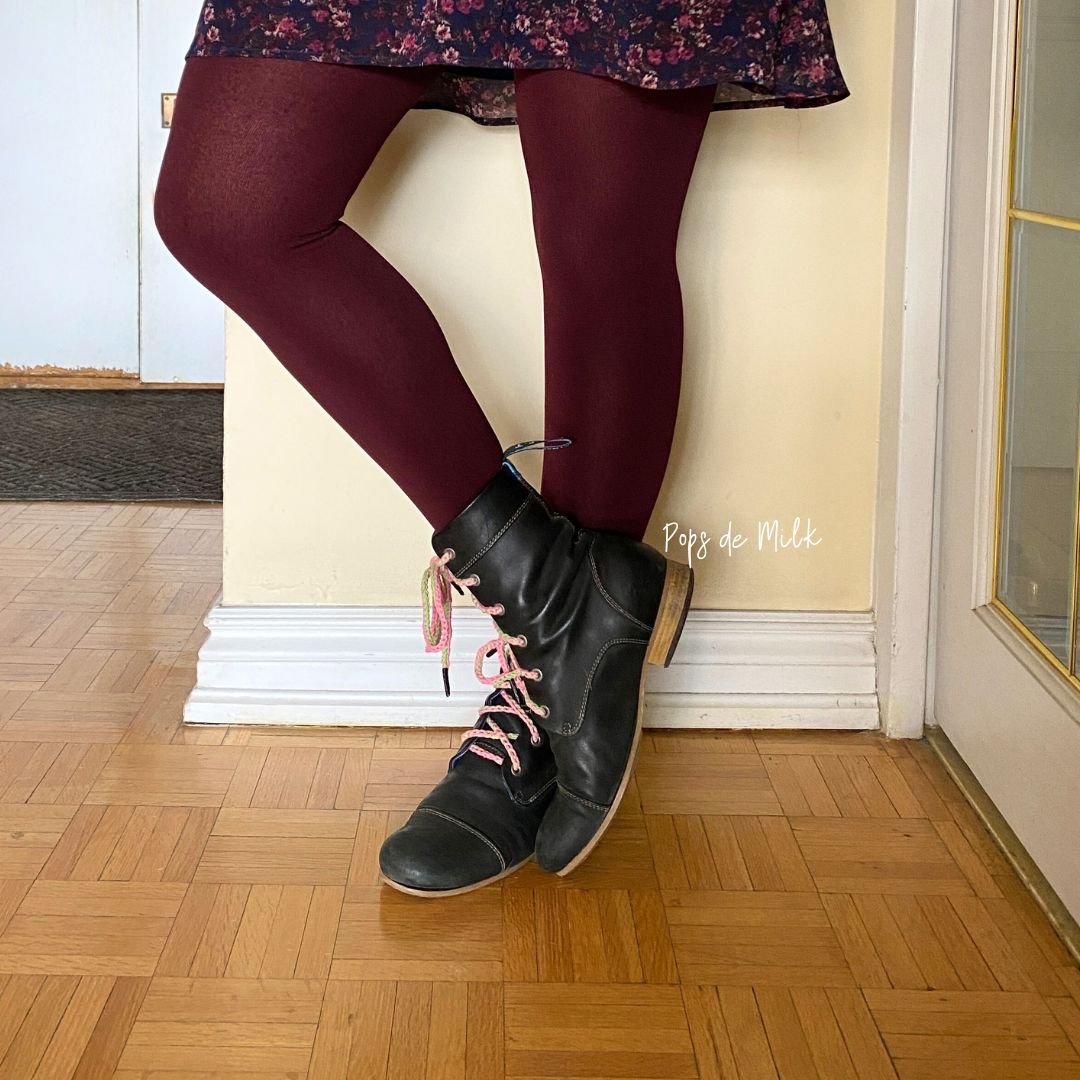
The other day I was about to put on my favorite boots and found that the laces were so worn that they were just a wear away from snapping. As a crochet enthusiast, I decided to spend a few minutes to make a pair of fun and spring-inspired laces. In this blog post, I'll show you how to make your own shoelaces using a two-strand i-cord crochet technique.

Crochet Shoelaces with Two-Strand I-Cord
Materials
To make these shoelaces, you'll need the following materials:
Worsted weight cotton yarn (in your desired color combination)
3.25mm crochet hook
Shoelace aglets (I purchased mine from Amazon)
Pliers (to attach the lace tips to the crochet cords)
Start by choosing two colors of yarn or use two strands of the same color. In my case, I chose pink and green. The two-strand crochet technique involves holding two strands of yarn together. Here’s how to crochet the two-strand i-cord:
Decide which strand will be color A (top strand) and which will be color B (bottom strand).
Make a slip knot with both strands together.
Hold the two strands together and insert your hook into the slip knot.
Wrap color B (bottom) over the hook. There will be two loops on the hook; color B and the slip knot loop.
Wrap color A (top) over the hook and pull through the two loops. That's your first stitch!
Repeat steps 4 and 5 until you reach your desired length. Cut the yarn and tie a knot to secure the cord.
Note: Make sure to keep the tension consistent between the two strands to ensure that your cord is even and consistent throughout.

Finishing Touches
Once you've completed your cords, it's time to add the shoelace aglets. Using pliers, attach the aglets to each end of the cord. Snip off any excess yarn. And there you have it - a pair of handmade shoelaces that are unique and stylish!
If you find that the aglets don’t quite fit throug the holes in your shoes or boots you can use the pliers to make them smaller and easier to thread through the holes.

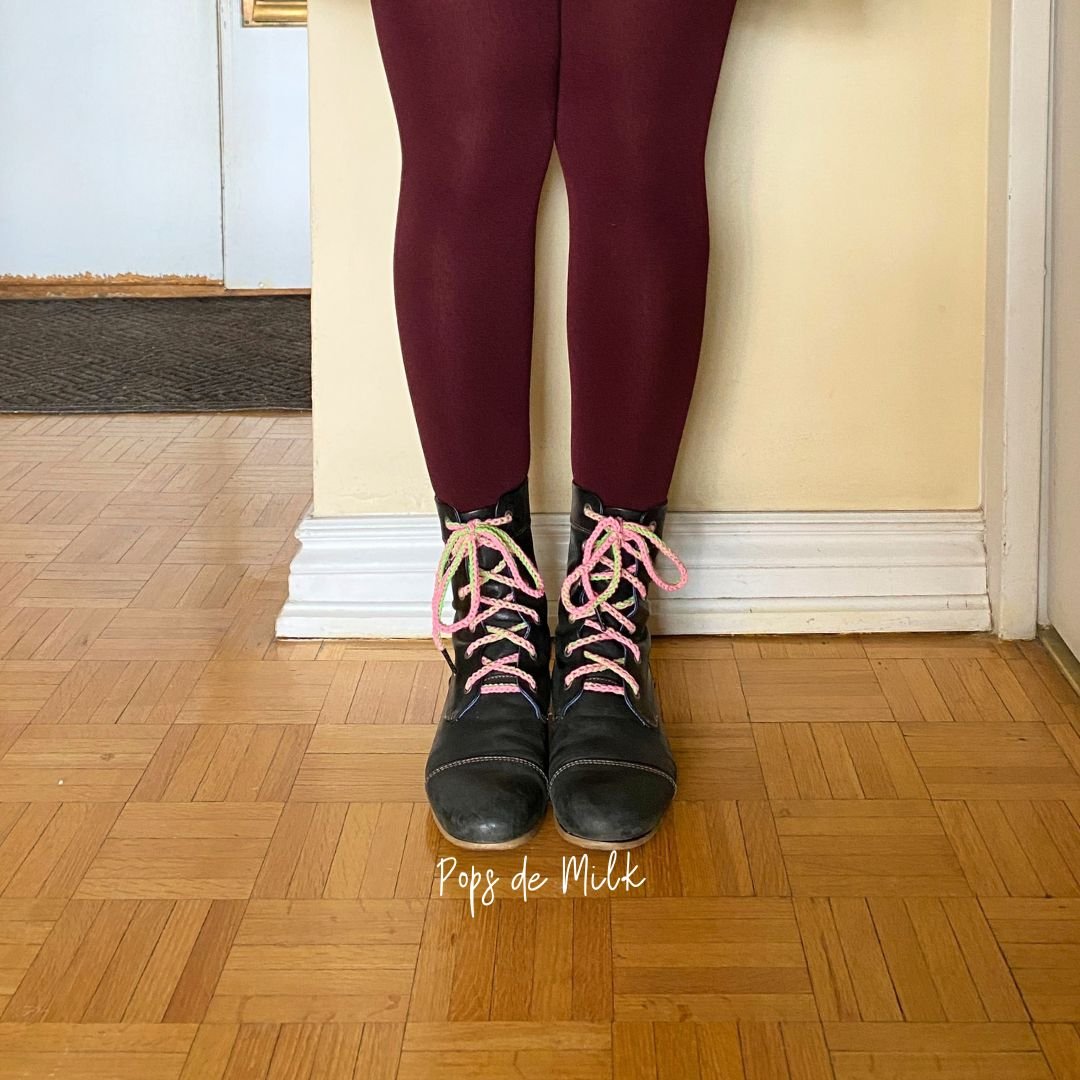
I hope you enjoyed this tutorial and found it helpful. Making your own shoelaces is a quick and easy way to add a personal touch to your favorite pair of shoes. Happy crocheting, my friends!
**********
This pattern is for personal use only. The pattern and its photos may not be reproduced, distributed or resold, translated, published, altered, shared or posted in any way over the internet or offline.
You may sell finished items made from this pattern as long as it is handmade by you, not mass produced, giving the credit to Pops de Milk / Patricia Castillo as the designer. If you have any questions, you can email me at patricia@popsdemilk.com
This post contains affiliate links.