Cozy Granny Square Sweater Pattern
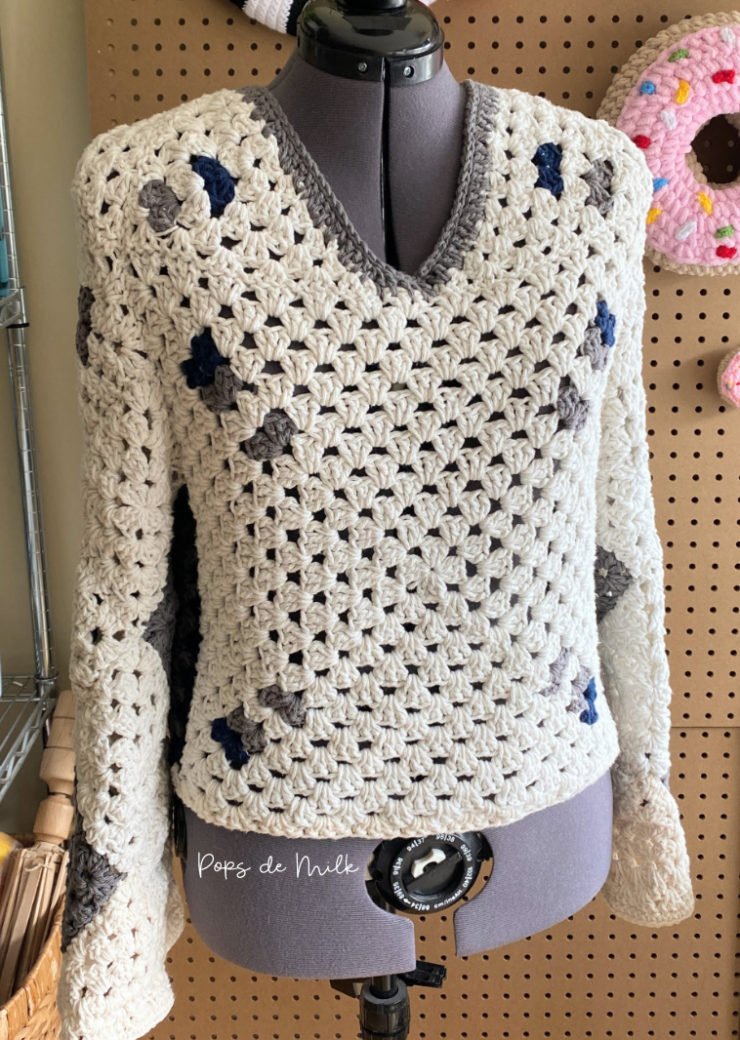
I've been on a granny square kick lately. It's one of those crochet techniques that could go anywhere - a blanket, coaster, sweater, bag - so many possibilities! Years ago I made a very simple granny square top that I love to wear in the warmer months. It was made up of two squares seamed at the shoulders and sides. For this granny square sweater I wanted to experiment with the sleeves and with the shoulders so that the fit wouldn't be too boxy and bulky. I'm really happy with how the shape turned out and is it just me or does this not have 60s / 2001 A Space Odyssey vibes?
I hope you like this crochet sweater as much as I enjoyed making it (except weaving in the ends, no one likes that).
This post isn't really a pattern but rather a guide on how you can take a bunch of squares and triangles to make something wearable. I will most definitely be making another top like this one with different yarn and will update this post with more details in the future. Keep scrolling to see version two of the granny square sweater and updated process photos.
Get cozy with this granny square sweater crochet pattern that's perfect for fall and winter.
Granny Square Sweater - v.1
Granny Square Sweater
Version one was made with your basic worsted weight (4) cotton yarn (yes, the kind that is commonly used to make dish cloths) and I used a size 5.5mm crochet hook.
Version two was made with light weight (3) acrylic yarn and I used a size 4.00mm crochet hook.
I used a yarn needle to sew everything together.
Here are the number and types of pieces I used:
2 large squares for the front and back. Each square has 13 rounds and measures approx. 16" x 16" inches.
18 squares for the sleeves (9 squares per sleeve). Each square has 4 rounds and measures approx. 5" x 5" inches.
4 triangles for the shoulders (2 triangles per shoulder). Each triangle has 6 rows and measures approx. 4.5" from the top to the bottom center
4 triangles for the sleeve hems (2 triangles per sleeve). Each triangle has 5 rows and measures approx. 4" from the top to the bottom center.
2 rectangles for the sides. Each rectangle has 3 rounds and measures approx. 10" x 4". *Update* In the revised version I did not make side panels so that the sweater would be a little more snug.
You can use any granny square design you like, for example there's this basic square here. The square I used in this sweater is a variation of the one found here on The Spruce Crafts. Now on to the process...
All the parts!
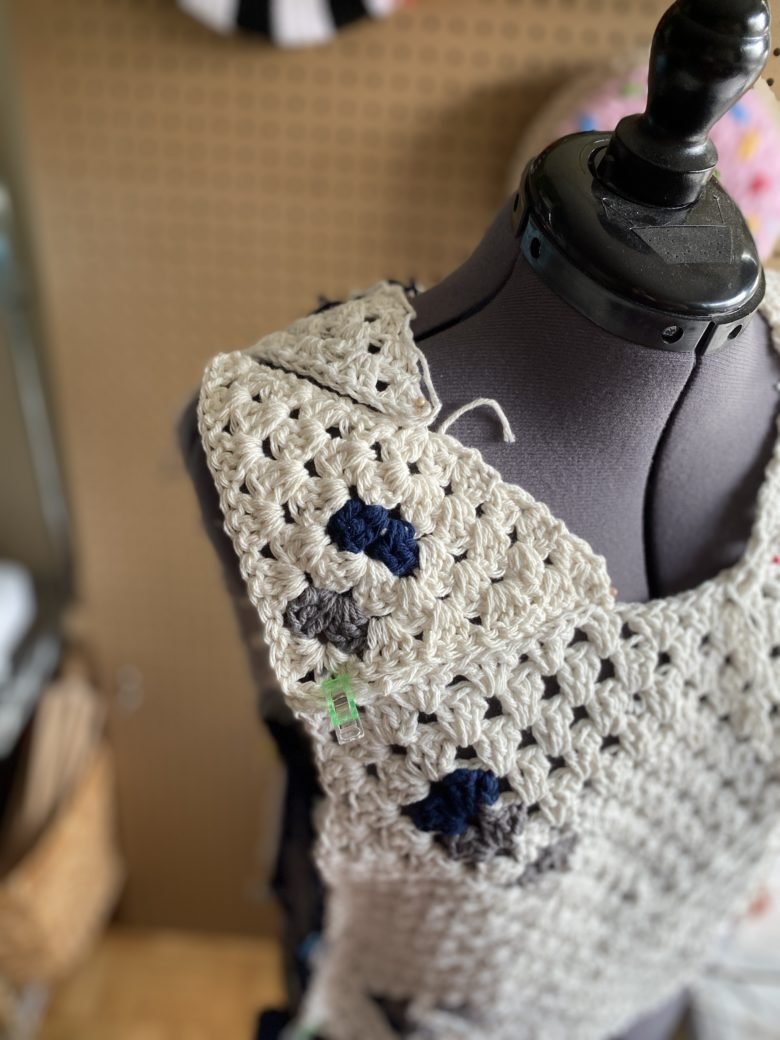
Here's how I sewed the shoulder triangles together before attaching them to the large squares:
Front shoulder:
Back shoulder:
Here's how I laid out the squares to make the sleeves:
I sewed about 9" up from the bottom for the side seams:
Here's what the sweater looked like after sewing the seams and adding the shoulders:
After joining the sleeve squares and triangles I sewed the sleeves onto the sweater:
And here's the finished top!
Crochet Granny Square Sweater - v.2
Here's the sweater inside out, which I really like. Did I accidentally make a reversible sweater?
If you make this crochet sweater I'd love to see your creation, just tag me on Instagram @popsdemilk_crochet and use the hashtag #popsdemilk
Looking for more crochet patterns? Then you might like these:
**********
This pattern is for personal use only. The pattern and its photos may not be reproduced, distributed or resold, translated, published, altered, shared or posted in any way over the internet or offline.
You may sell finished items made from this pattern as long as it is handmade by you, not mass produced, giving the credit to Pops de Milk / Patricia Castillo as the designer. If you have any questions, you can email me at patricia@popsdemilk.com


