How to Crochet in the Round and Increase
Something I hear very often is, "I love your crochet stuff, I wish I could crochet." And to be honest, this is the exact same thing I would think to myself every time I came across a super cute crochet plushie or amigurumi. So, in this post, I’m going to show you how to crochet in the round and increase to create a sphere.
In time you’ll have the basic skills to crochet adorable amigurumi!
Learning to crochet might seem incredibly difficult but it's surprisingly easy once you let go of all expectations and you have patience with yourself. Patience and a willingness to make mistakes are key.
When I first began crocheting all I could handle were squares and even then I couldn't keep them straight - to be honest I sometimes still have that problem!
Luckily, squares aren't the only things you can create with crochet. I learned how to crochet a circle - which I strangely found easier to make than a square - and before long I was crocheting in the round, making spheres.
But first, baby steps. And if you haven't checked out my previous posts on Crochet Basics here is the post on making a chain and slip knot and here is the post for making a single crochet stitch.
Here’s how to crochet in the round
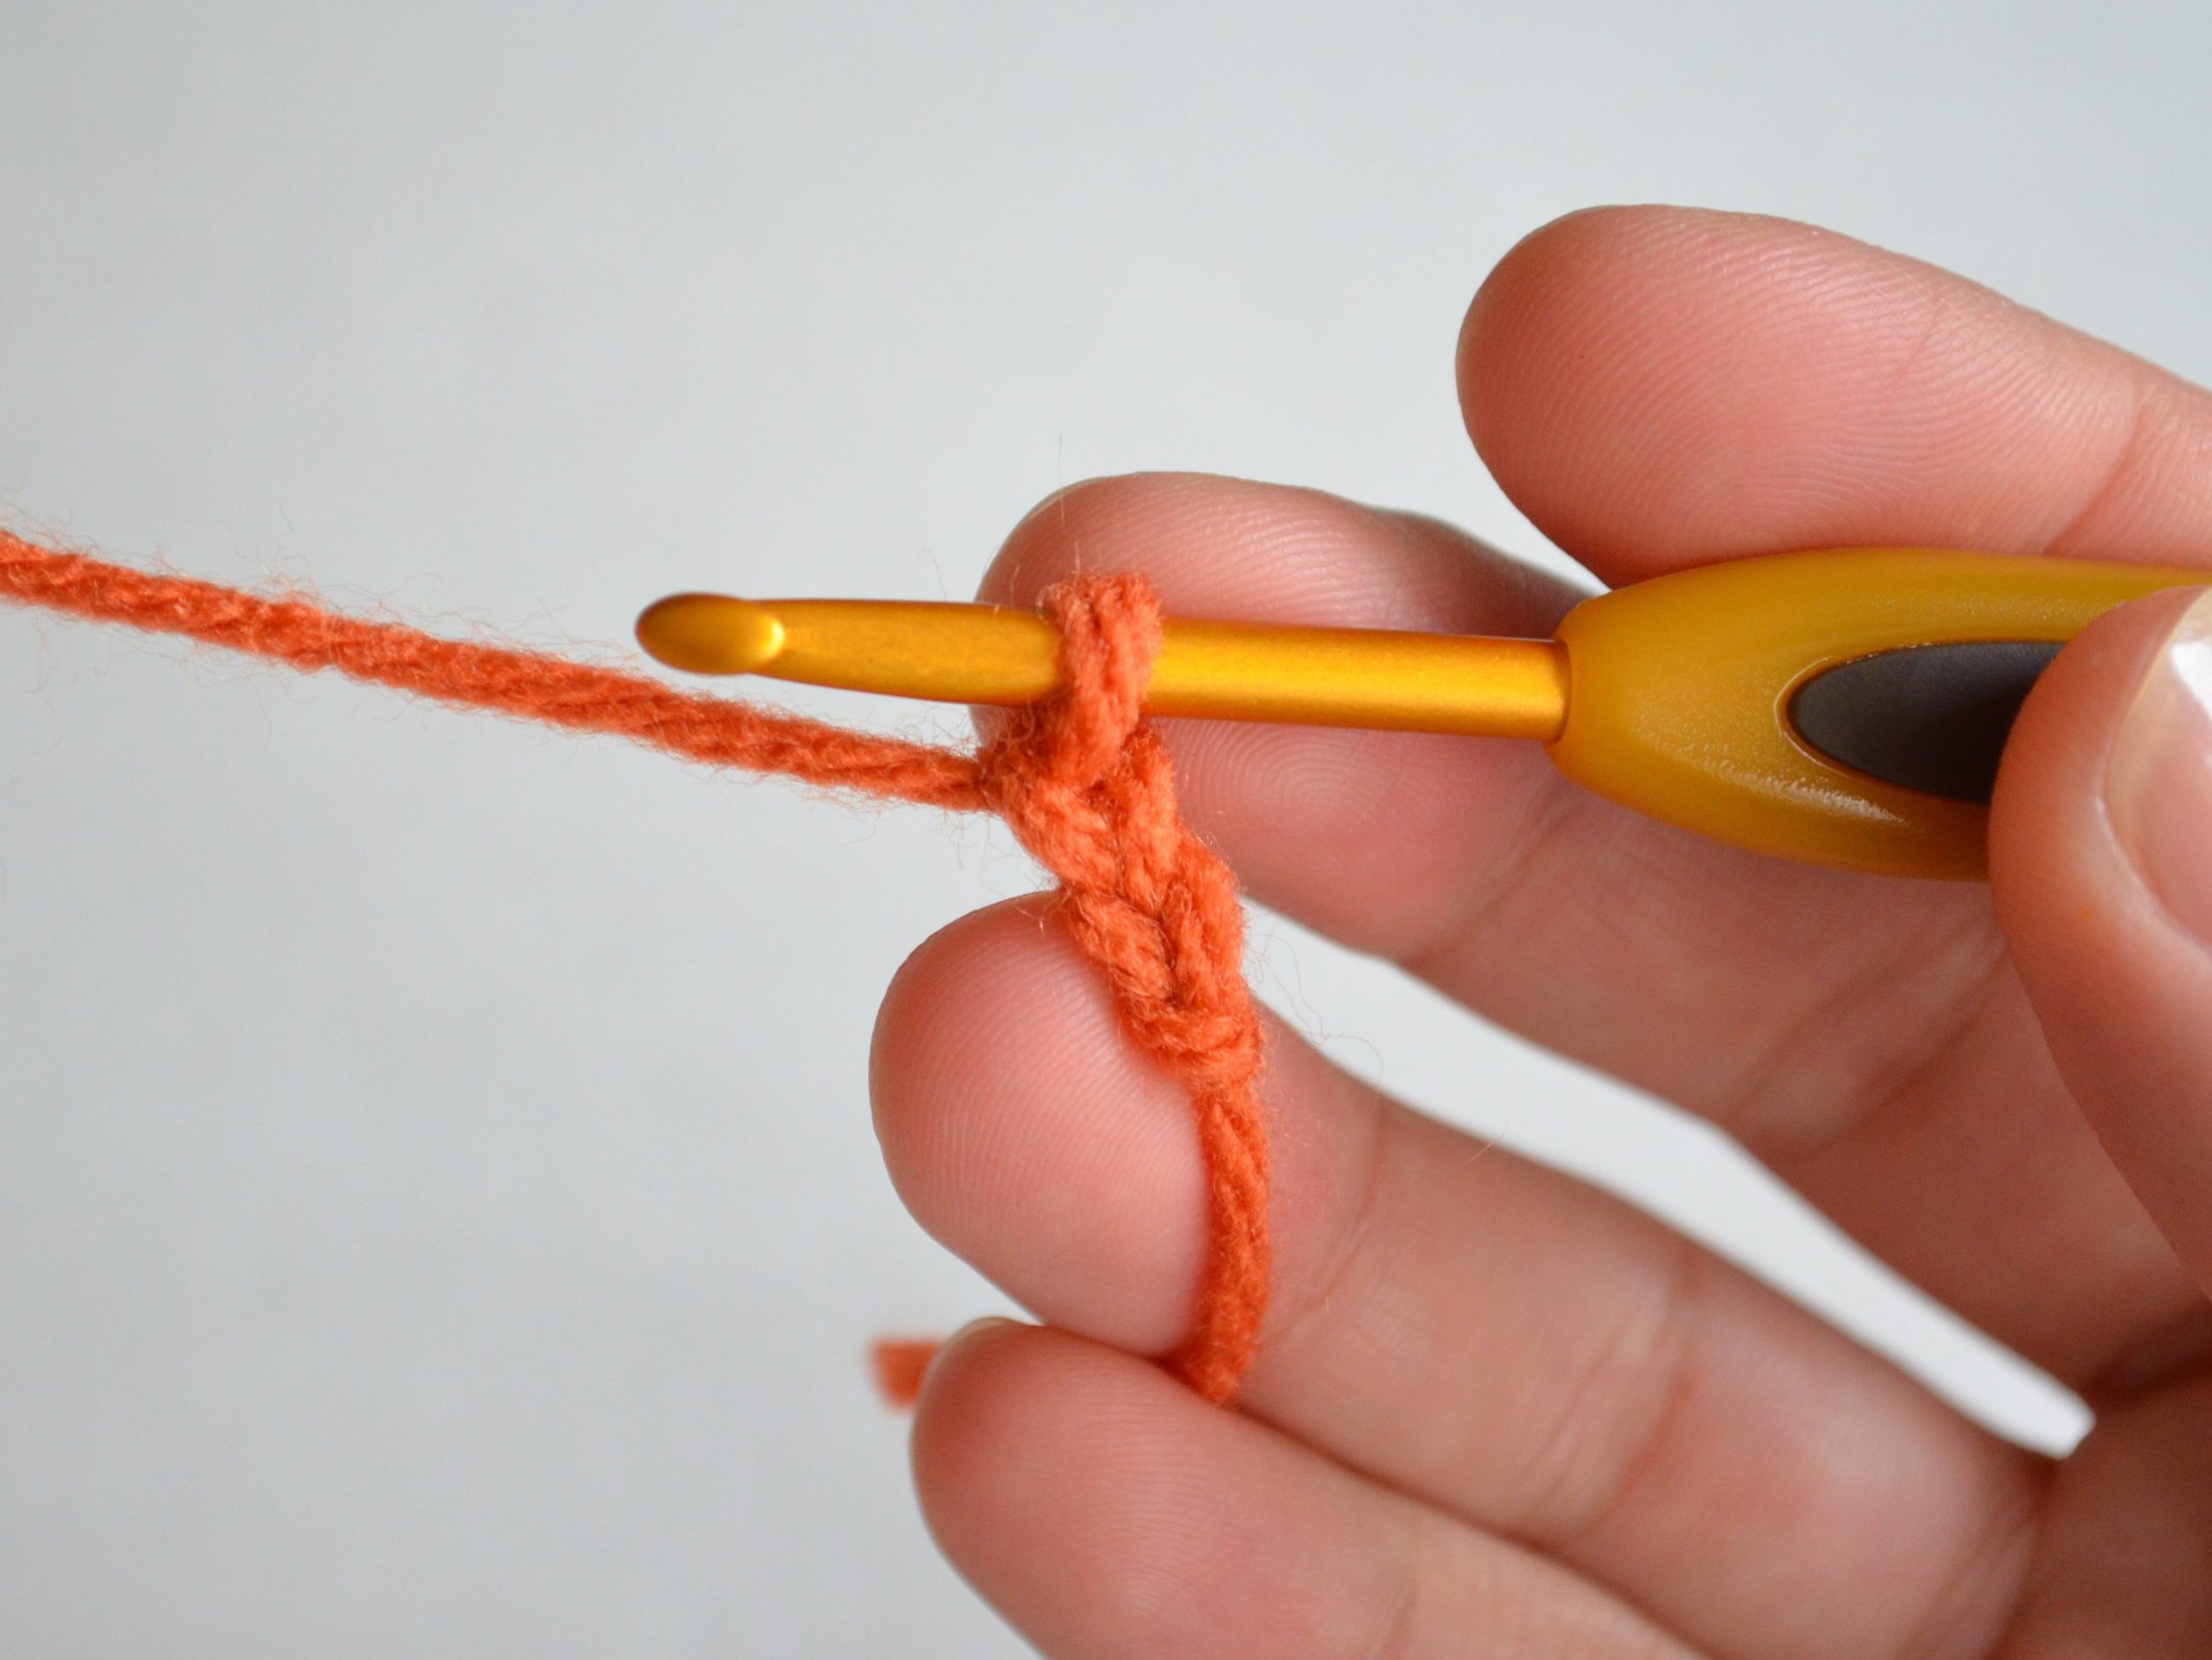
To crochet in the round you need to start with a ring. There are two ways to do this, either with a magic ring (or magic circle) or making 2 chains and working from there. To make this tutorial beginner friendly we’ll start the second method.
Make 2 chains and then make the necessary number of stitches in the 2nd chain from the hook.
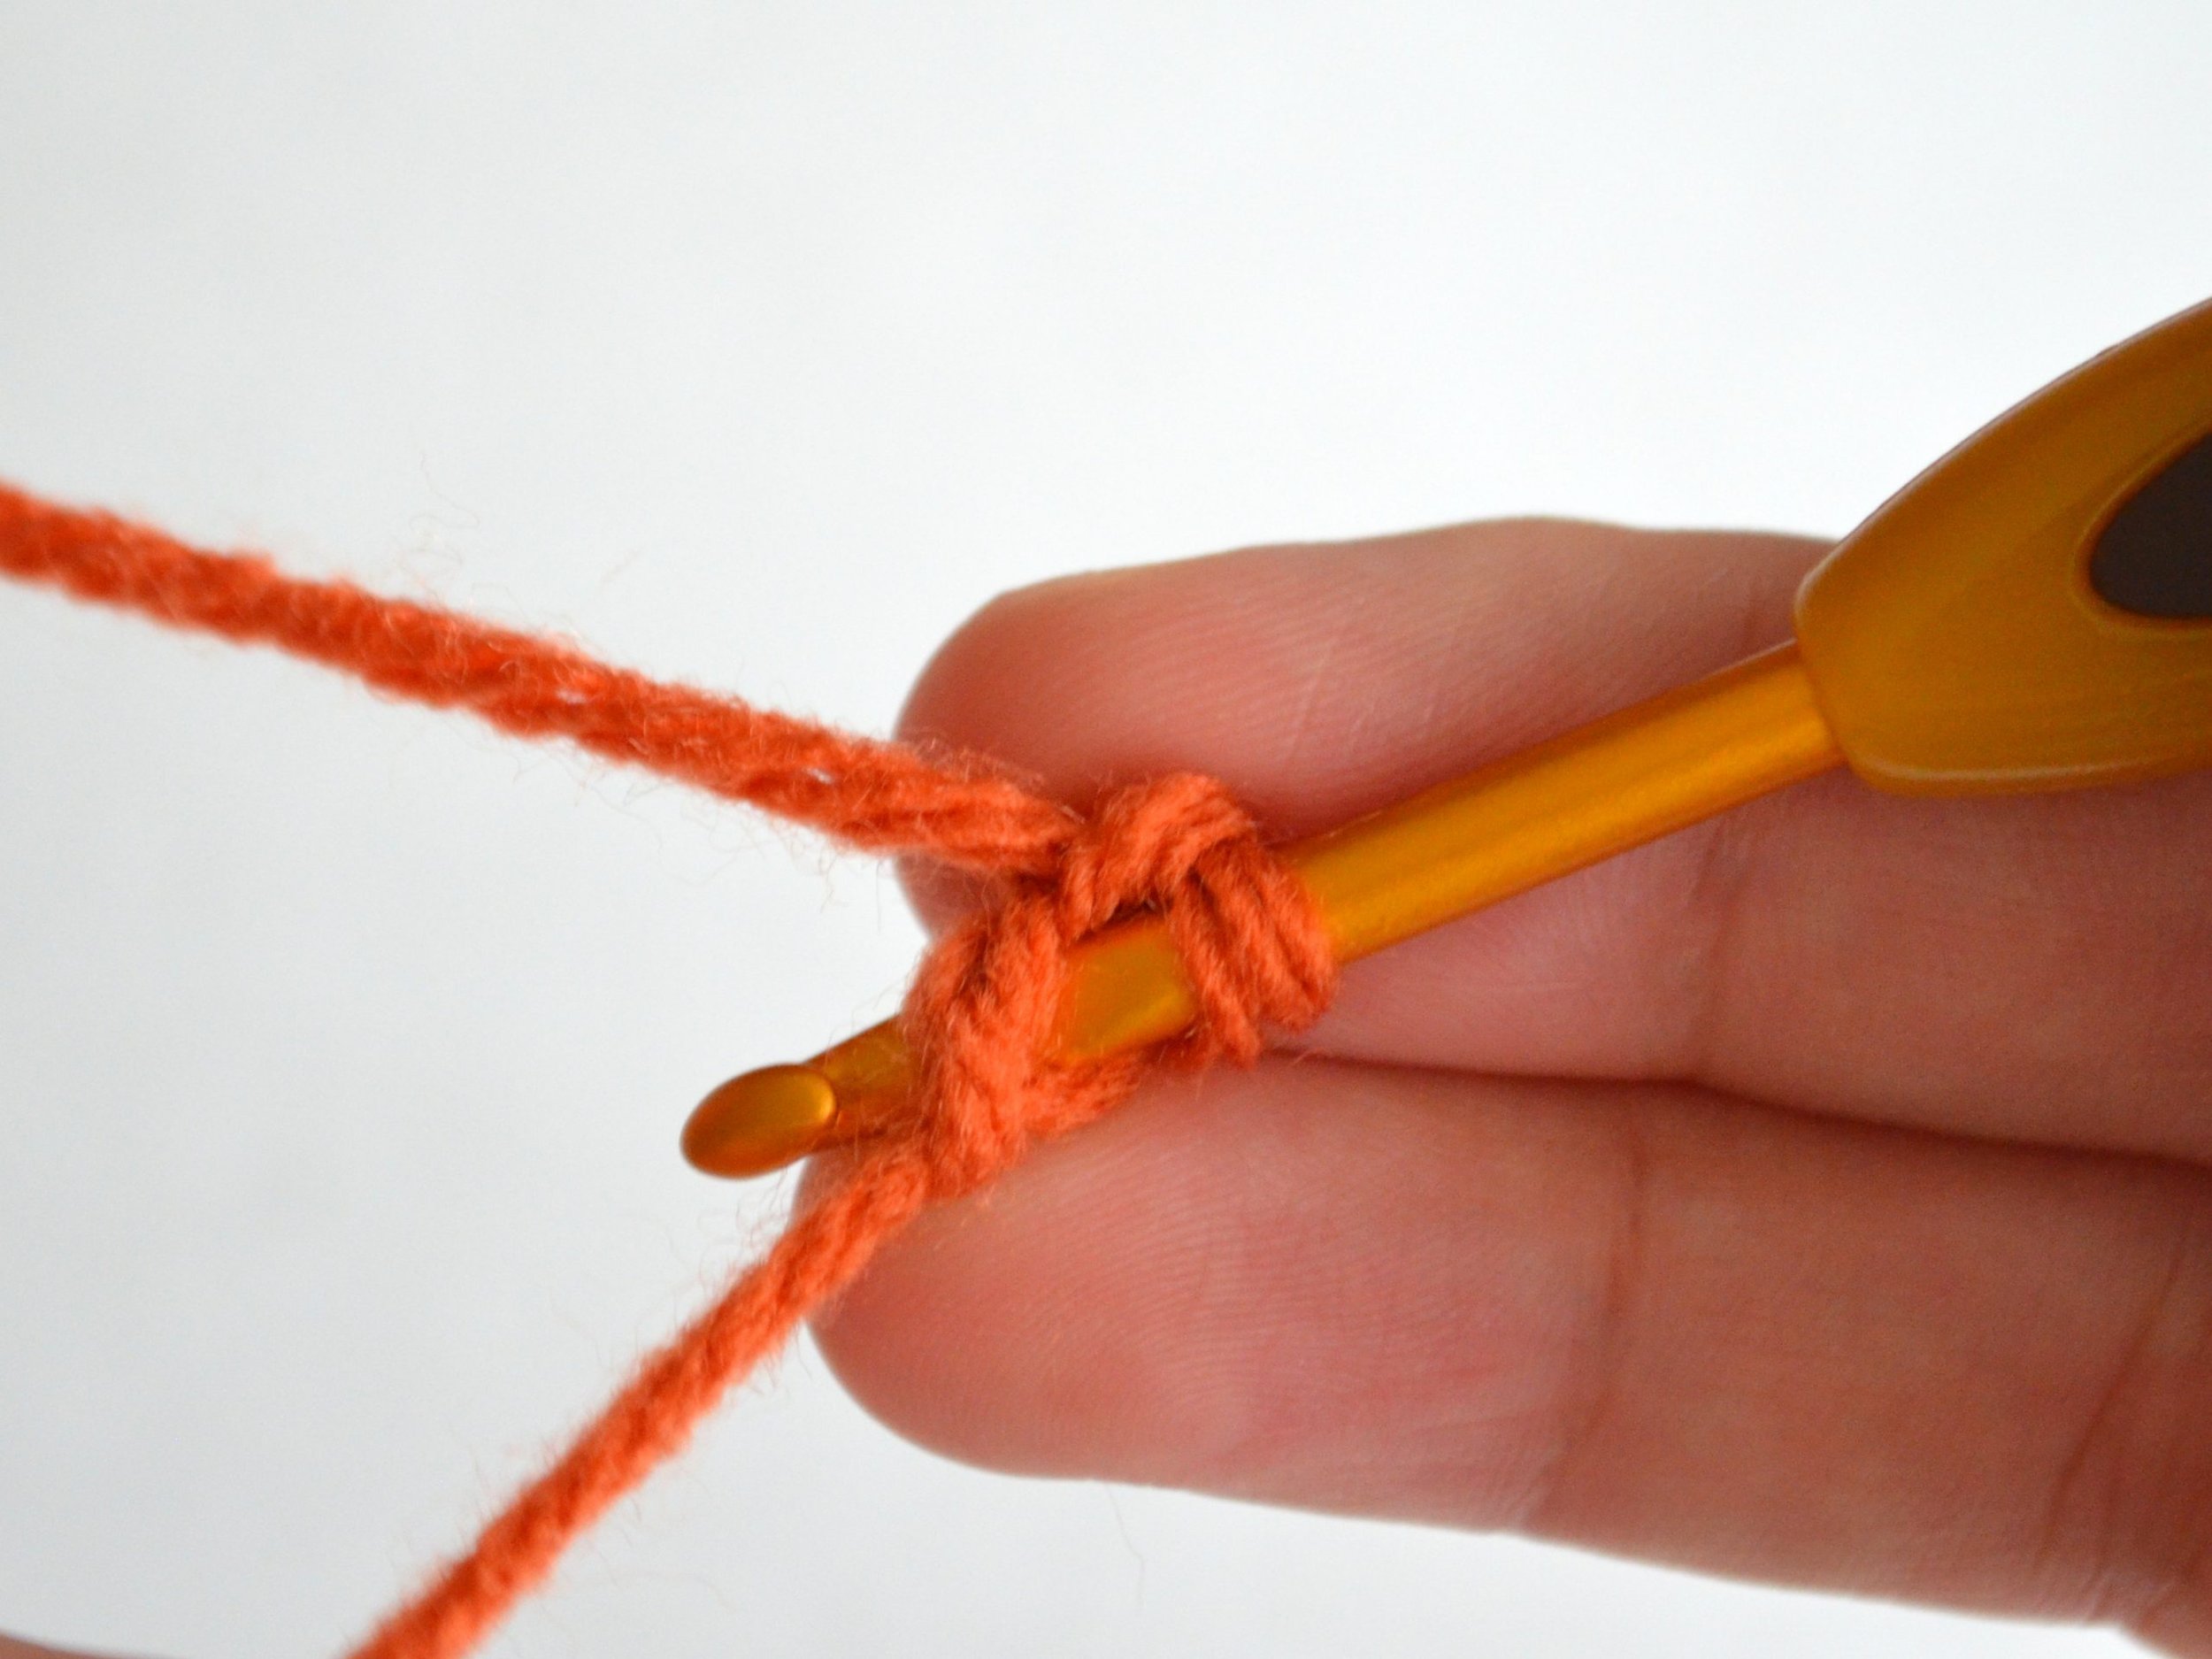
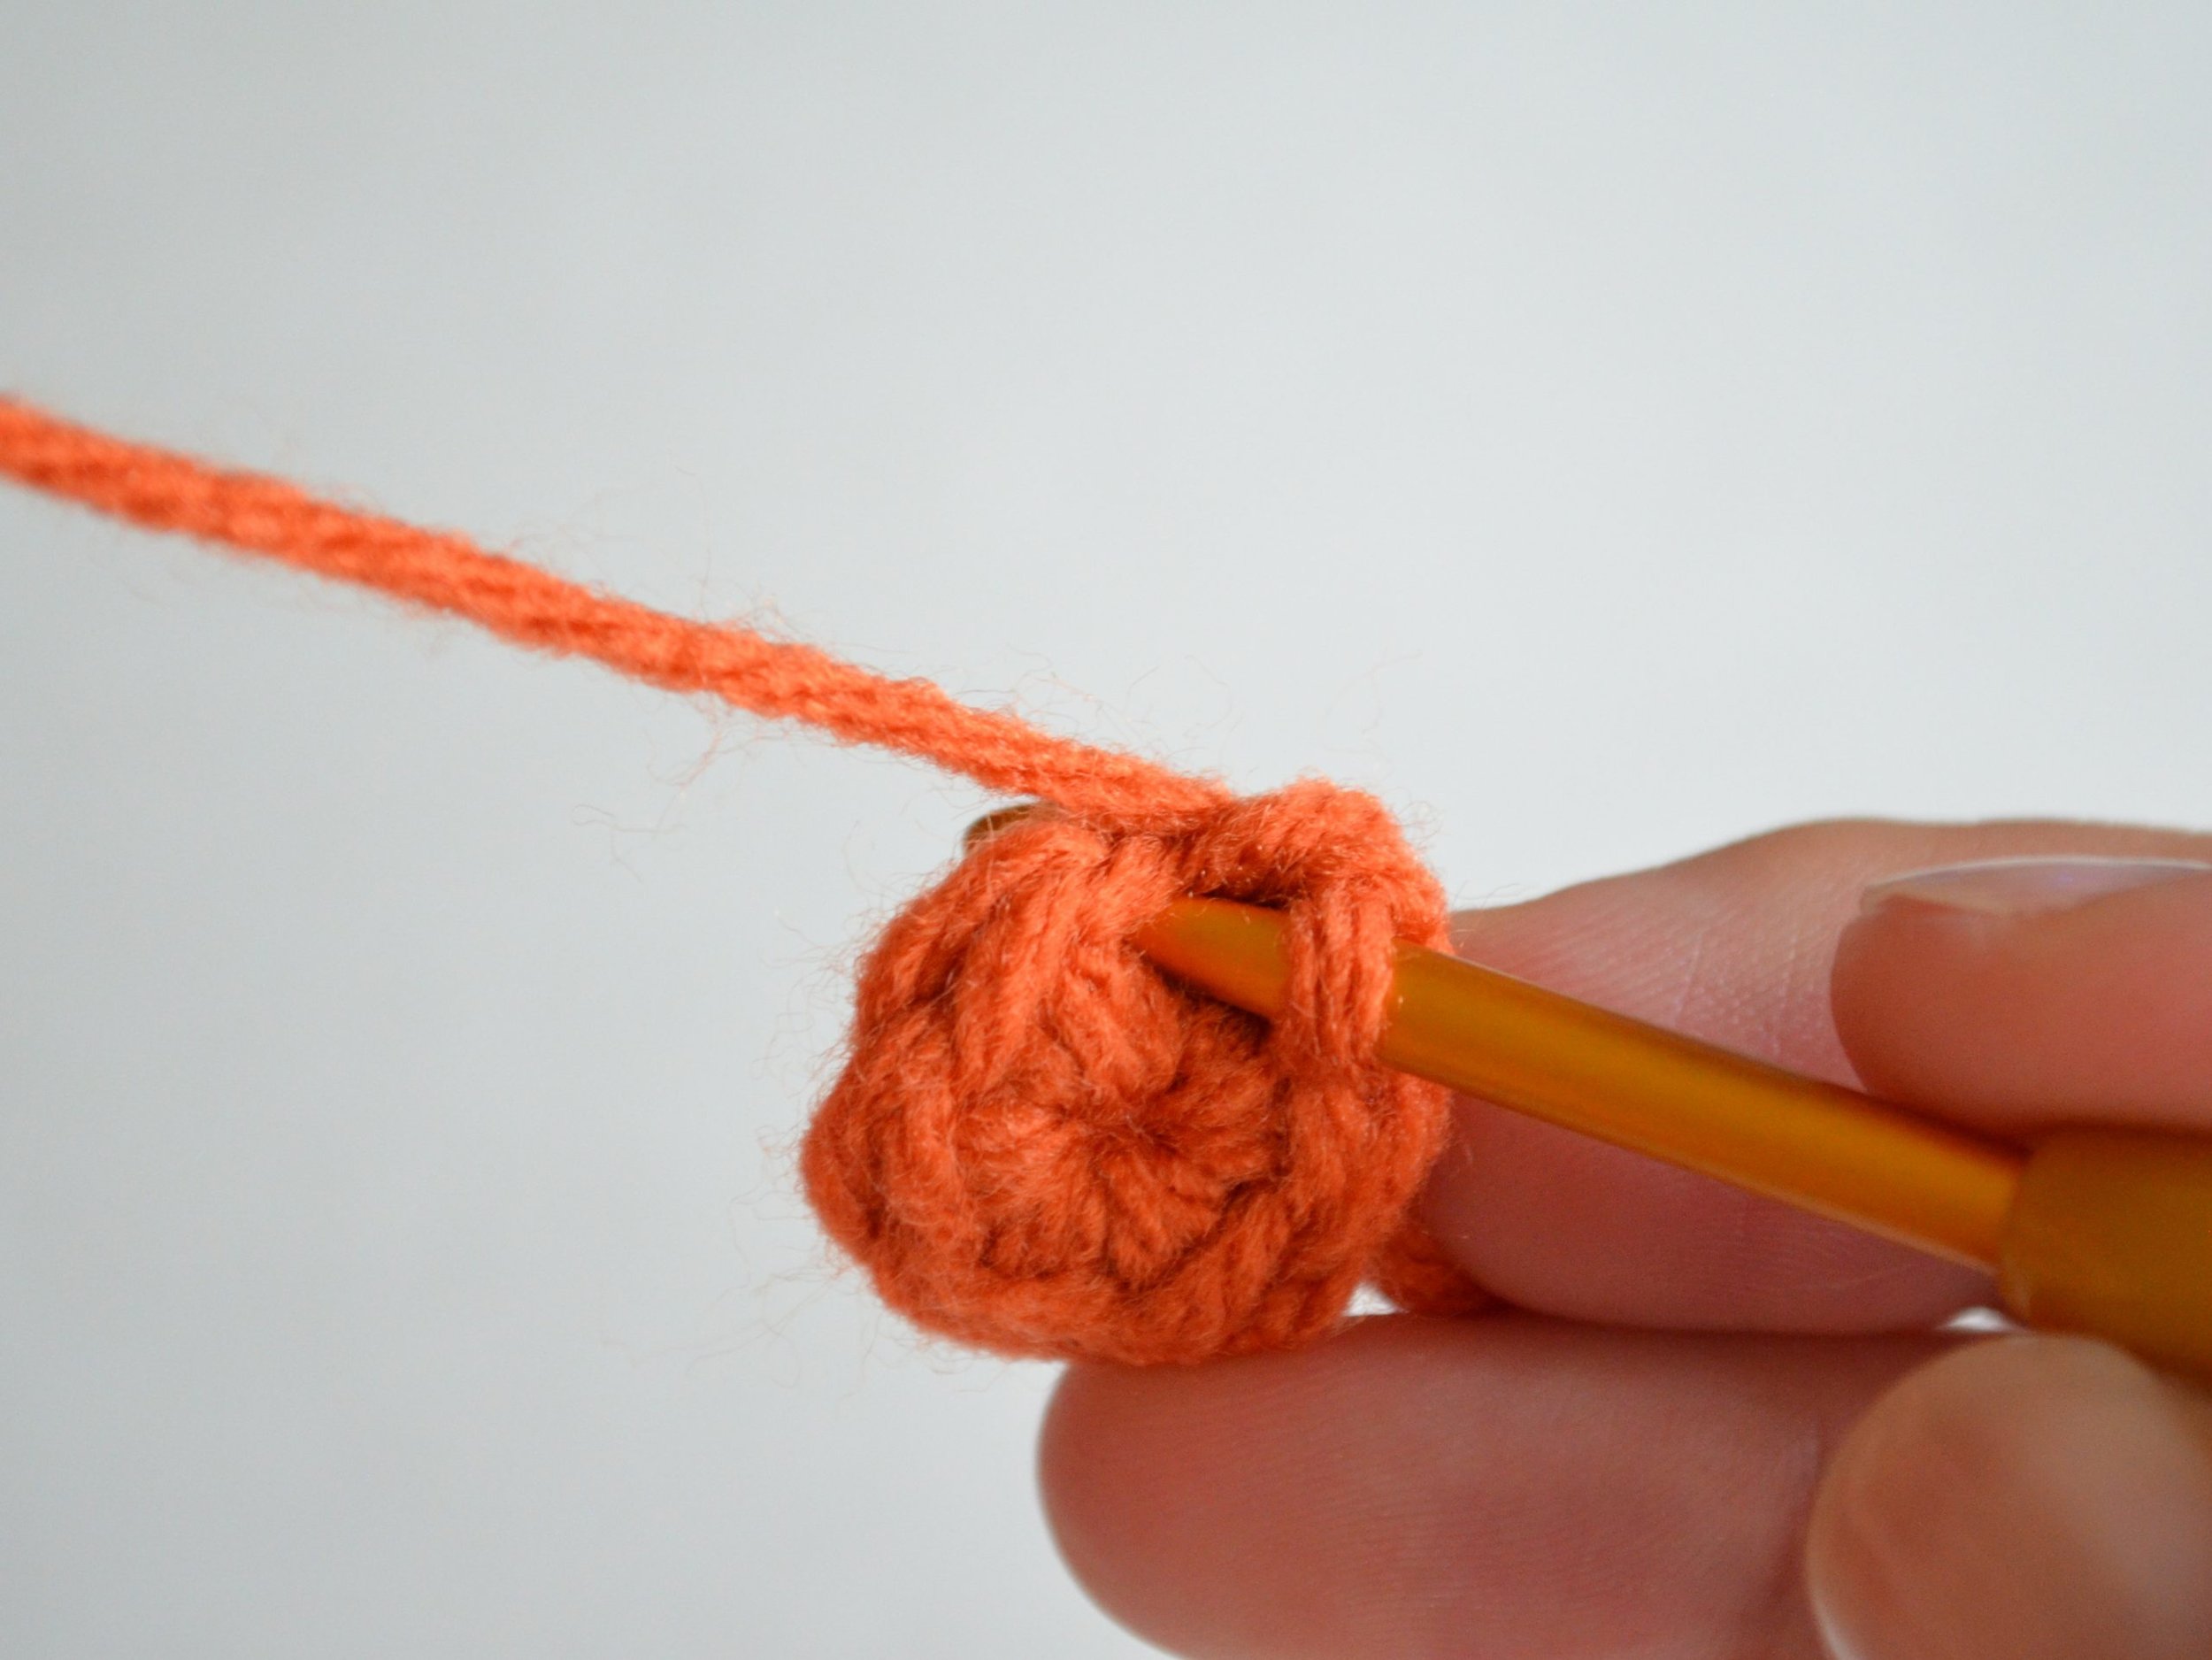
Most circles begin with 6 single crochet stitches so in this example you'll insert the hook into the 2nd chain from the hook and make 6 single crochet stitches in the same chain.
This is the first single crochet in the ring:
Insert the hook into the same chain:
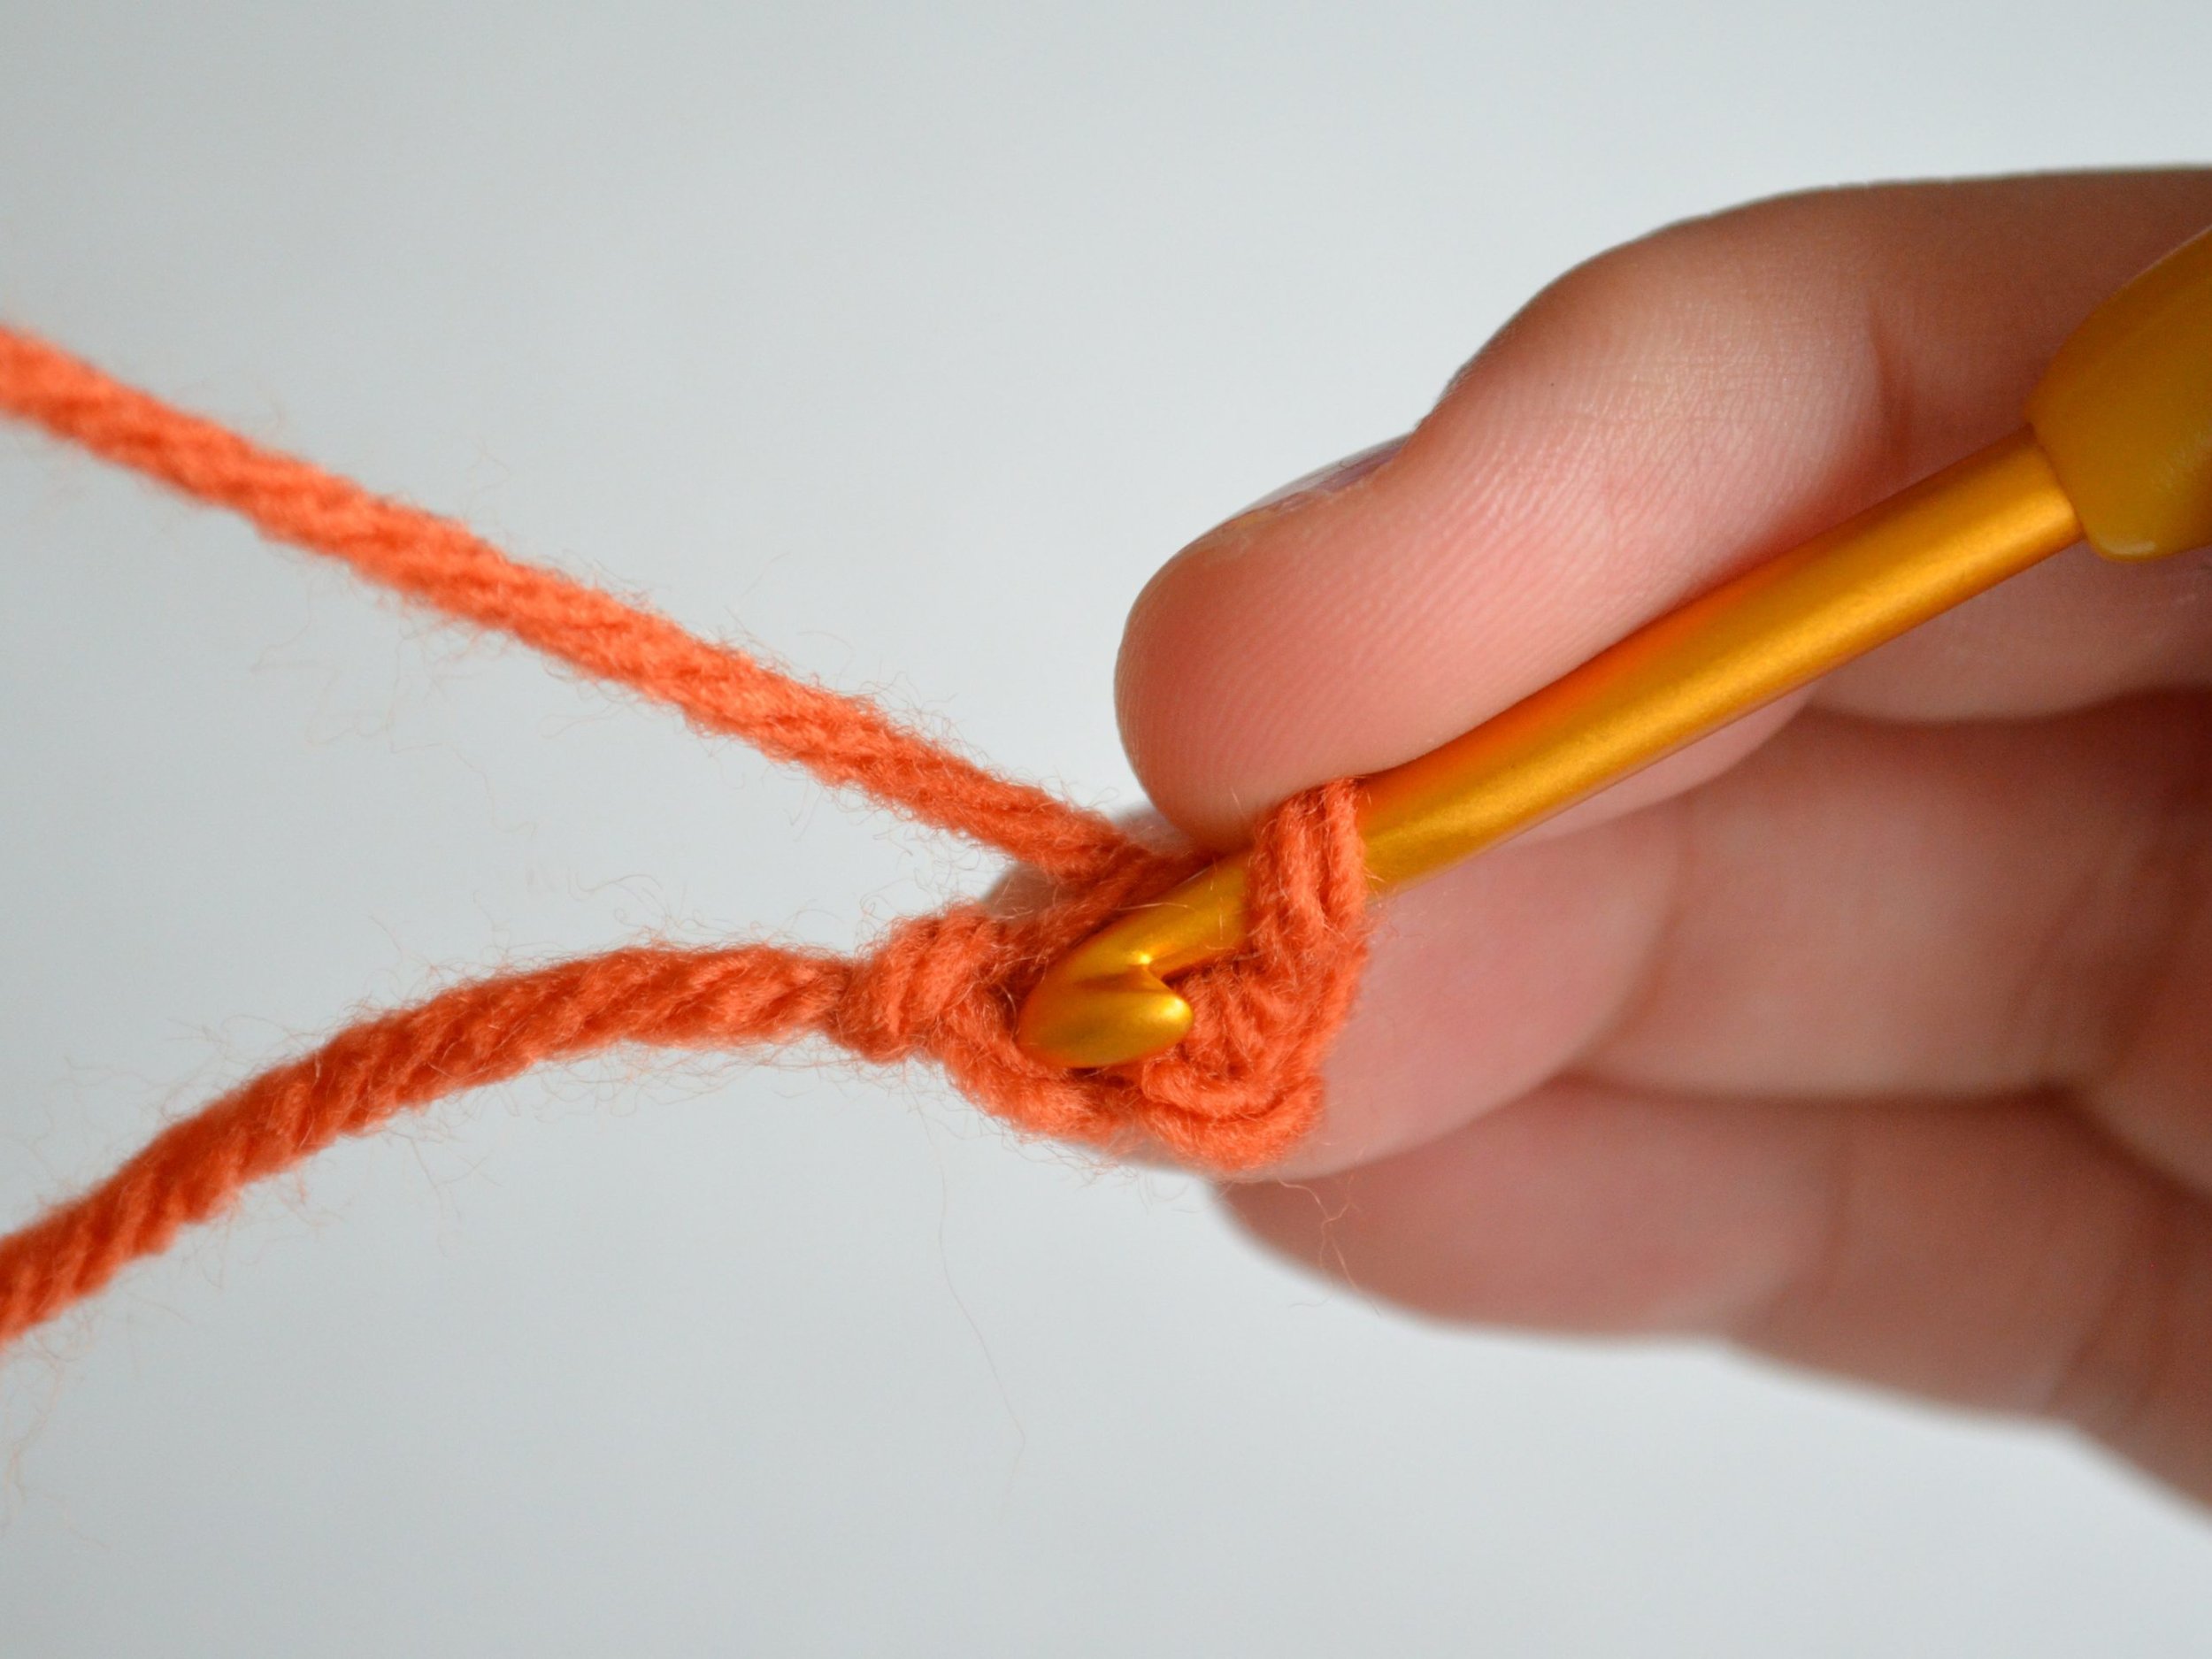
2 single crochet stitches in same chain:
Continue to make single crochet stitches in same the chain until you have 6 in total:
Some things to note when crocheting in the round
You typically do not turn at the end of the round.
You also do not join the last and first stitch at the end.
Each tier is called a round, not a row since it is working around in a circle.
How to increase crochet stitches
Since we are working toward making a sphere in this sample, we need to start making increases.
To make an increase you simply work two single crochet stitches into the same stitch.
Here's the first single crochet in the first stitch of the previous round.
Insert the hook into the same stitch and make a single crochet.
Here is the second single crochet stitch in the same stitch.
How to read a crochet pattern
In this example, we want an even sphere so each round is increased by 6 single crochet (sc) stitches (sts) and each increase (inc) is spaced out by an equal number of stitches. The combination of stitches and increases to be repeated are between brackets. Let’s break this down:
Round 1: make 6 sc in ring (6 sts)
This means: Create a ring and crochet 6 stitches into the ring as described above.
Round 2: inc in each stitch around (12 sts)
This means: Crochet 2 single crochet stitches in each stitch around and since there were 6 stitches to begin with, the total number at the end of the round will be 12 stitches.
Round 3: [sc in next stitch, inc in next stitch] repeat 6 times (18 sts)
This means: Follow the instructions in the brackets. Make 1 single crochet in the next stitch, then make 2 single crochets in the next stitch and repeat all the way around, which will be 6 times and will result in a total of 18 stitches at the end of the round.
Round 4: [sc in next 2 stitches, inc in next stitch] repeat 6 times (24 sts)
Round 5: [sc in next 3 stitches, inc in next stitch] repeat 6 times (30 sts)
Round 6: [sc in next 4 stitches, inc in next stitch] repeat 6 times (36 sts)
You'll notice the total number of stitches at the end of each round increased by 6 and the stitches spacing them apart increased by 1 every round.
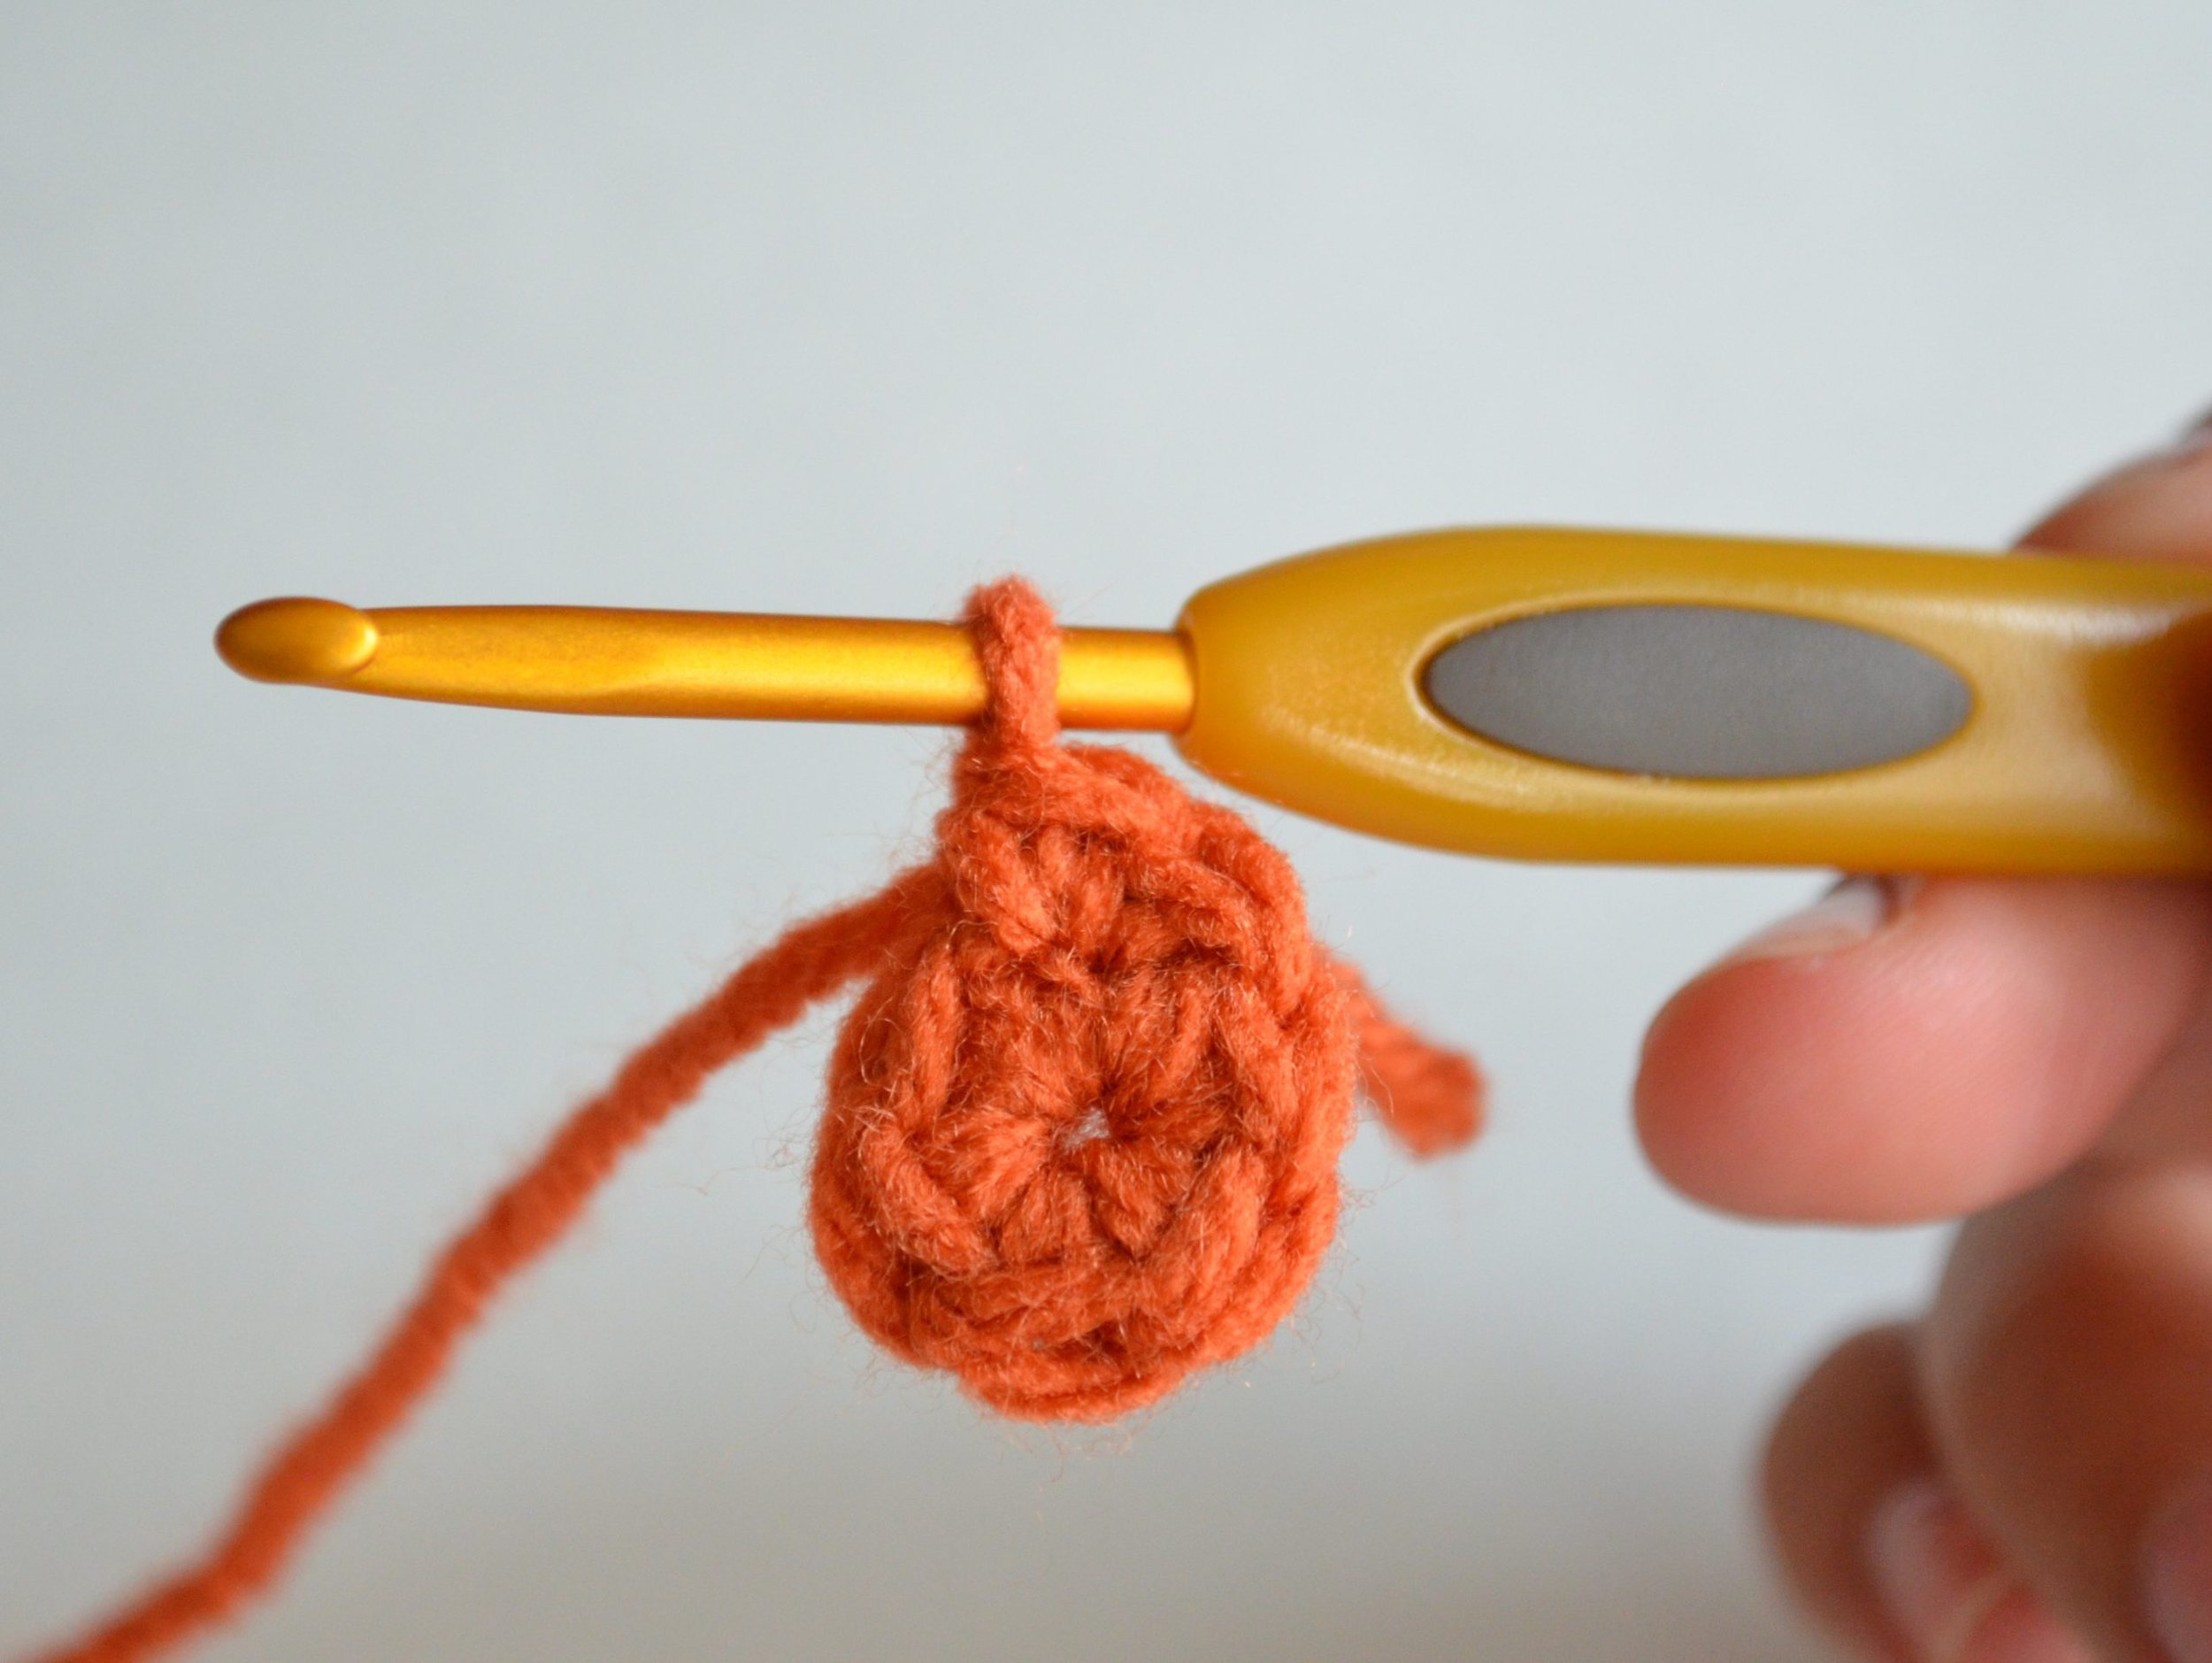
Here’s our crochet circle after completing Round 3. At this point it's a good idea to use a stitch marker so you don't lose track of the beginning/end of each round.
After completing Round 4:
After completing Round 5:
After completing Round 6:
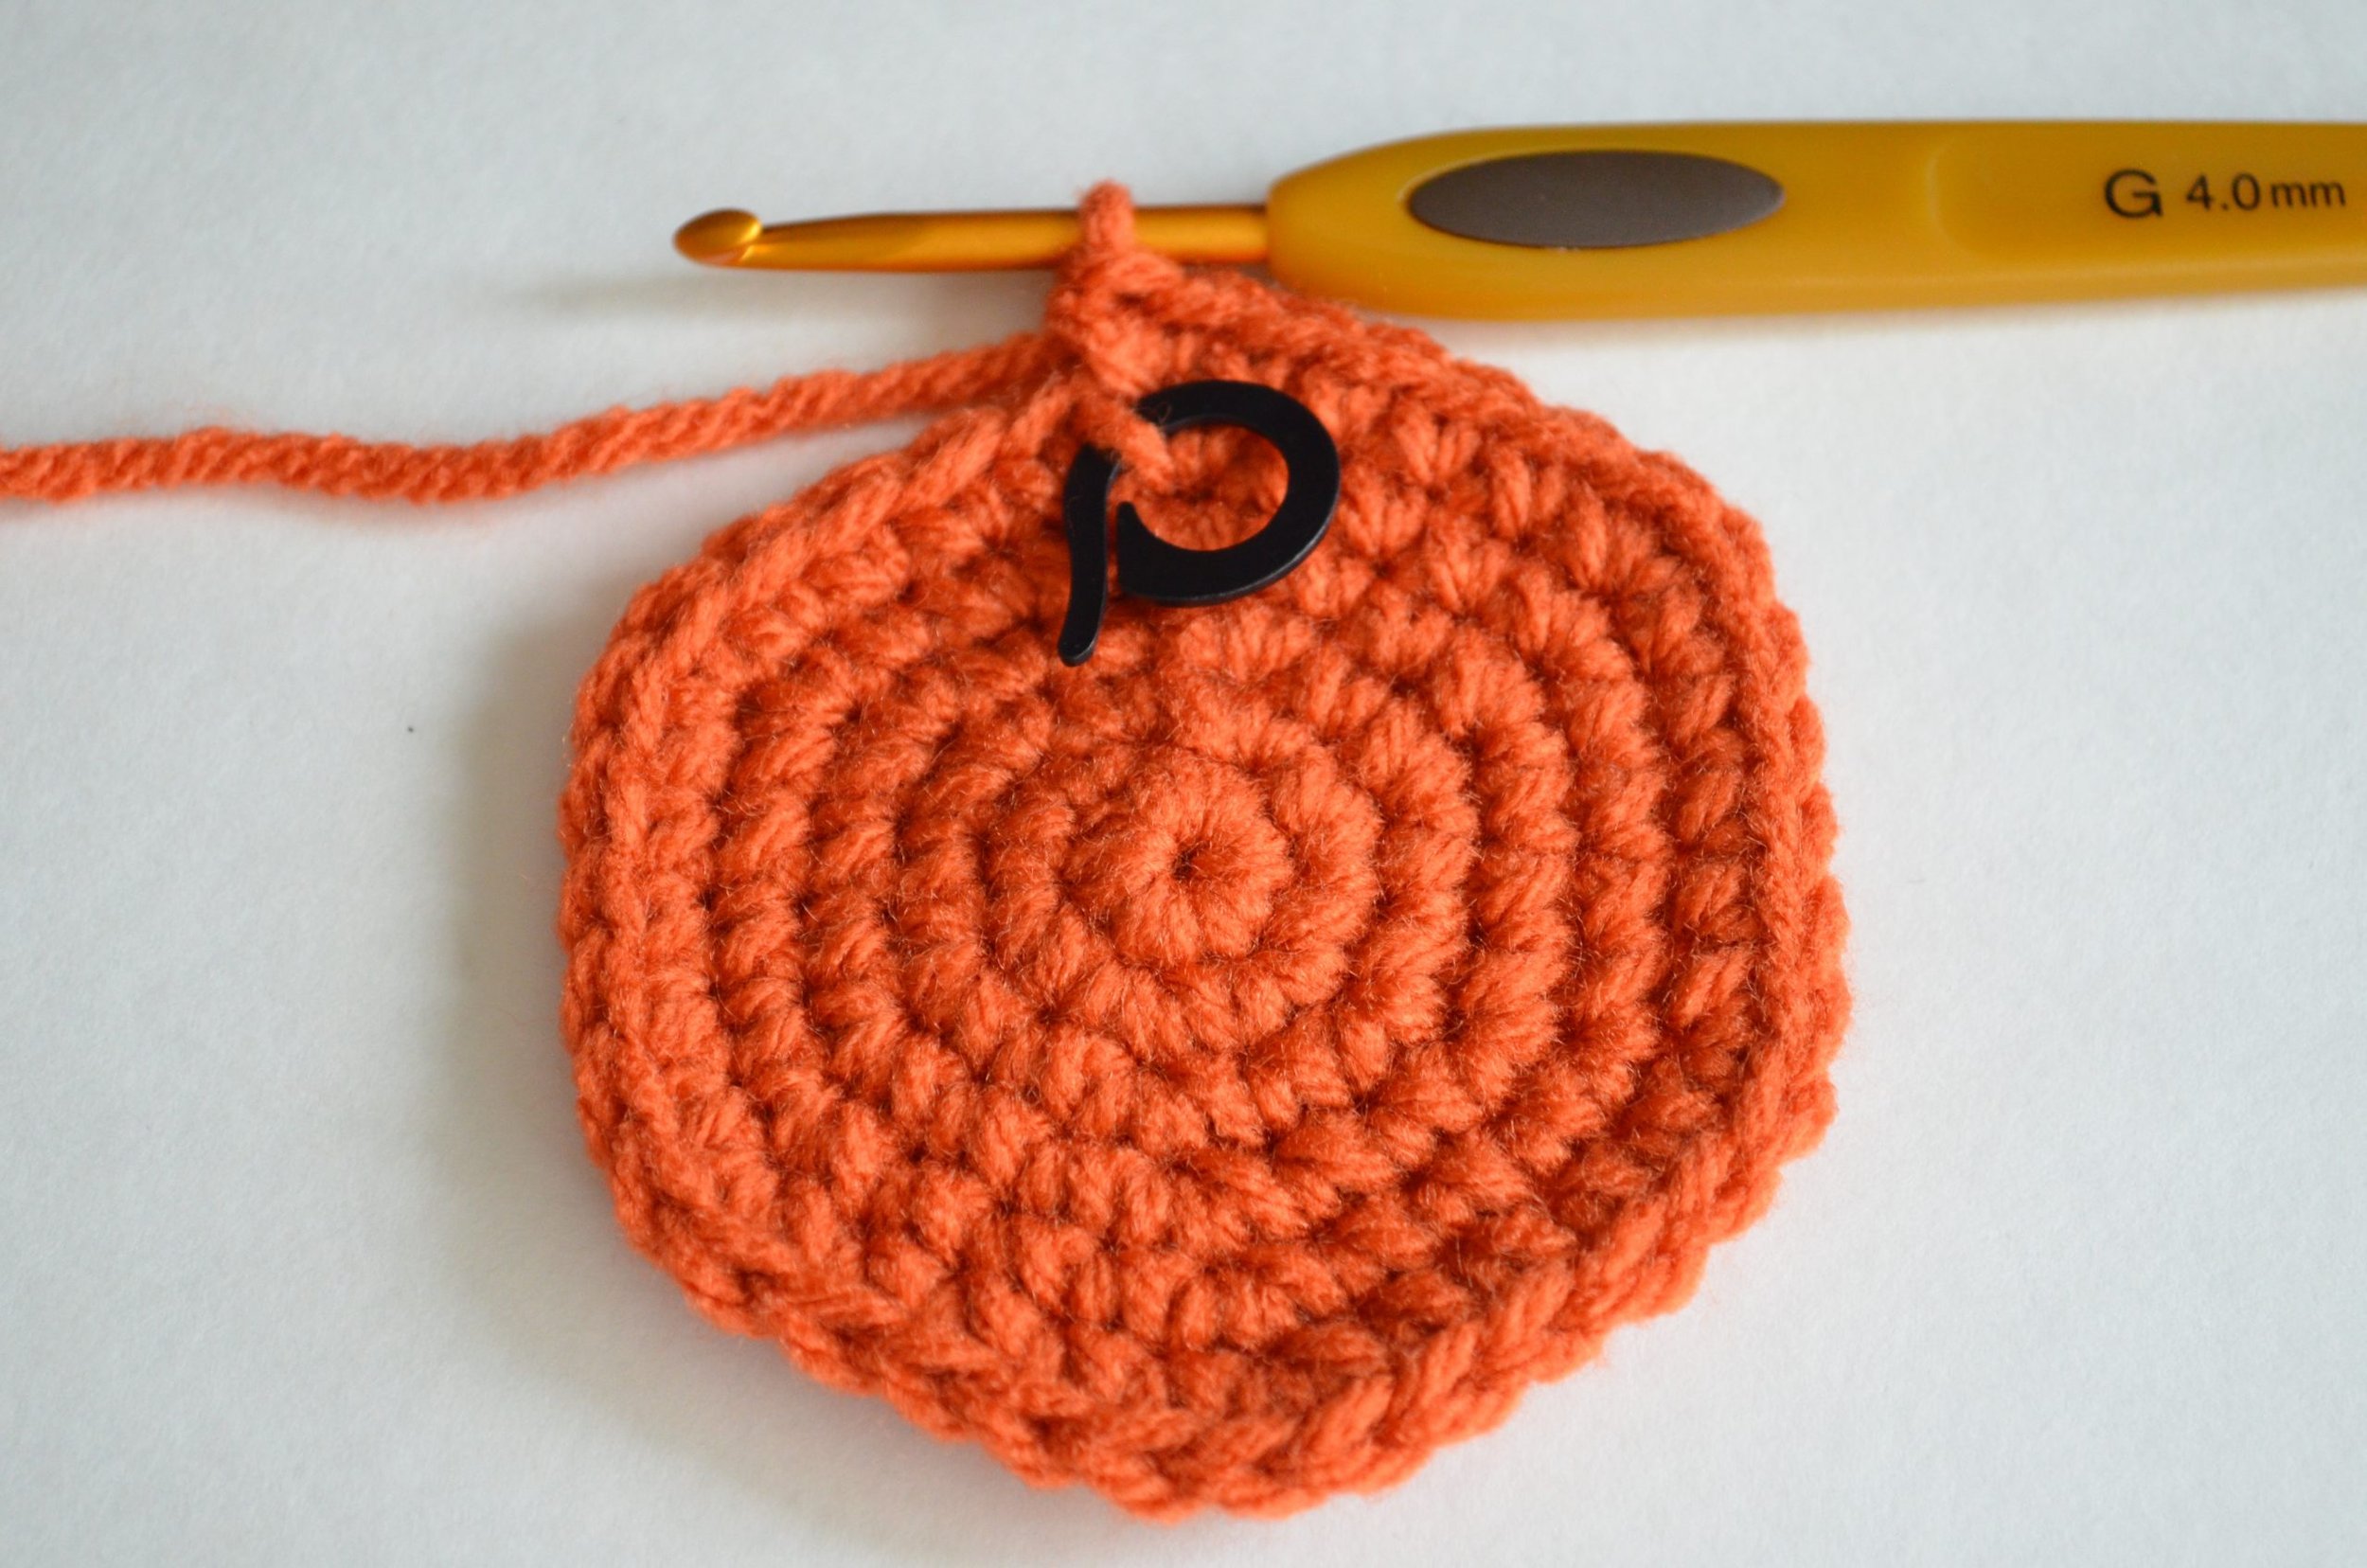
Once you reach the required number of stitches in the pattern you'll "work even" or "single crochet around" meaning you won't make any increases, just single crochet around in each stitch:
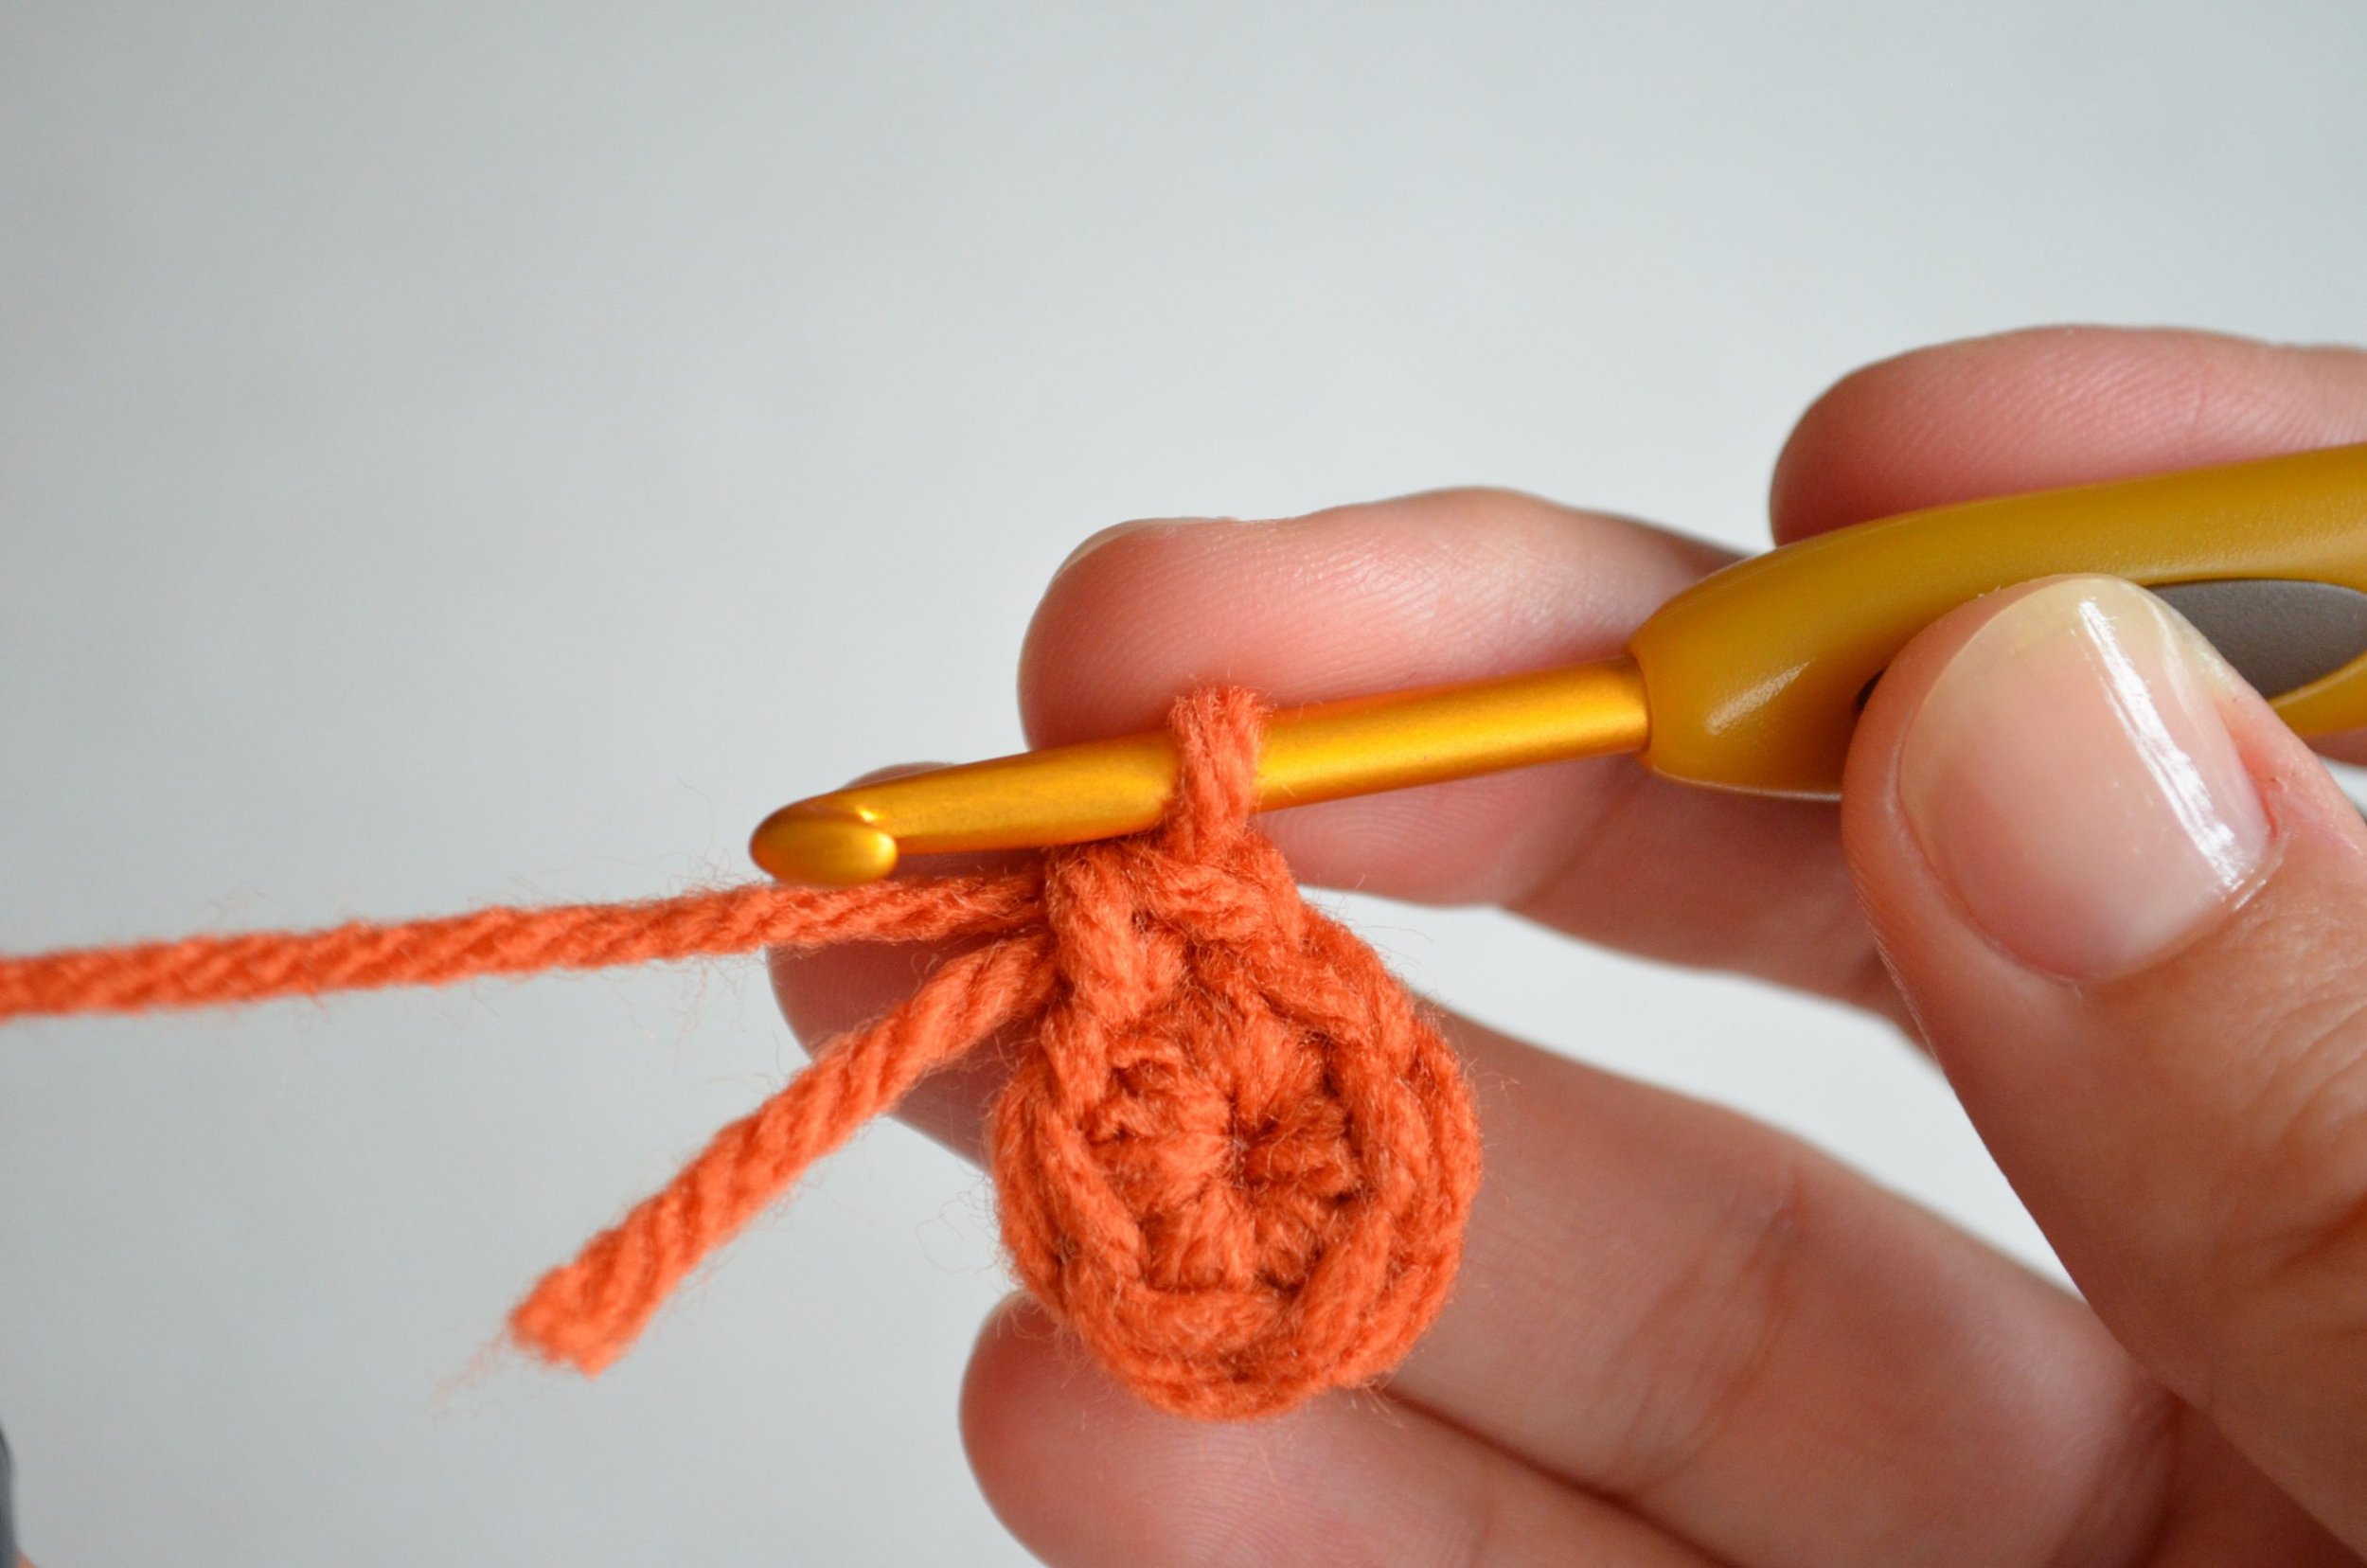
In this pattern we'll only work even for 2 rounds. Here is what the circle looks like after completing Round 7 without increasing:
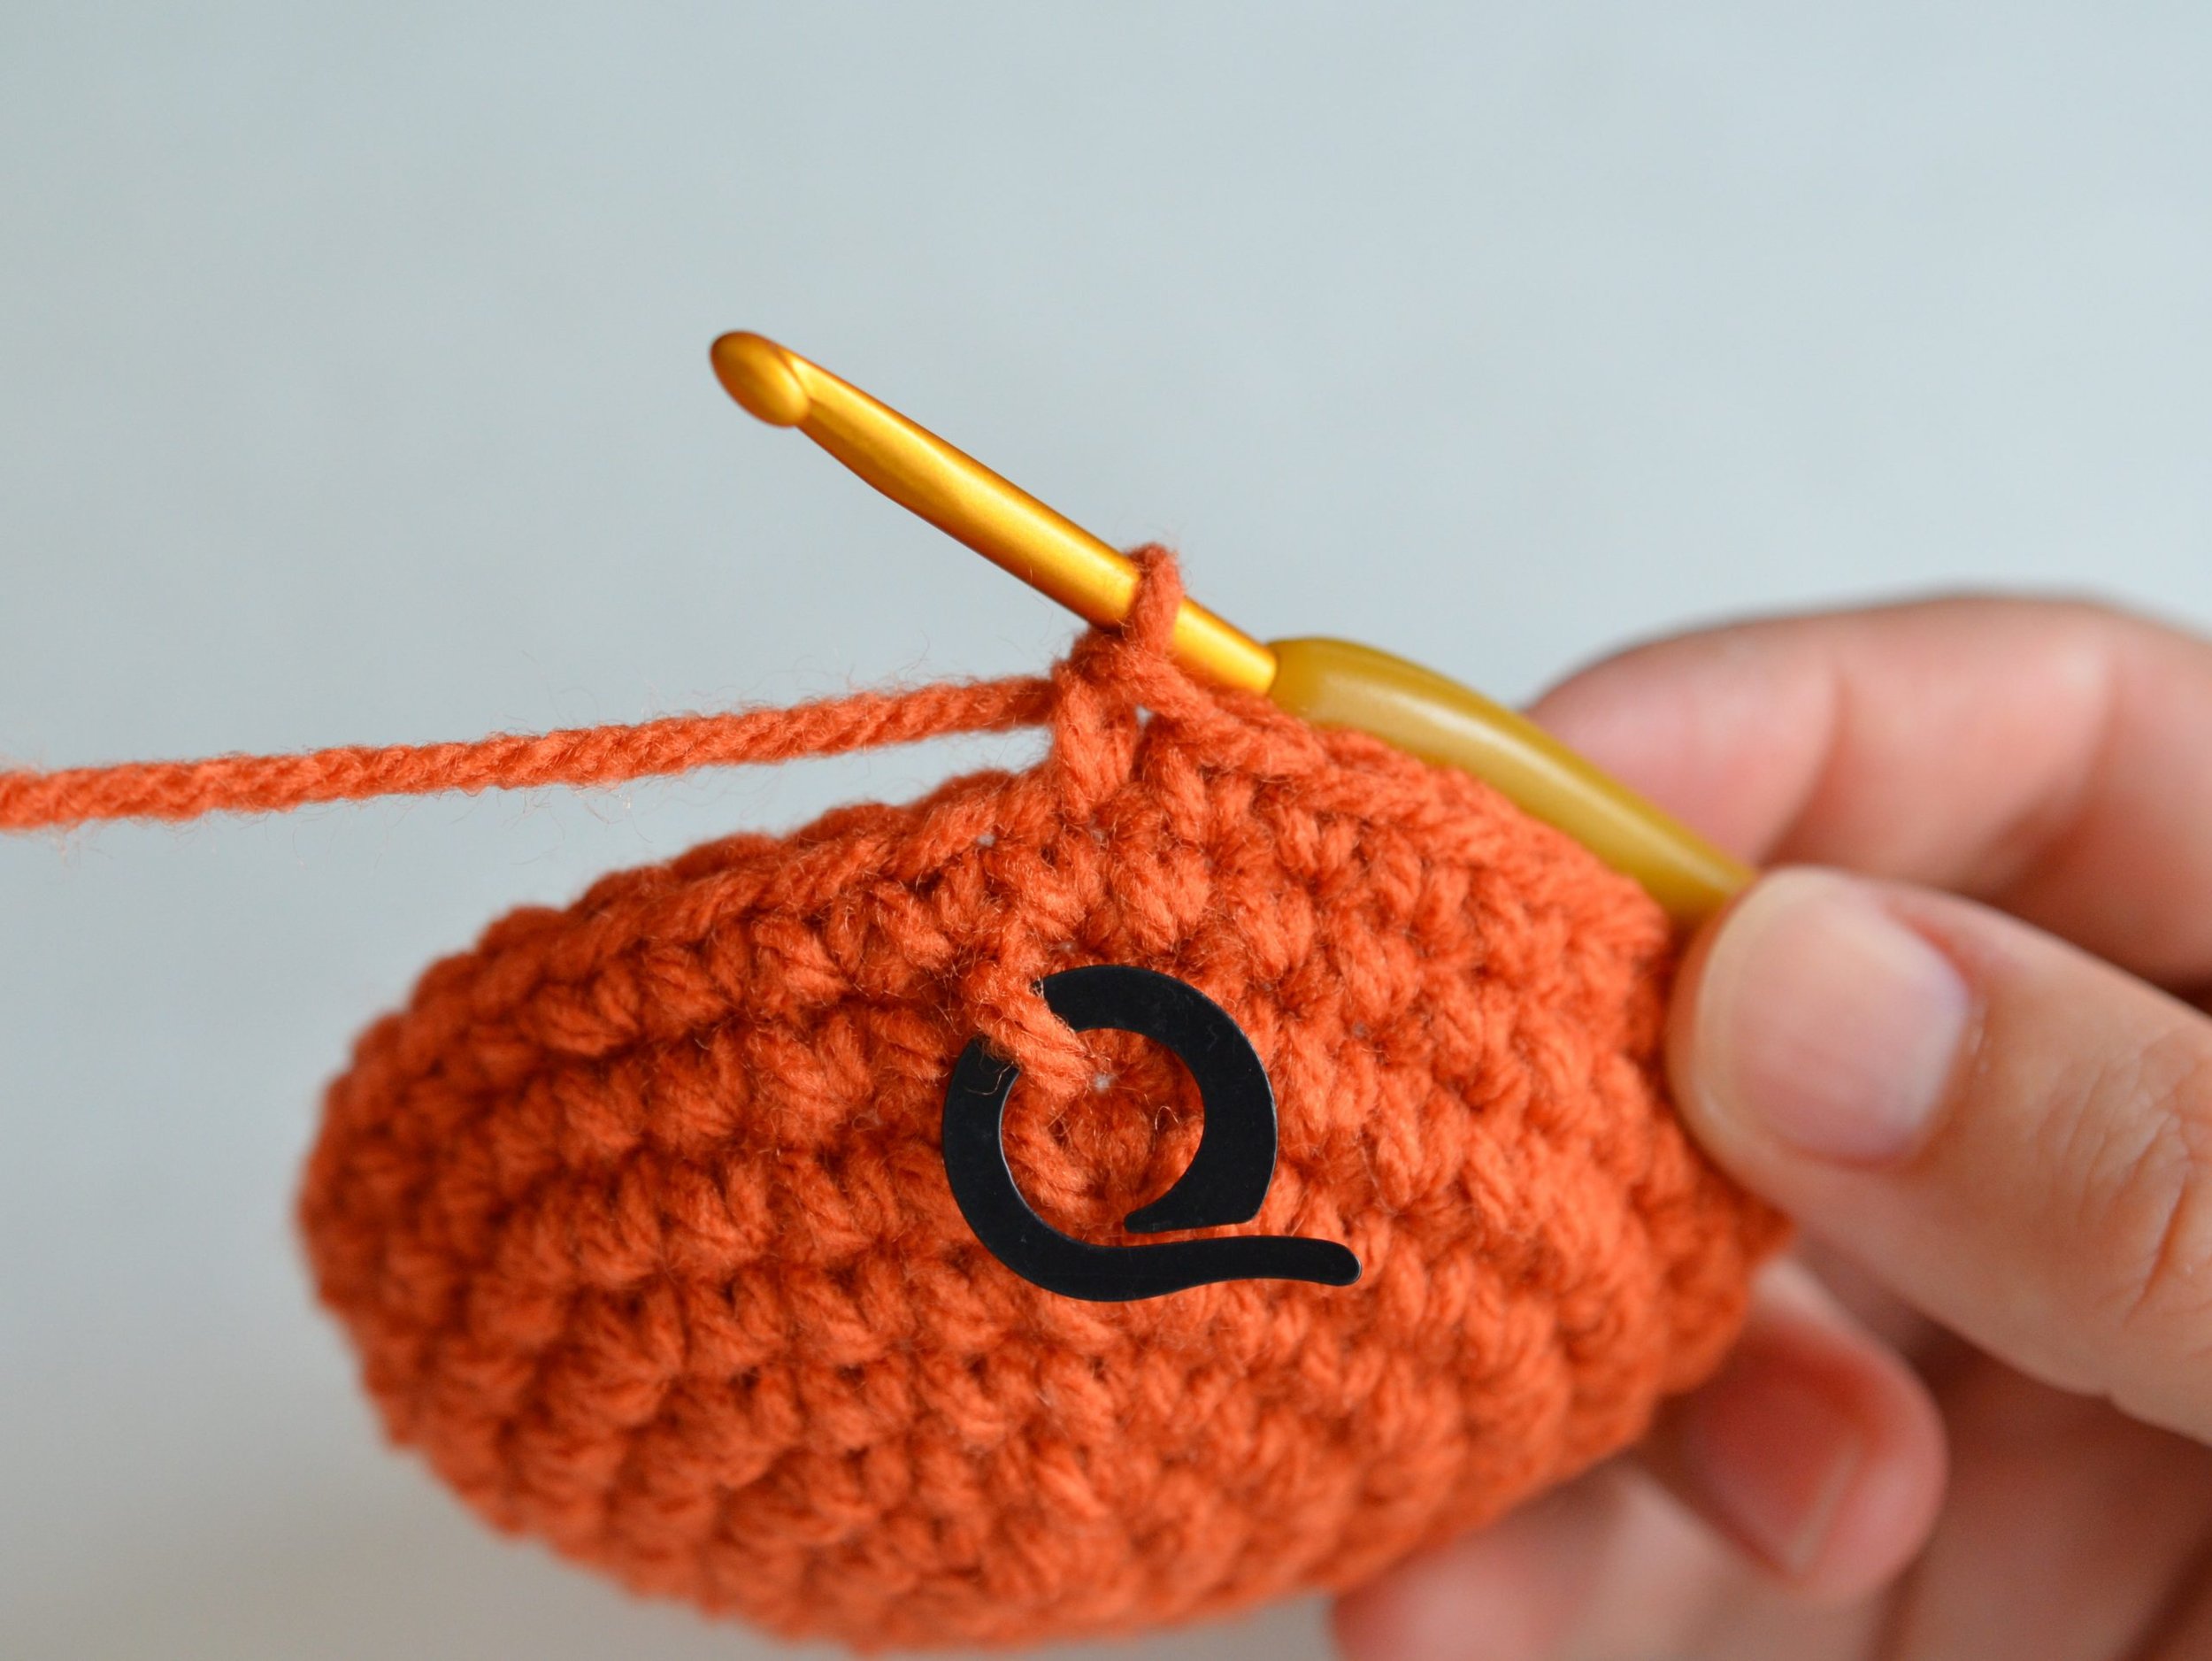
Here is what the circle looks like after completing Round 8 without increasing and it's already starting to take a spherical shape!
And that is how to increase crochet stitches. I hope this how-to guide has been helpful and inspiring. Be sure to follow me on social media for more tips, tutorials and news, just check out the links at the top of this page!
Looking for more crochet stitch tutorials? Check these out:
How to Crochet in the Round and Decrease
How to Make a Slip Knot and Chain
**********
This tutorial is for personal use only. The photos may not be reproduced, distributed or resold, translated, published, altered, shared or posted in any way over the internet or offline.
You may sell finished items made from patterns designed by me as long as it is handmade by you, not mass produced, giving the credit to Pops de Milk / Patricia Castillo as the designer. If you have any questions, you can email me at patricia@popsdemilk.com

