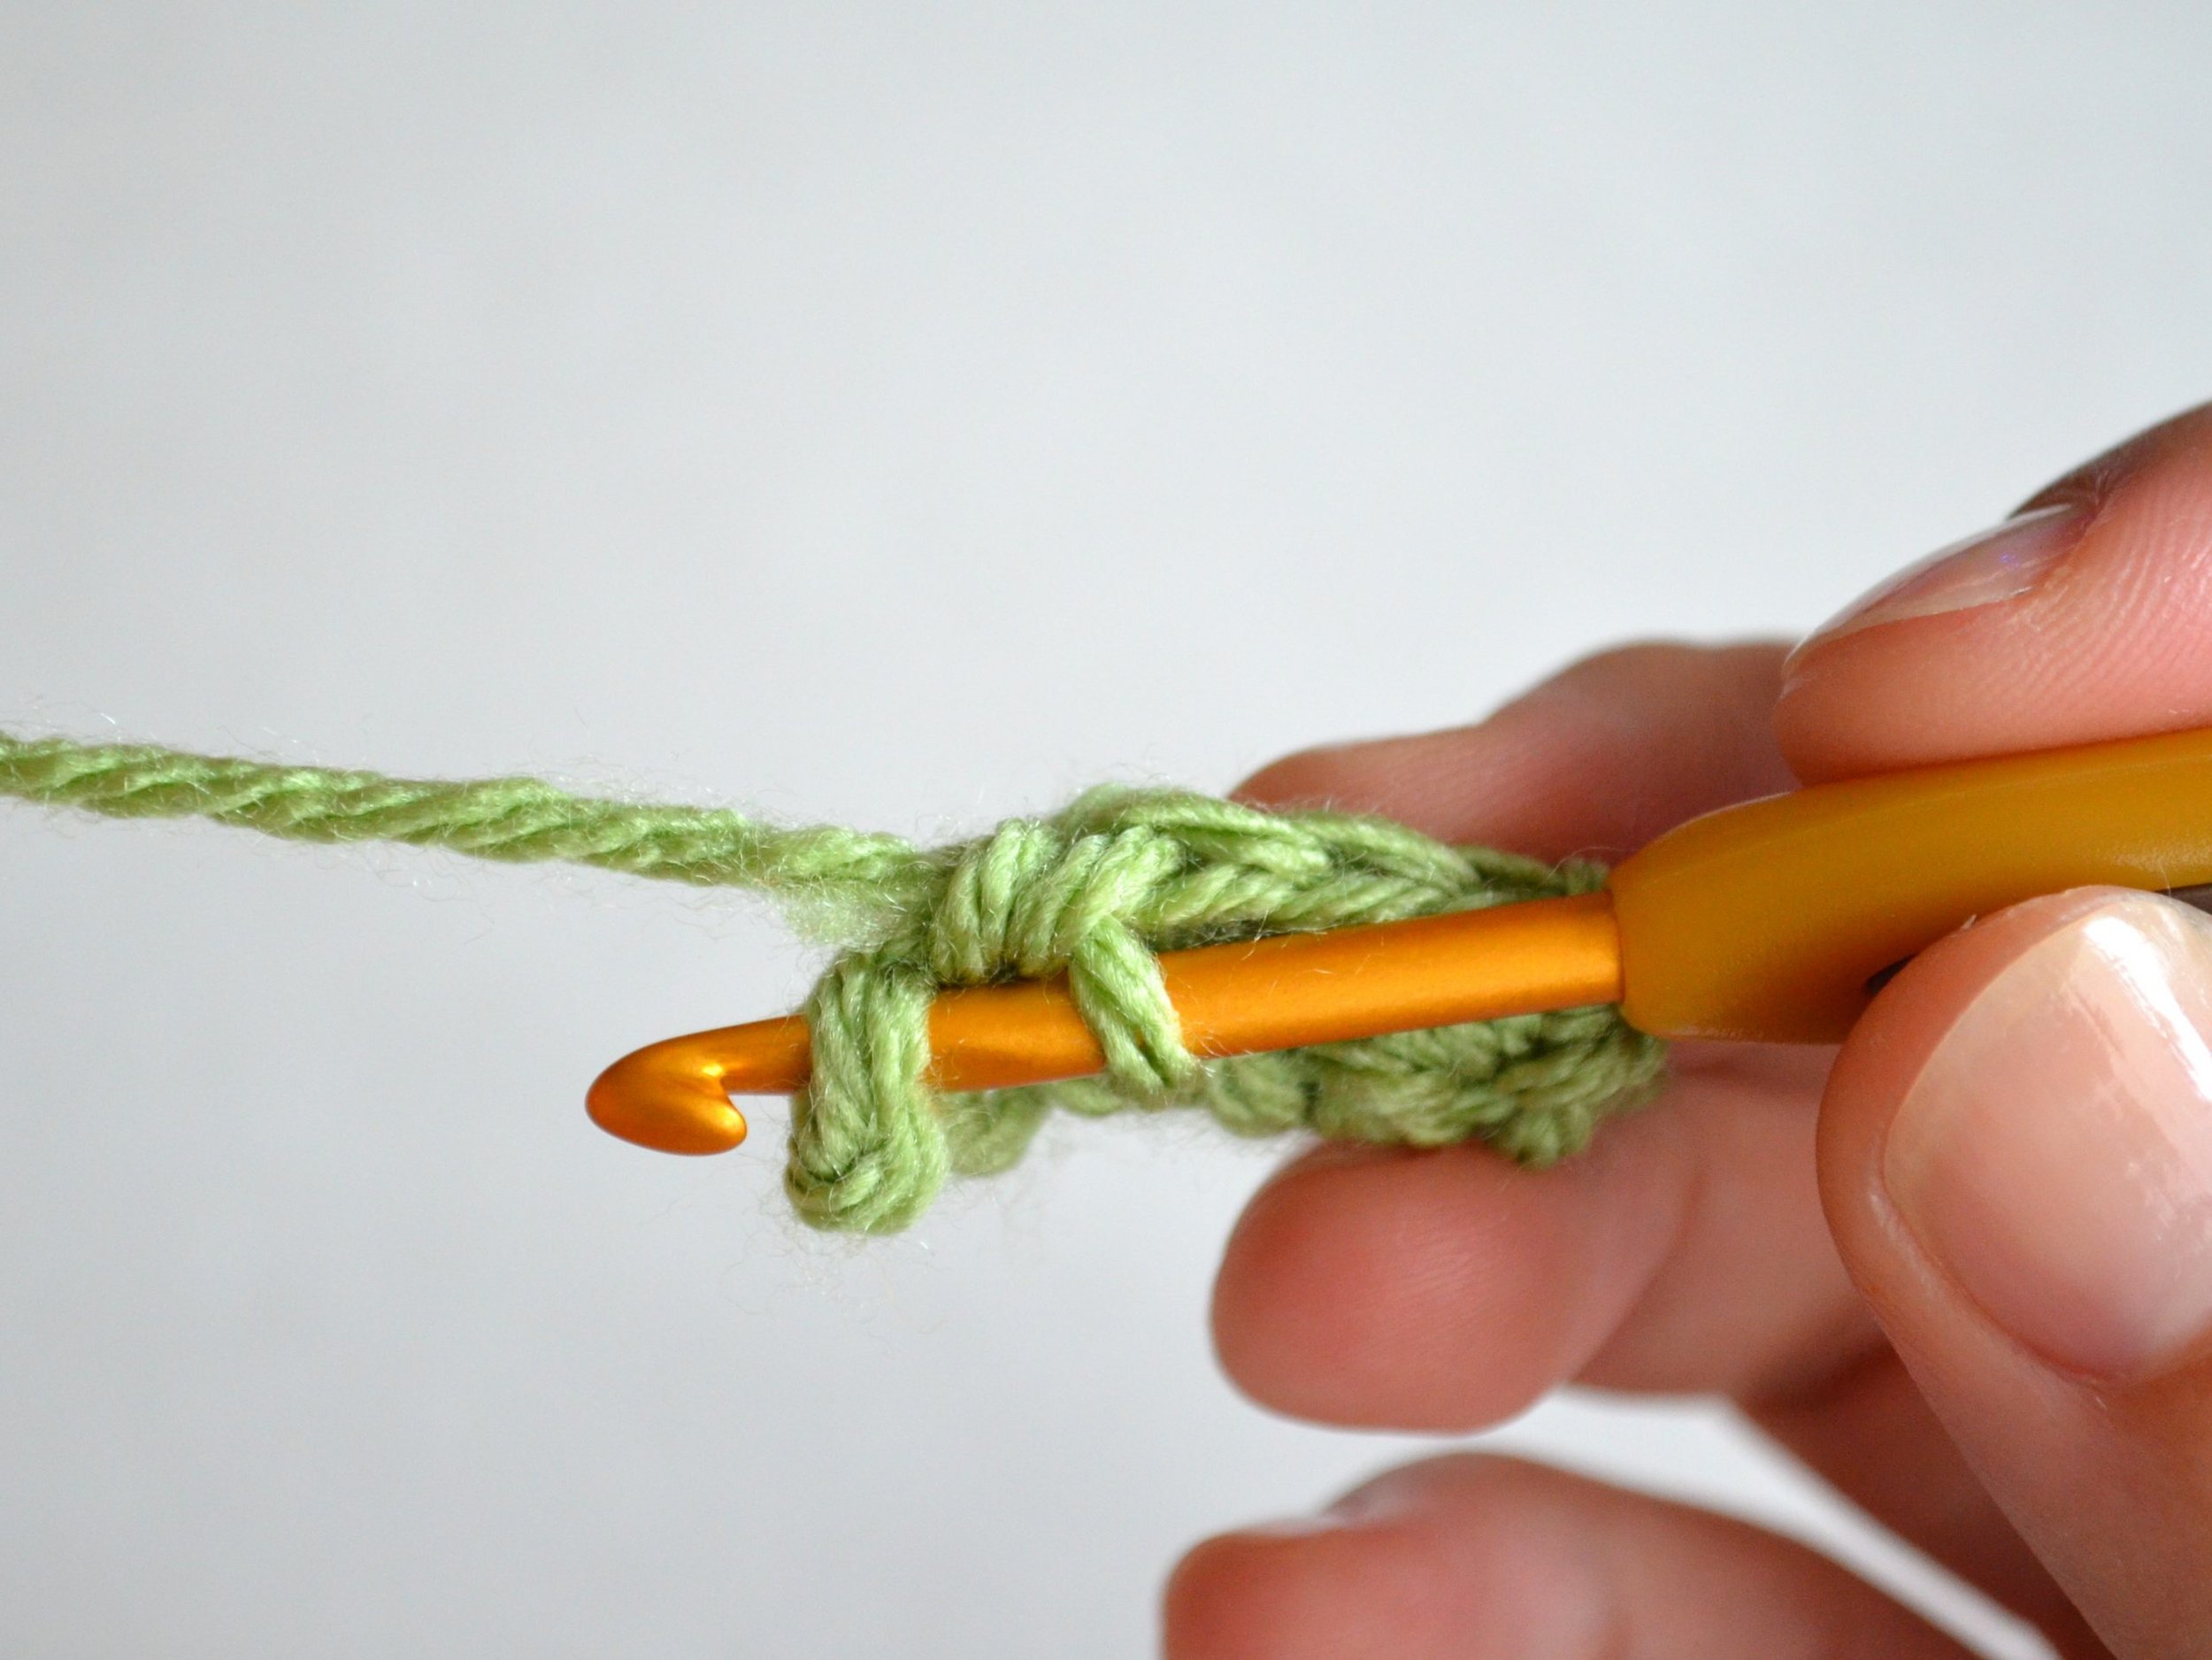
How To Make a Single Crochet
In the previous post, I showed you how to make a slip knot and chain (almost sounds like the name of a metal band...). Now we'll go to the next step - how to mkae a single crochet.
This stitch is the most used stitch in amigurumi creations because it provides a thick and stiff fabric. This is ideal for stuffed toys. And of course, hats and heavy, warm blankets. This stitch is also covered in my video tutorial on how to crochet essential stitches for beginners.
Here’s how to make a single crochet
To make a single crochet, you'll first need a foundation chain. Different patterns call for different numbers of starting chains but in this example I've started with 6 chains to make a flat square, which is worked in rows, back and forth.
We'll get to the spherical objects once we've learned to make a single crochet stitch 😉
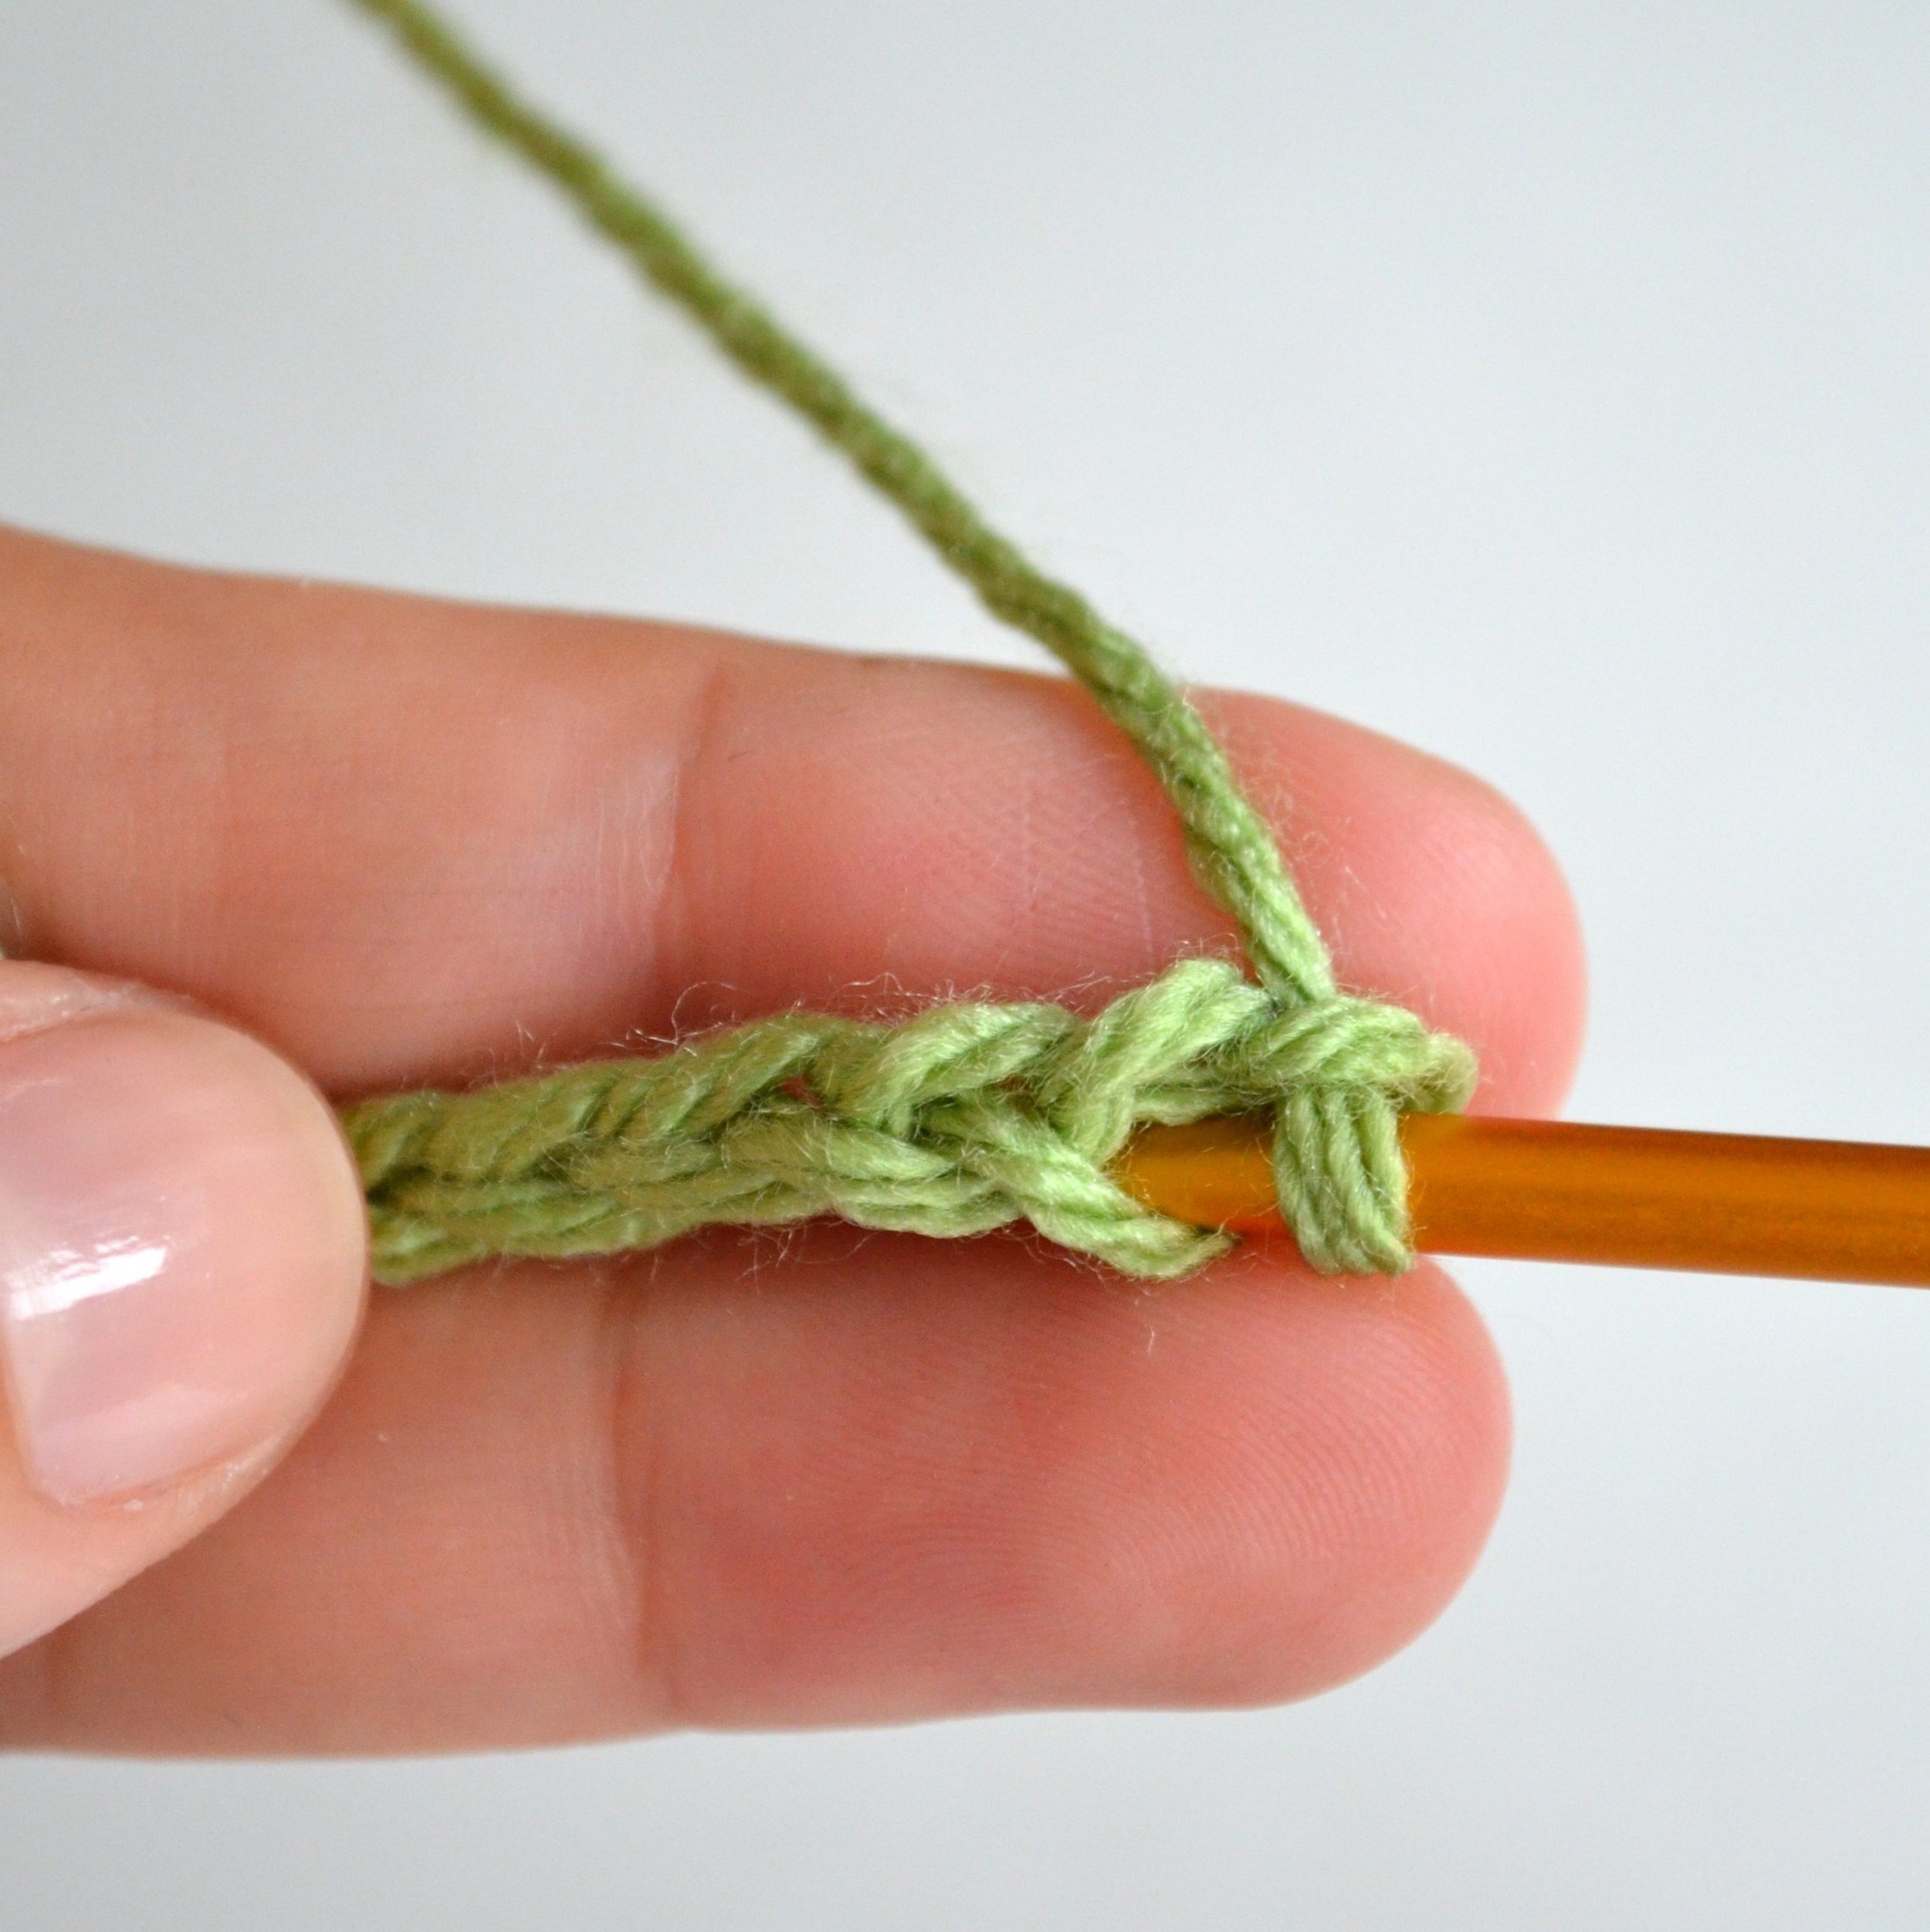
You'll notice a chain is made up of 3 loops - the two V shapes in the front and one bump on the other side - and I like to make sure the top V and the back bump are both above the hook, with the bottom V underneath.
To make the first single crochet, insert the hook into the second chain from the hook.
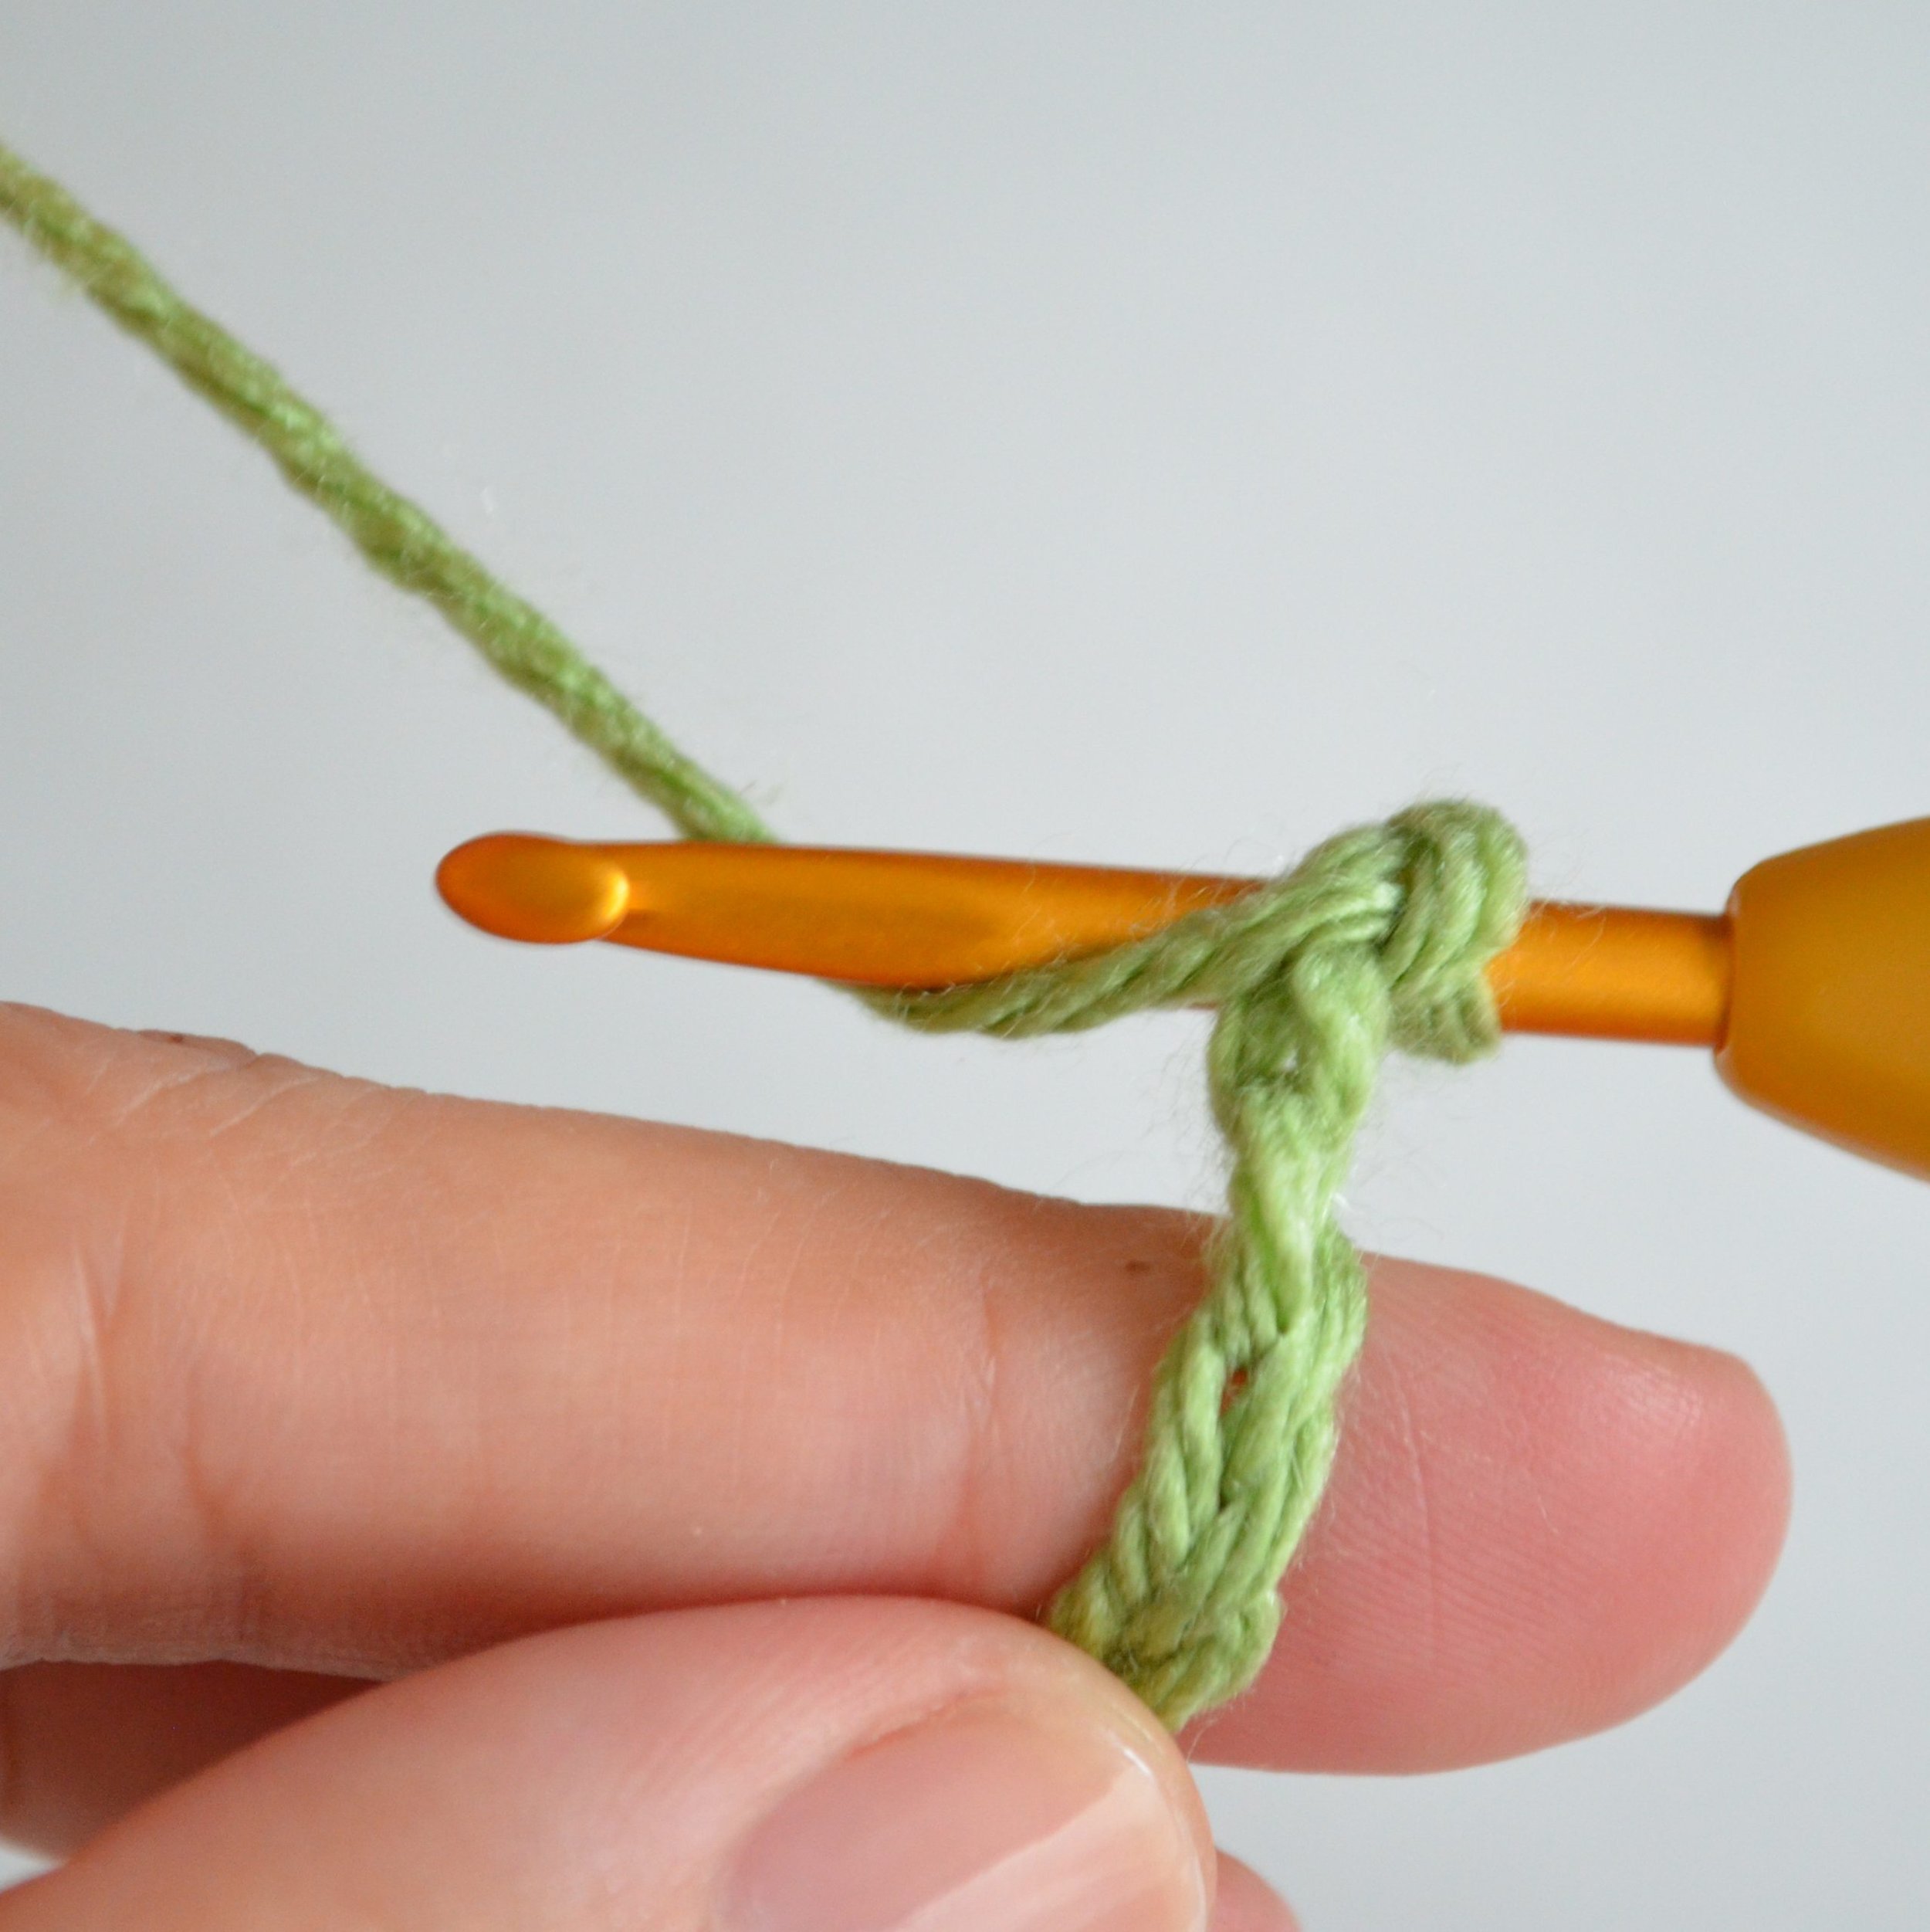
Wrap the yarn over the hook and pull through the chain - you have two loops on the hook now.
Wrap the yarn over the hook again and pull through both loops.
You have made your first single crochet!
Repeat the same steps in each chain until you reach the end - but remember the slip knot does not count as a chain.
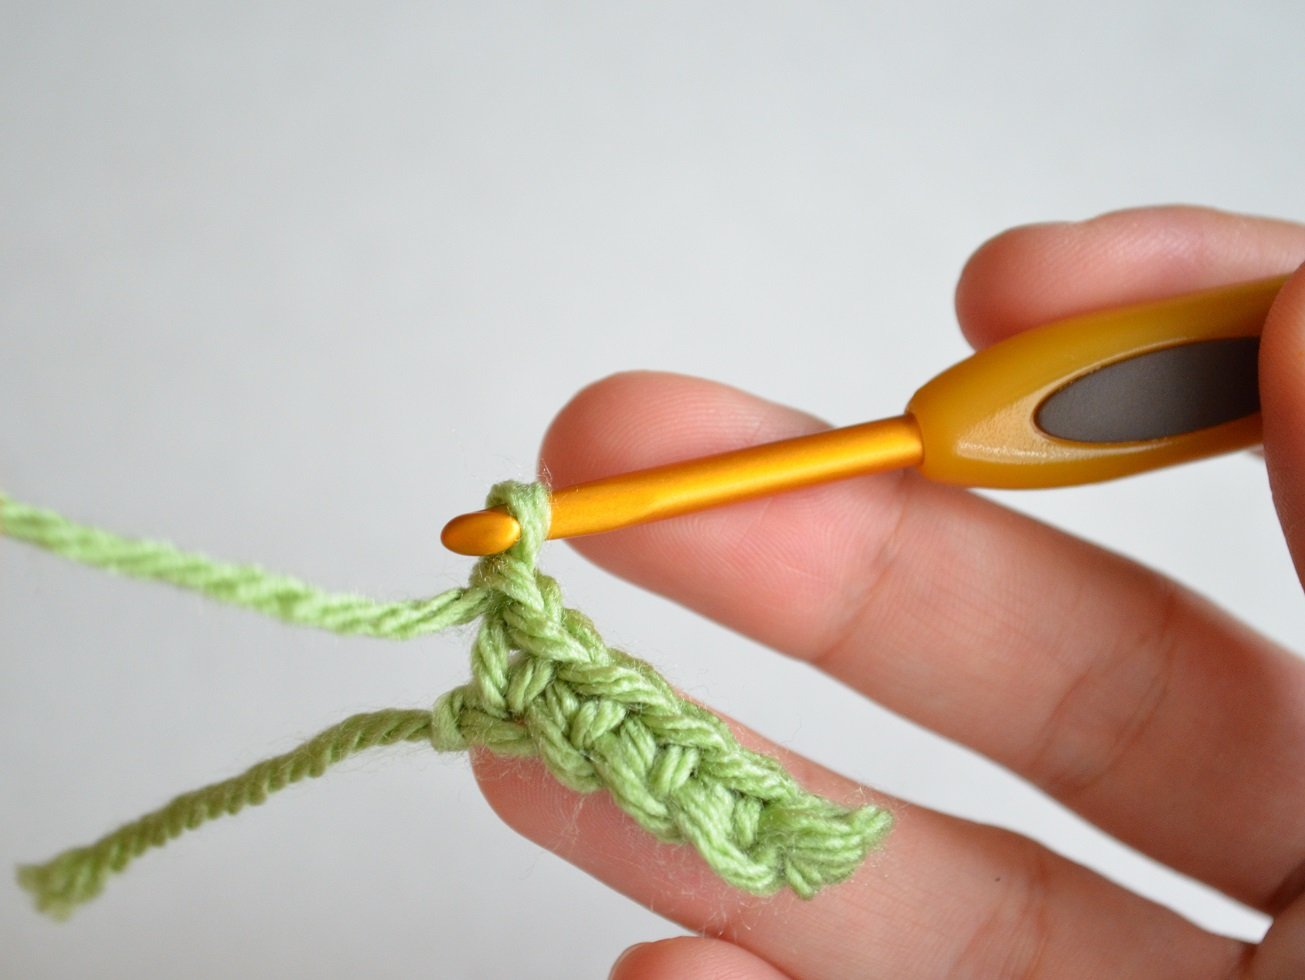
This makes the first row and you'll have 5 single crochet stitches. From the top they look like V's.
When you get to the end of the row make a chain and turn. That chain you just made puts you at the right height to begin the first stitch in the next row - if you didn't make a chain and started making stitches you'd end up with a piece that looks like it missed a stitch. Think of that beginning chain as a wall to support your stitches.
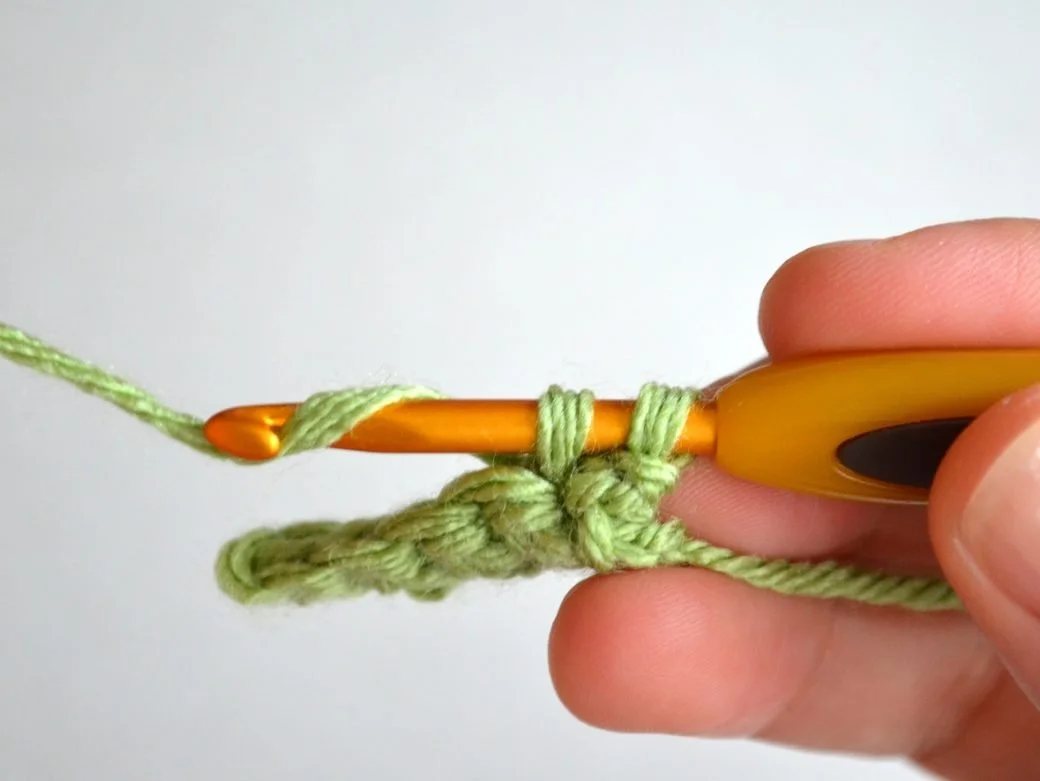
Now, the same way you made single crochet stitches in the foundation chain, insert the hook into the first stitch, in this example, making sure you work into both loops or V's. Wrap the yarn over the hook, pull through, yarn over hook again and pull through both loops.
Continue to single crochet across and at the end of the row insert the hook into the last stitch to finish the row.
Now just keep practicing and don't worry if you don't get the hang of it right away, I still have trouble making squares that actually look like squares! Have patience and give yourself time to feel comfortable making the stitches.
I hope this how-to guide has been helpful and inspiring. Be sure to follow me on social media for more tips, tutorials and news, just check out the links at the top of this page!
Looking for more crochet stitch tutorials? Check these out:
How to Make a Slip Knot and Chain
How To Crochet the Trellis Stitch
How to Crochet the Zigzag Stitch
How to Crochet the Long Wave Stitch
How to Crochet the Moss Stitch
How to Crochet the Shell Stitch
**********
This tutorial is for personal use only. The photos may not be reproduced, distributed or resold, translated, published, altered, shared or posted in any way over the internet or offline.
You may sell finished items made from patterns designed by me as long as it is handmade by you, not mass produced, giving the credit to Pops de Milk / Patricia Castillo as the designer. If you have any questions, you can email me at patricia@popsdemilk.com


