Jack-o-Lantern Halloween Decor Crochet Pattern
In the first and second parts of the Working in the round tutorial, I showed you the steps to make a round pumpkin shape. Now, this pumpkin (or Jack-o-Lantern) needs some detail.
Now with your new-found knowledge you can experiment with increases and decreases to get the size and shape you want. Try it out and make more pumpkins in different sizes!
Here are the patterns for both pumpkins:
Jack-o-Lantern Crochet Pattern
Mini Pumpkin
Round 1: ch 2 and make 6 sc in 2nd ch from hook (6 sts)
Round 2: inc in each st (12 sts)
Round 3: [sc in next st, inc in next st] repeat 6 times (18 sts)
Round 4: [sc in next 2 sts, inc in next st] repeat 6 times (24 sts)
Round 5: [sc in next 3 sts, inc in next st] repeat 6 times (30 sts)
Round 6: [sc in next 4 sts, inc in next st] repeat 6 times (36 sts)
Round 7: [sc in next 4 sts, dec] repeat 6 times (30 sts)
Round 8: [sc in next 3 sts, dec] repeat 6 times (24 sts)
Round 9: [sc in next 2 sts, dec] repeat 6 times (18 sts)
Round 10: [sc in next st, dec] repeat 6 times (12 sts)
Begin to stuff with fiberfill and continue to stuff as you decrease.
Round 11: dec 6 times (6 sts)
Cut the yarn and leave a tail to sew the opening shut. Weave in the ends.
Bigger Pumpkin
Repeat Mini Pumpkin Rounds 1-6 then:
Round 7: [sc in next 5 sts, inc in next st] repeat 6 times (42 sts)
Round 8: [sc in next 6 sts, inc in next st] repeat 6 times (48 sts)
Round 9: [sc in next 7 sts, inc in next st] repeat 6 times (54 sts)
Rounds 10-11: sc in each st around (54 sts)
Round 12: [sc in next 7 sts, dec] repeat 6 times (48 sts)
Round 13: [sc in next 6 sts, dec] repeat 6 times (42 sts)
Round 14: [sc in next 5 sts, dec] repeat 6 times (36 sts)
Round 15: [sc in next 4 sts, dec] repeat 6 times (30 sts)
Round 16: [sc in next 3 sts, dec] repeat 6 times (24 sts)
Round 17: [sc in next 2 sts, dec] repeat 6 times (18 sts)
Round 18: [sc in next st, dec] repeat 6 times (12 sts)
Begin to stuff with fiberfill and continue to stuff as you decrease.
Round 19: dec 6 times (6 sts)
Cut the yarn and leave a tail to sew the opening shut. Weave in the ends.
Adding details to the pumpkin
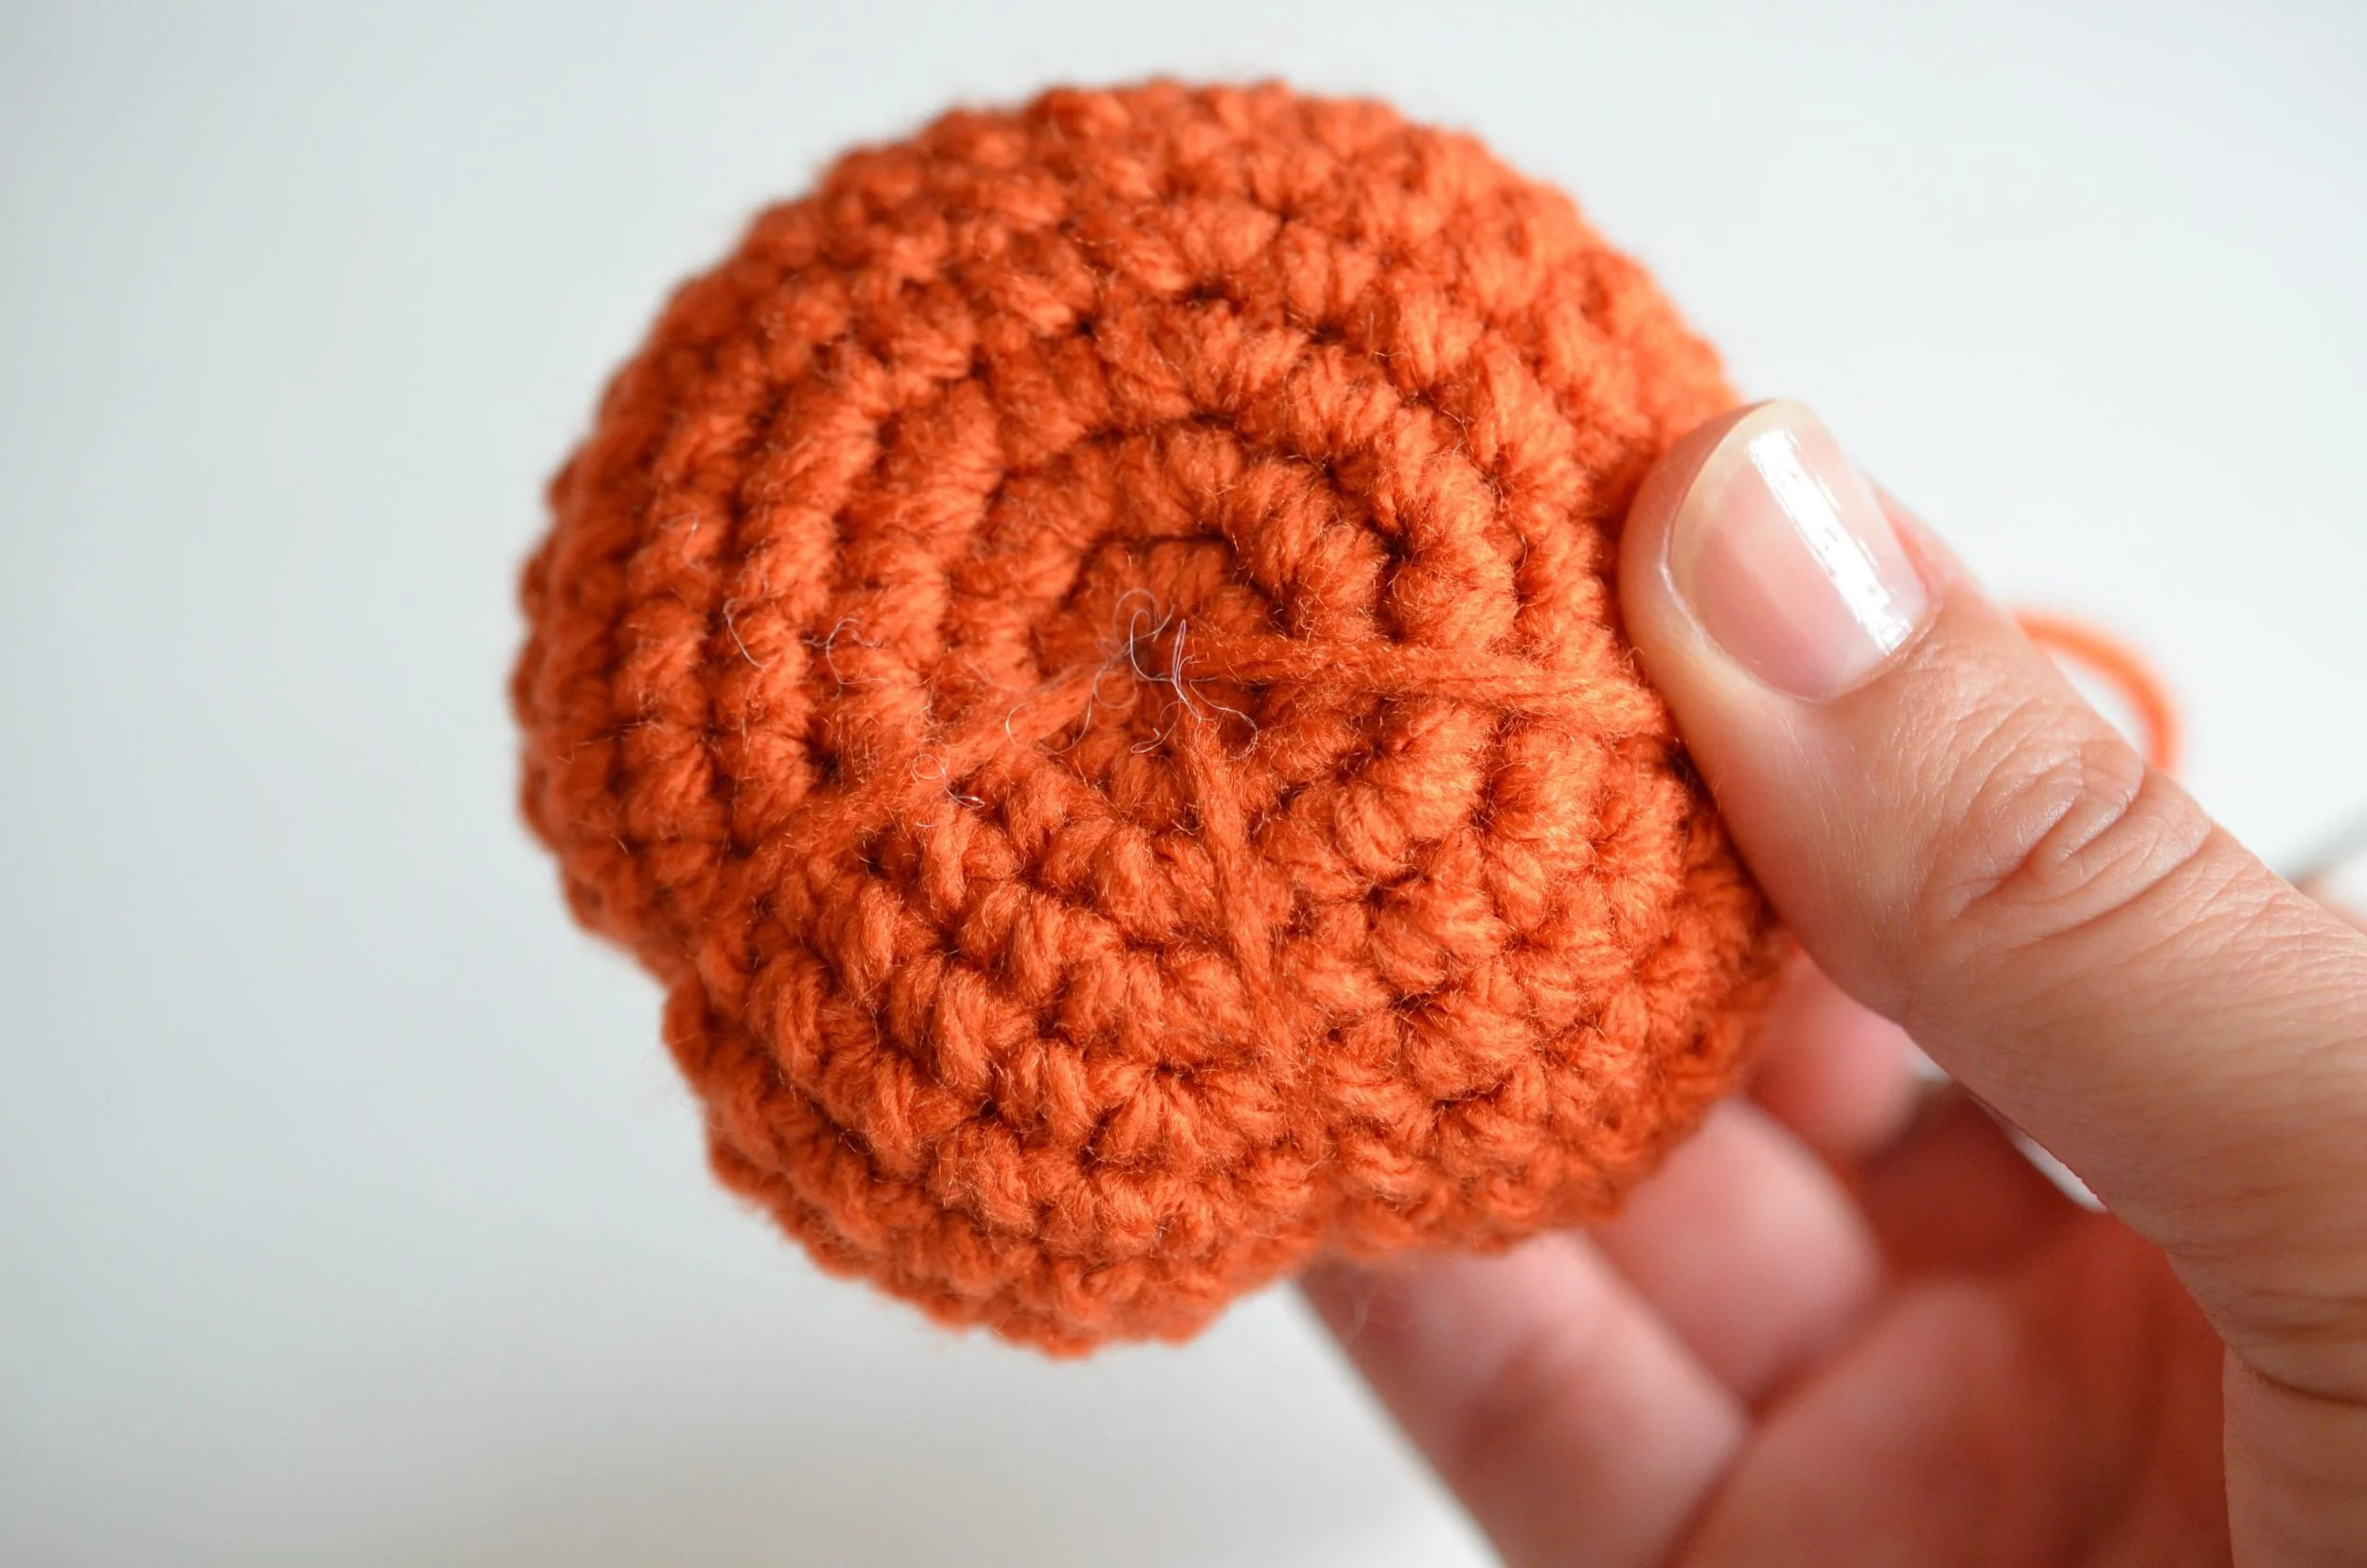
Once you've closed the opening in the pumpkin, leave a very long tail of yarn and cut the yarn.
Thread the yarn into a yarn needle.
Insert the needle into the centre and pull it through to the opposite end.
Pull the yarn tightly, wrap around the side of the pumpkin, insert the needle into the opposite centre, and pull through to the other end.
Repeat this until you have 6 stitches, or more/less, it's up to you.
Weave in the yarn a few times to secure the end and cut the yarn.
Make a stem for the pumpkin
Chain 4 and make 2 single crochet stitches in each chain.
Leave a long tail for sewing and cut the yarn.
Use a yarn needle to sew the stem onto the pumpkin. Weave in any ends.
For the Jack-o'-Lantern face I used a bit of scrap felt and a glue gun, but you can also sew the pieces on or embroider any design you like. You could even use safety eyes or googly eyes to make it even cuter.
But if you're looking for some fall décor then you can leave the pumpkin blank and display it at Thanksgiving!
I hope this beginner crochet pumpkin pattern has been helpful and inspiring. Be sure to follow me on social media for more tips, tutorials and news, just check out the links at the top of this page!
**********
This tutorial is for personal use only. The photos may not be reproduced, distributed or resold, translated, published, altered, shared or posted in any way over the internet or offline.
You may sell finished items made from patterns designed by me as long as it is handmade by you, not mass produced, giving the credit to Pops de Milk / Patricia Castillo as the designer. If you have any questions, you can email me at patricia@popsdemilk.com


