
Let your creativity bloom with our fun and nerdy crochet patterns!


Never miss a new pattern!
Get the latest news on free patterns and shop discounts delivered straight to your inbox
Shop Featured Crochet Patterns
Featured
Quick View
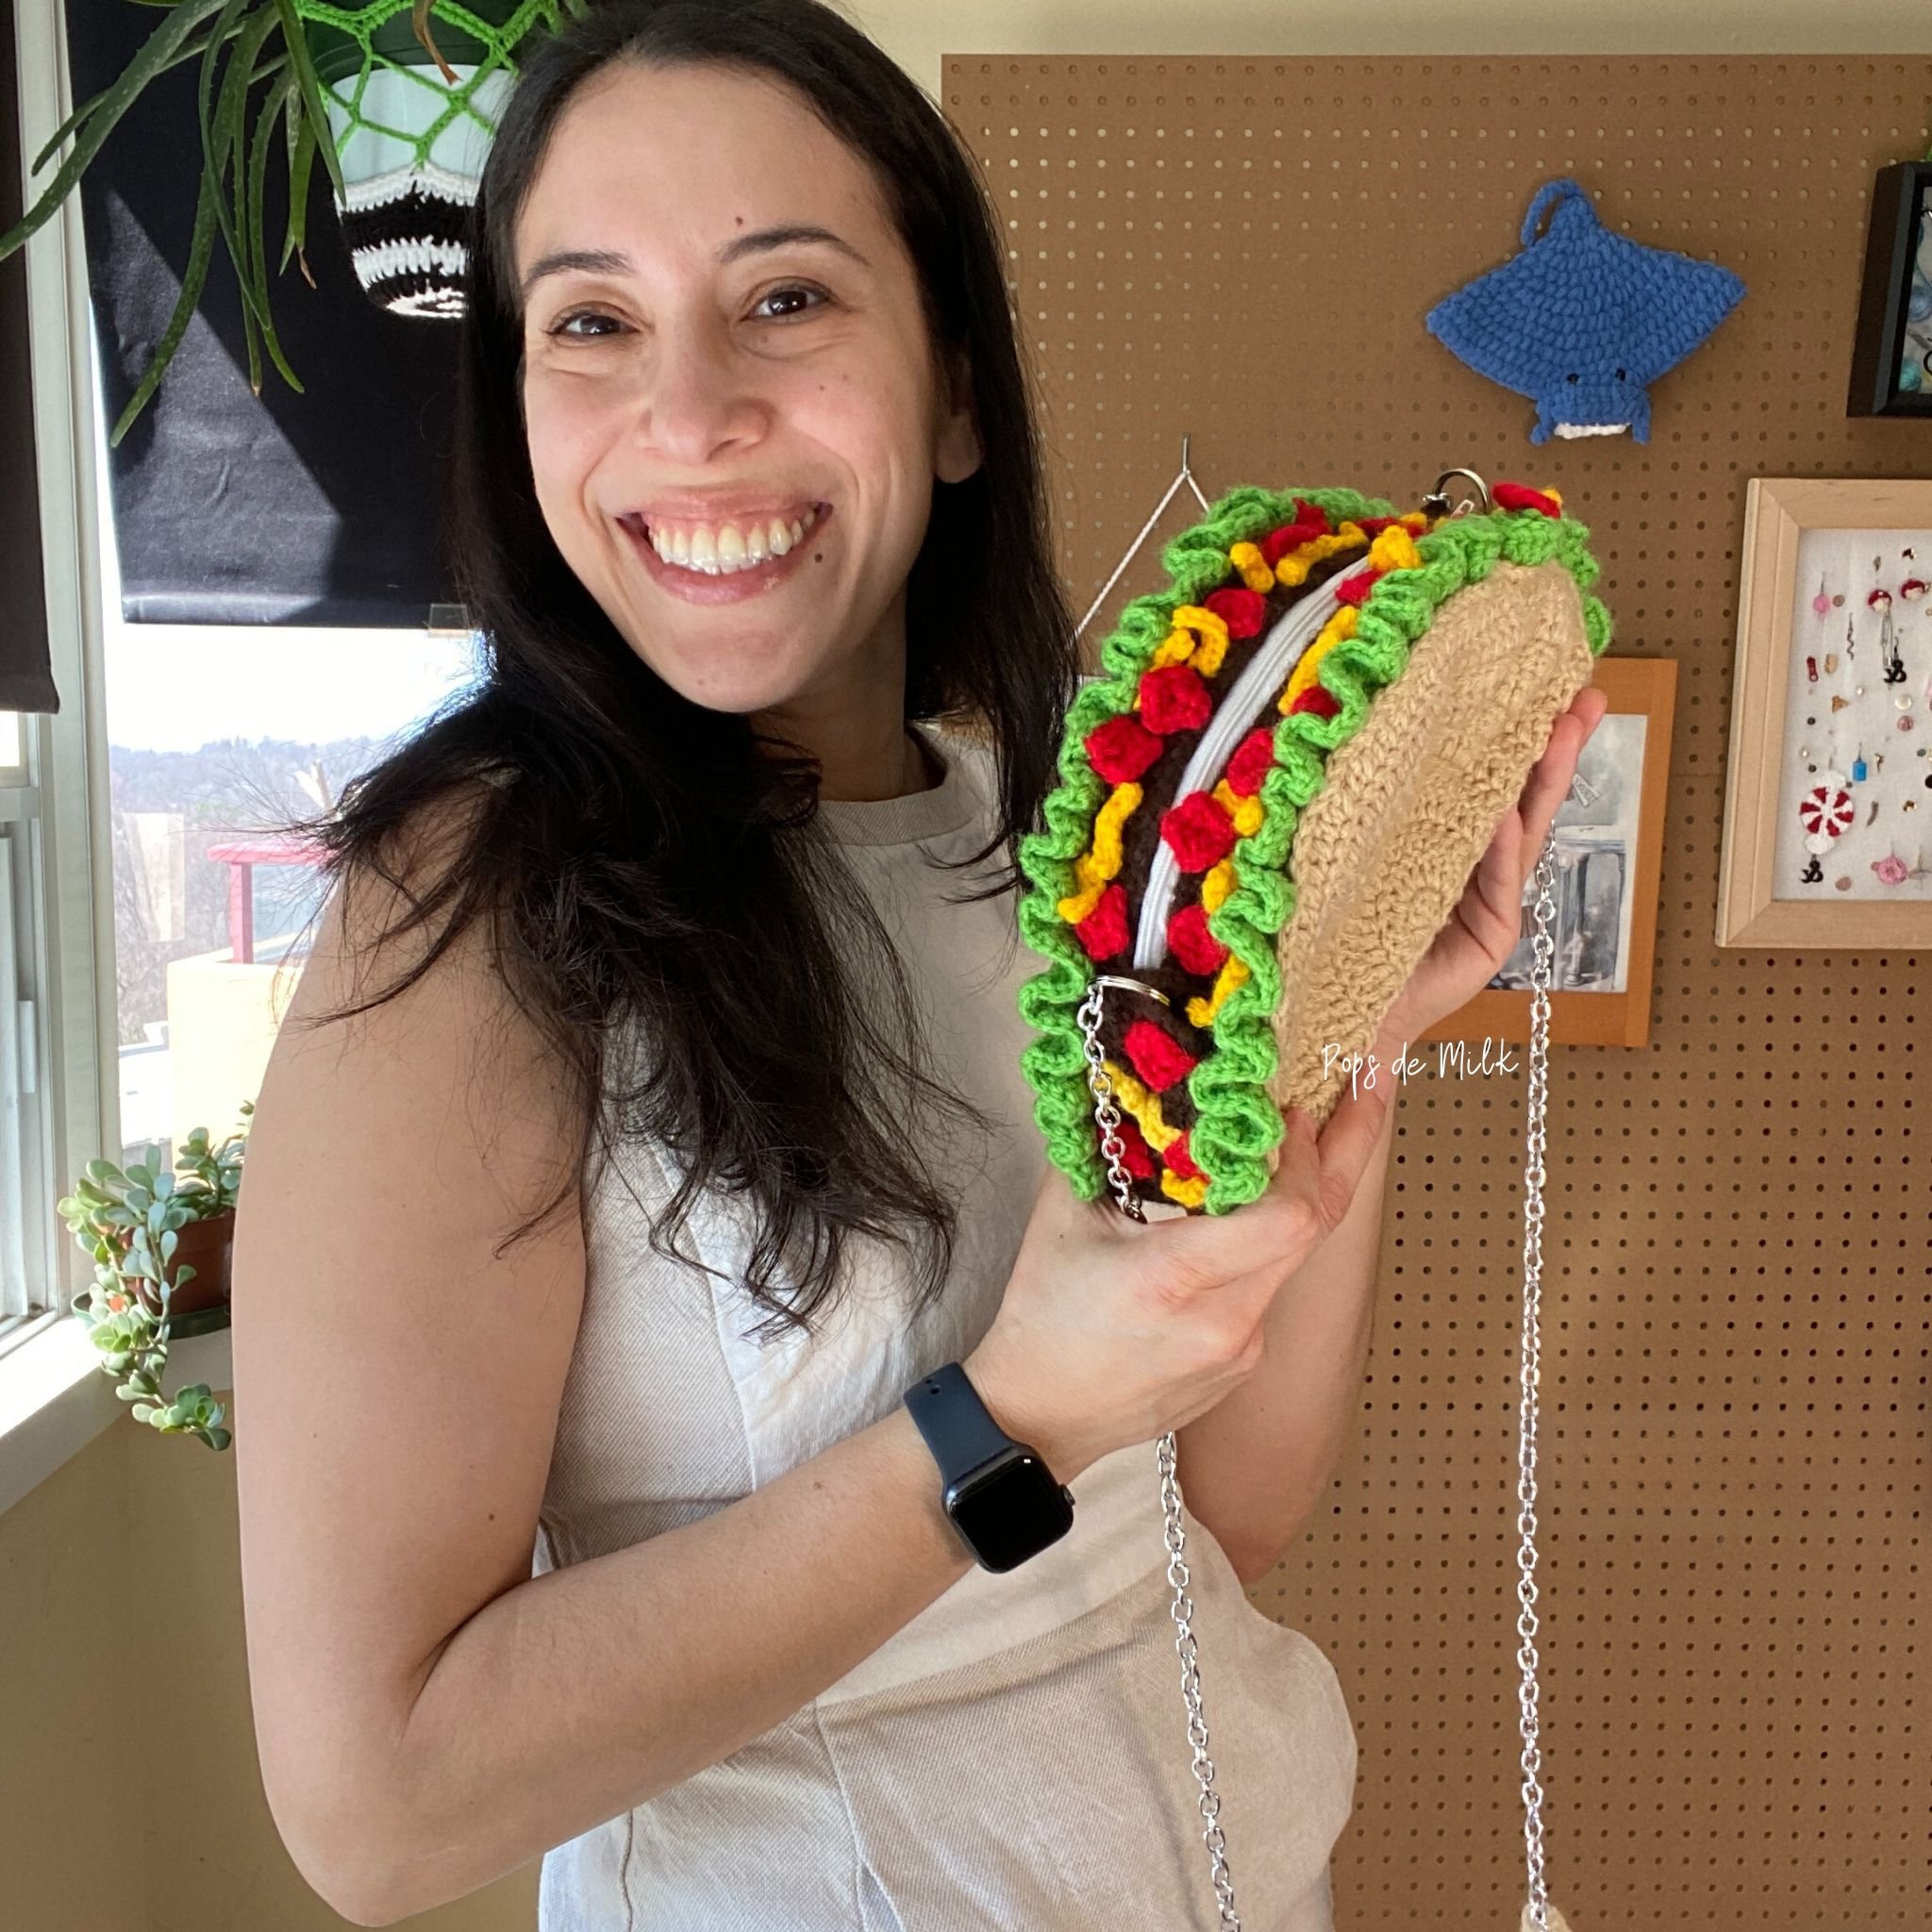
Taco Bag Crochet Pattern
US$5.00

Quick View
Quick View

Quick View