How to Make Felt for Slipper Soles
Hi friends! Hope you all had a lovely Halloween! I’m working on a pair of slippers and they're almost done (they work up very quickly!) but I would like to have a bit of extra padding and reinforcement on the bottom. To make the slippers a little sturdier I've decided to attached felt soles. Not only will the soles provide more cushion but they'll also make the slippers much warmer because I'm using wool.
This felting technique is actually very easy to do and can be done by hand (if you don't have access to your own personal washing machine), it will just take a little trial and error and will require some elbow grease.
How to Make Felt Slipper Soles By Hand
First, you'll need a crochet piece of fabric. In this case I crocheted a rectangle in single crochet stitches, making sure the stitches were somewhat tight. I used 100% Merino wool (Patons Classic Wool - the label even says it's ideal for felted projects) and size 3.75mm crochet hook. I recently purchased a Tunisian crochet hook and was eager to test it out so one of the slipper soles was made with the Tunisian crochet hook and the other with a regular crochet hook - both had the same results.
To felt the crochet piece you'll need a basin or large bowl, or you can do this directly in the kitchen/bathroom sink, just make sure you can completely submerge the crochet piece in water. You'll also need a gentle soap - I used Dr. Bronner's Unscented Castille Soap - and a pair of rubber gloves. The gloves will protect your hands just a little from the hot water.
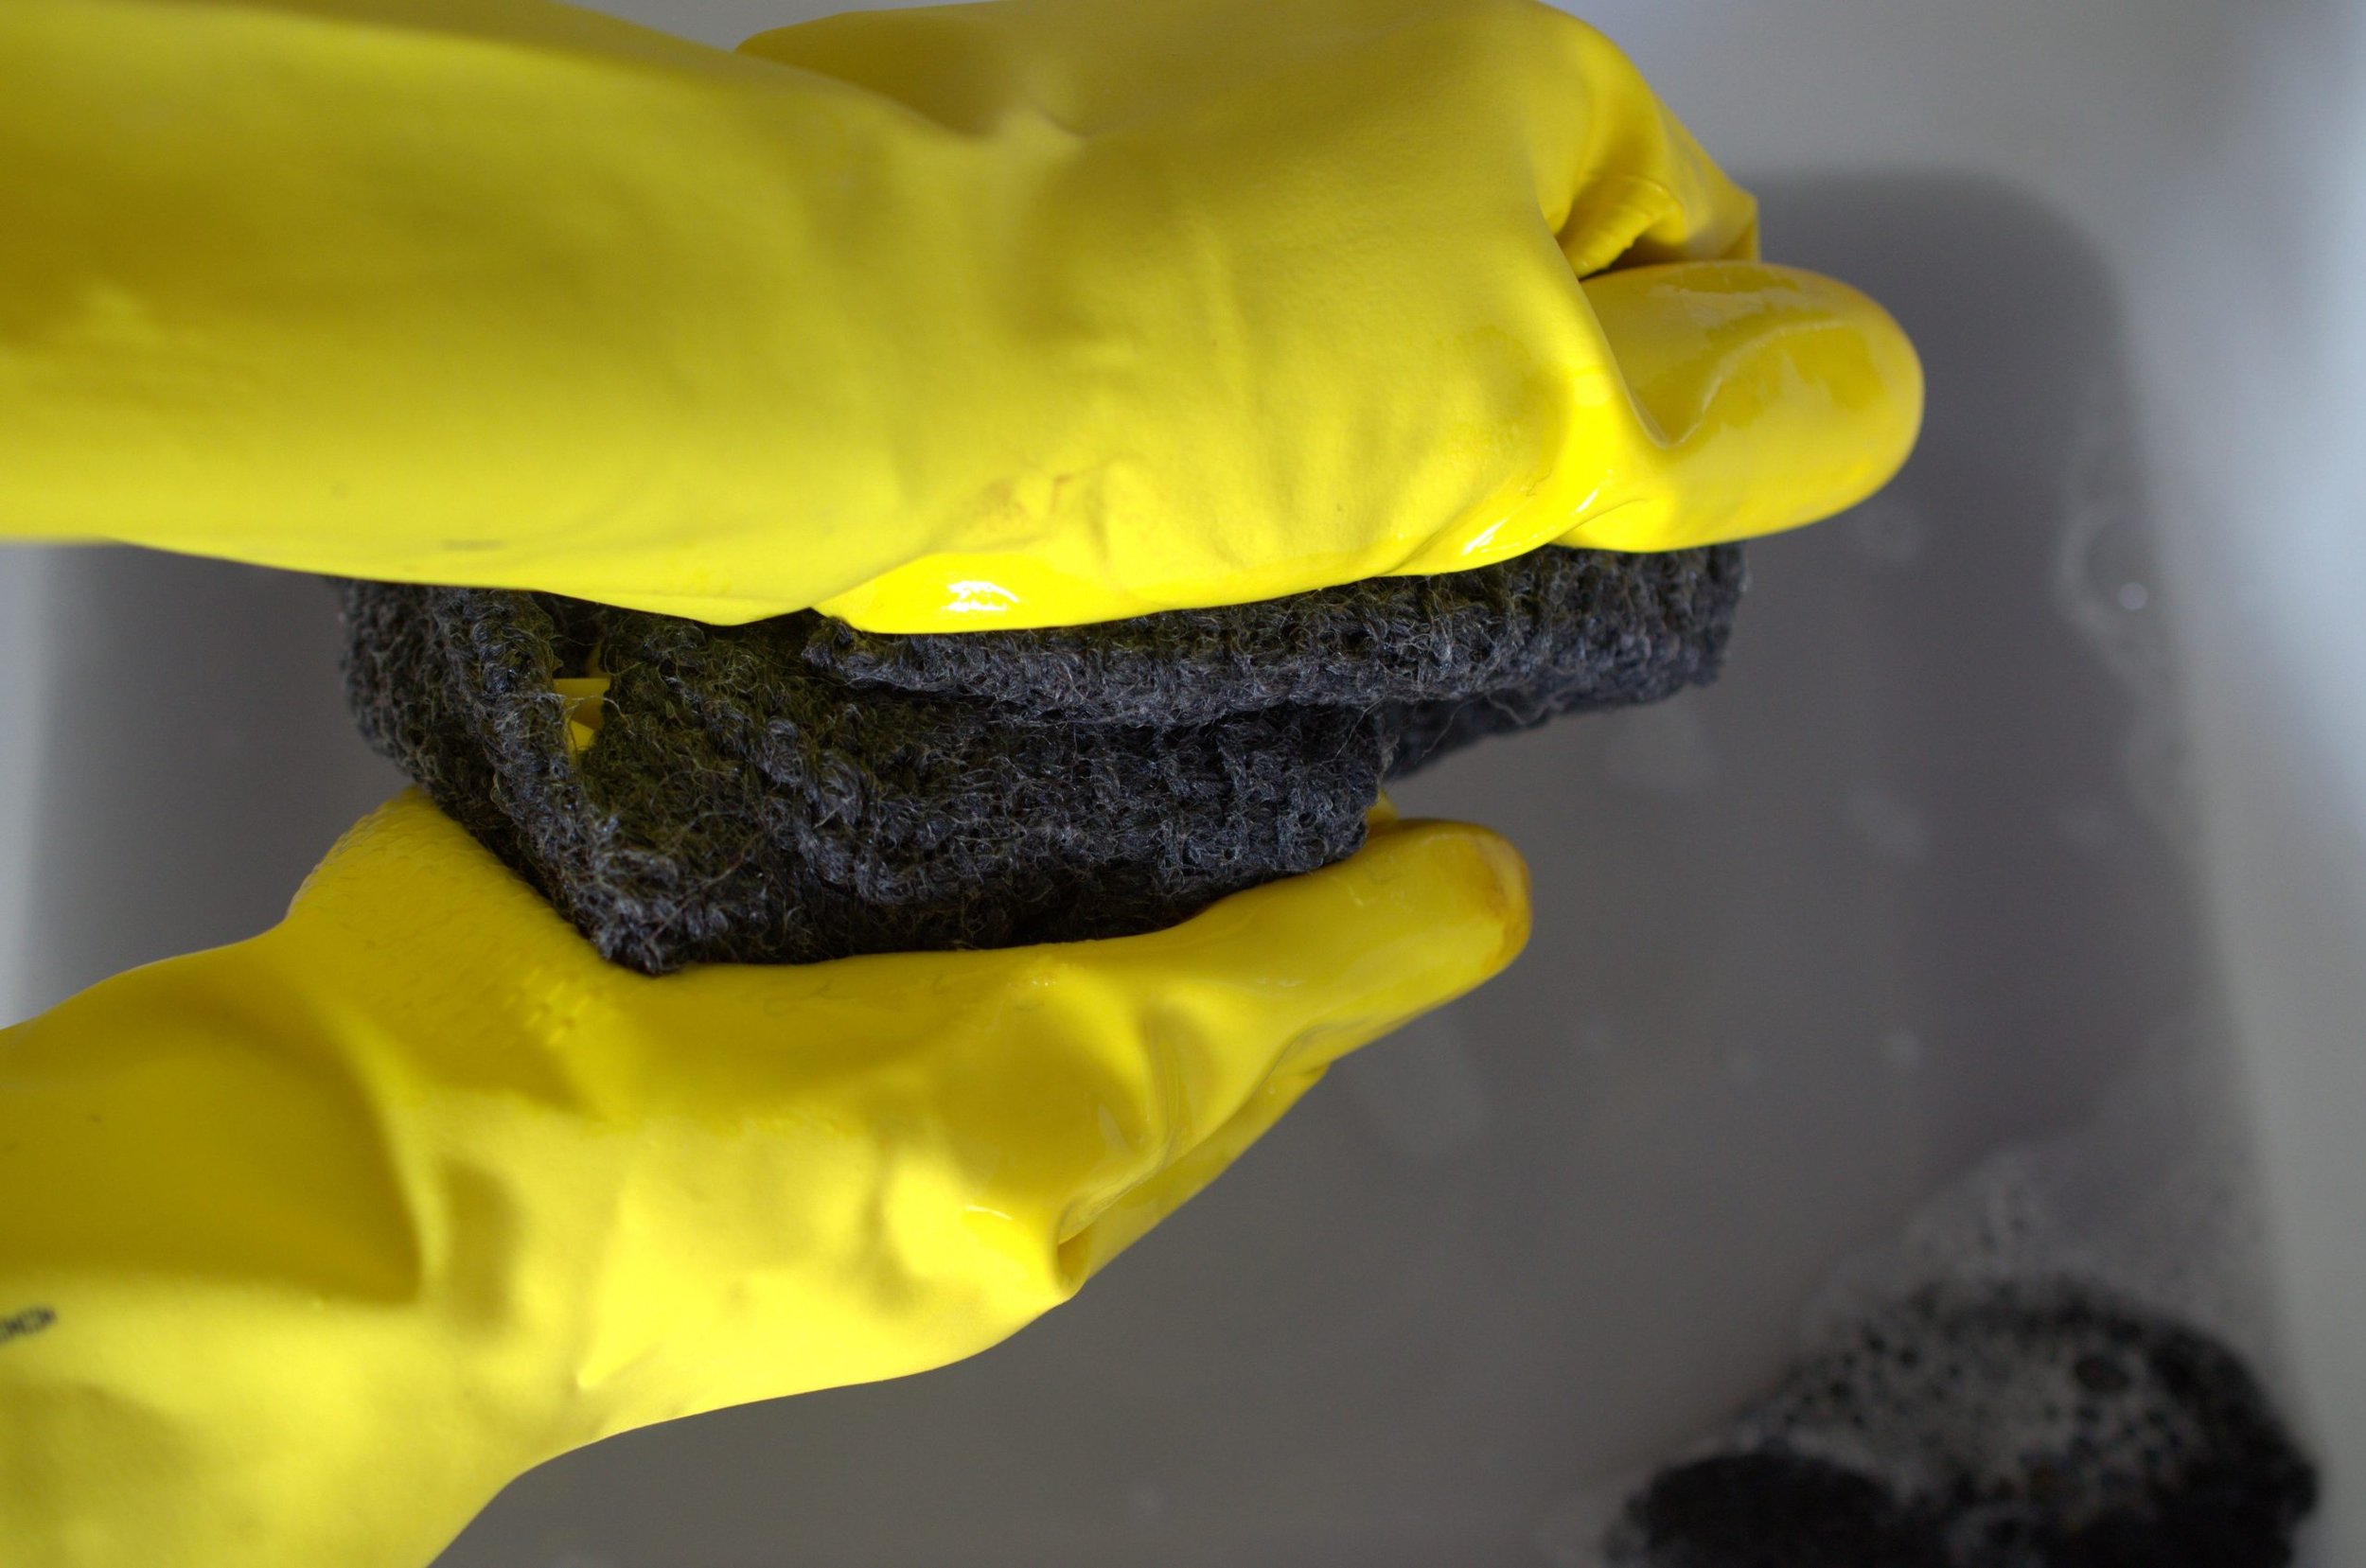
The water needs to be very hot but please do not burn yourself, be very careful! The way I did this was to boil some water and pour it into the wash basin (enough to cover the crochet fabric) with a few drops of soap and I let the water cool for about 5 minutes. I put my gloves on and tested the water - it was very hot but I was able to work with it. Working quickly, so I wouldn't have my hands in the water too long, I placed the crochet pieces in the water one at a time and I began to scrub and rub the piece together. I did each sole separately because I knew the water would cool and I would have to reheat more water.
Rub the fabric together, kind of like trying to remove a stubborn spot on your favourite jeans. The hot water and friction will cause the wool to fuse together and create a felted piece.
It took me about 5 to 10 minutes of scrubbing before I had a thick, felted piece. You can try to stretch the fabric and if you can't see through it and the stitches are no longer identifiable then you've got yourself a sturdy piece of felt!
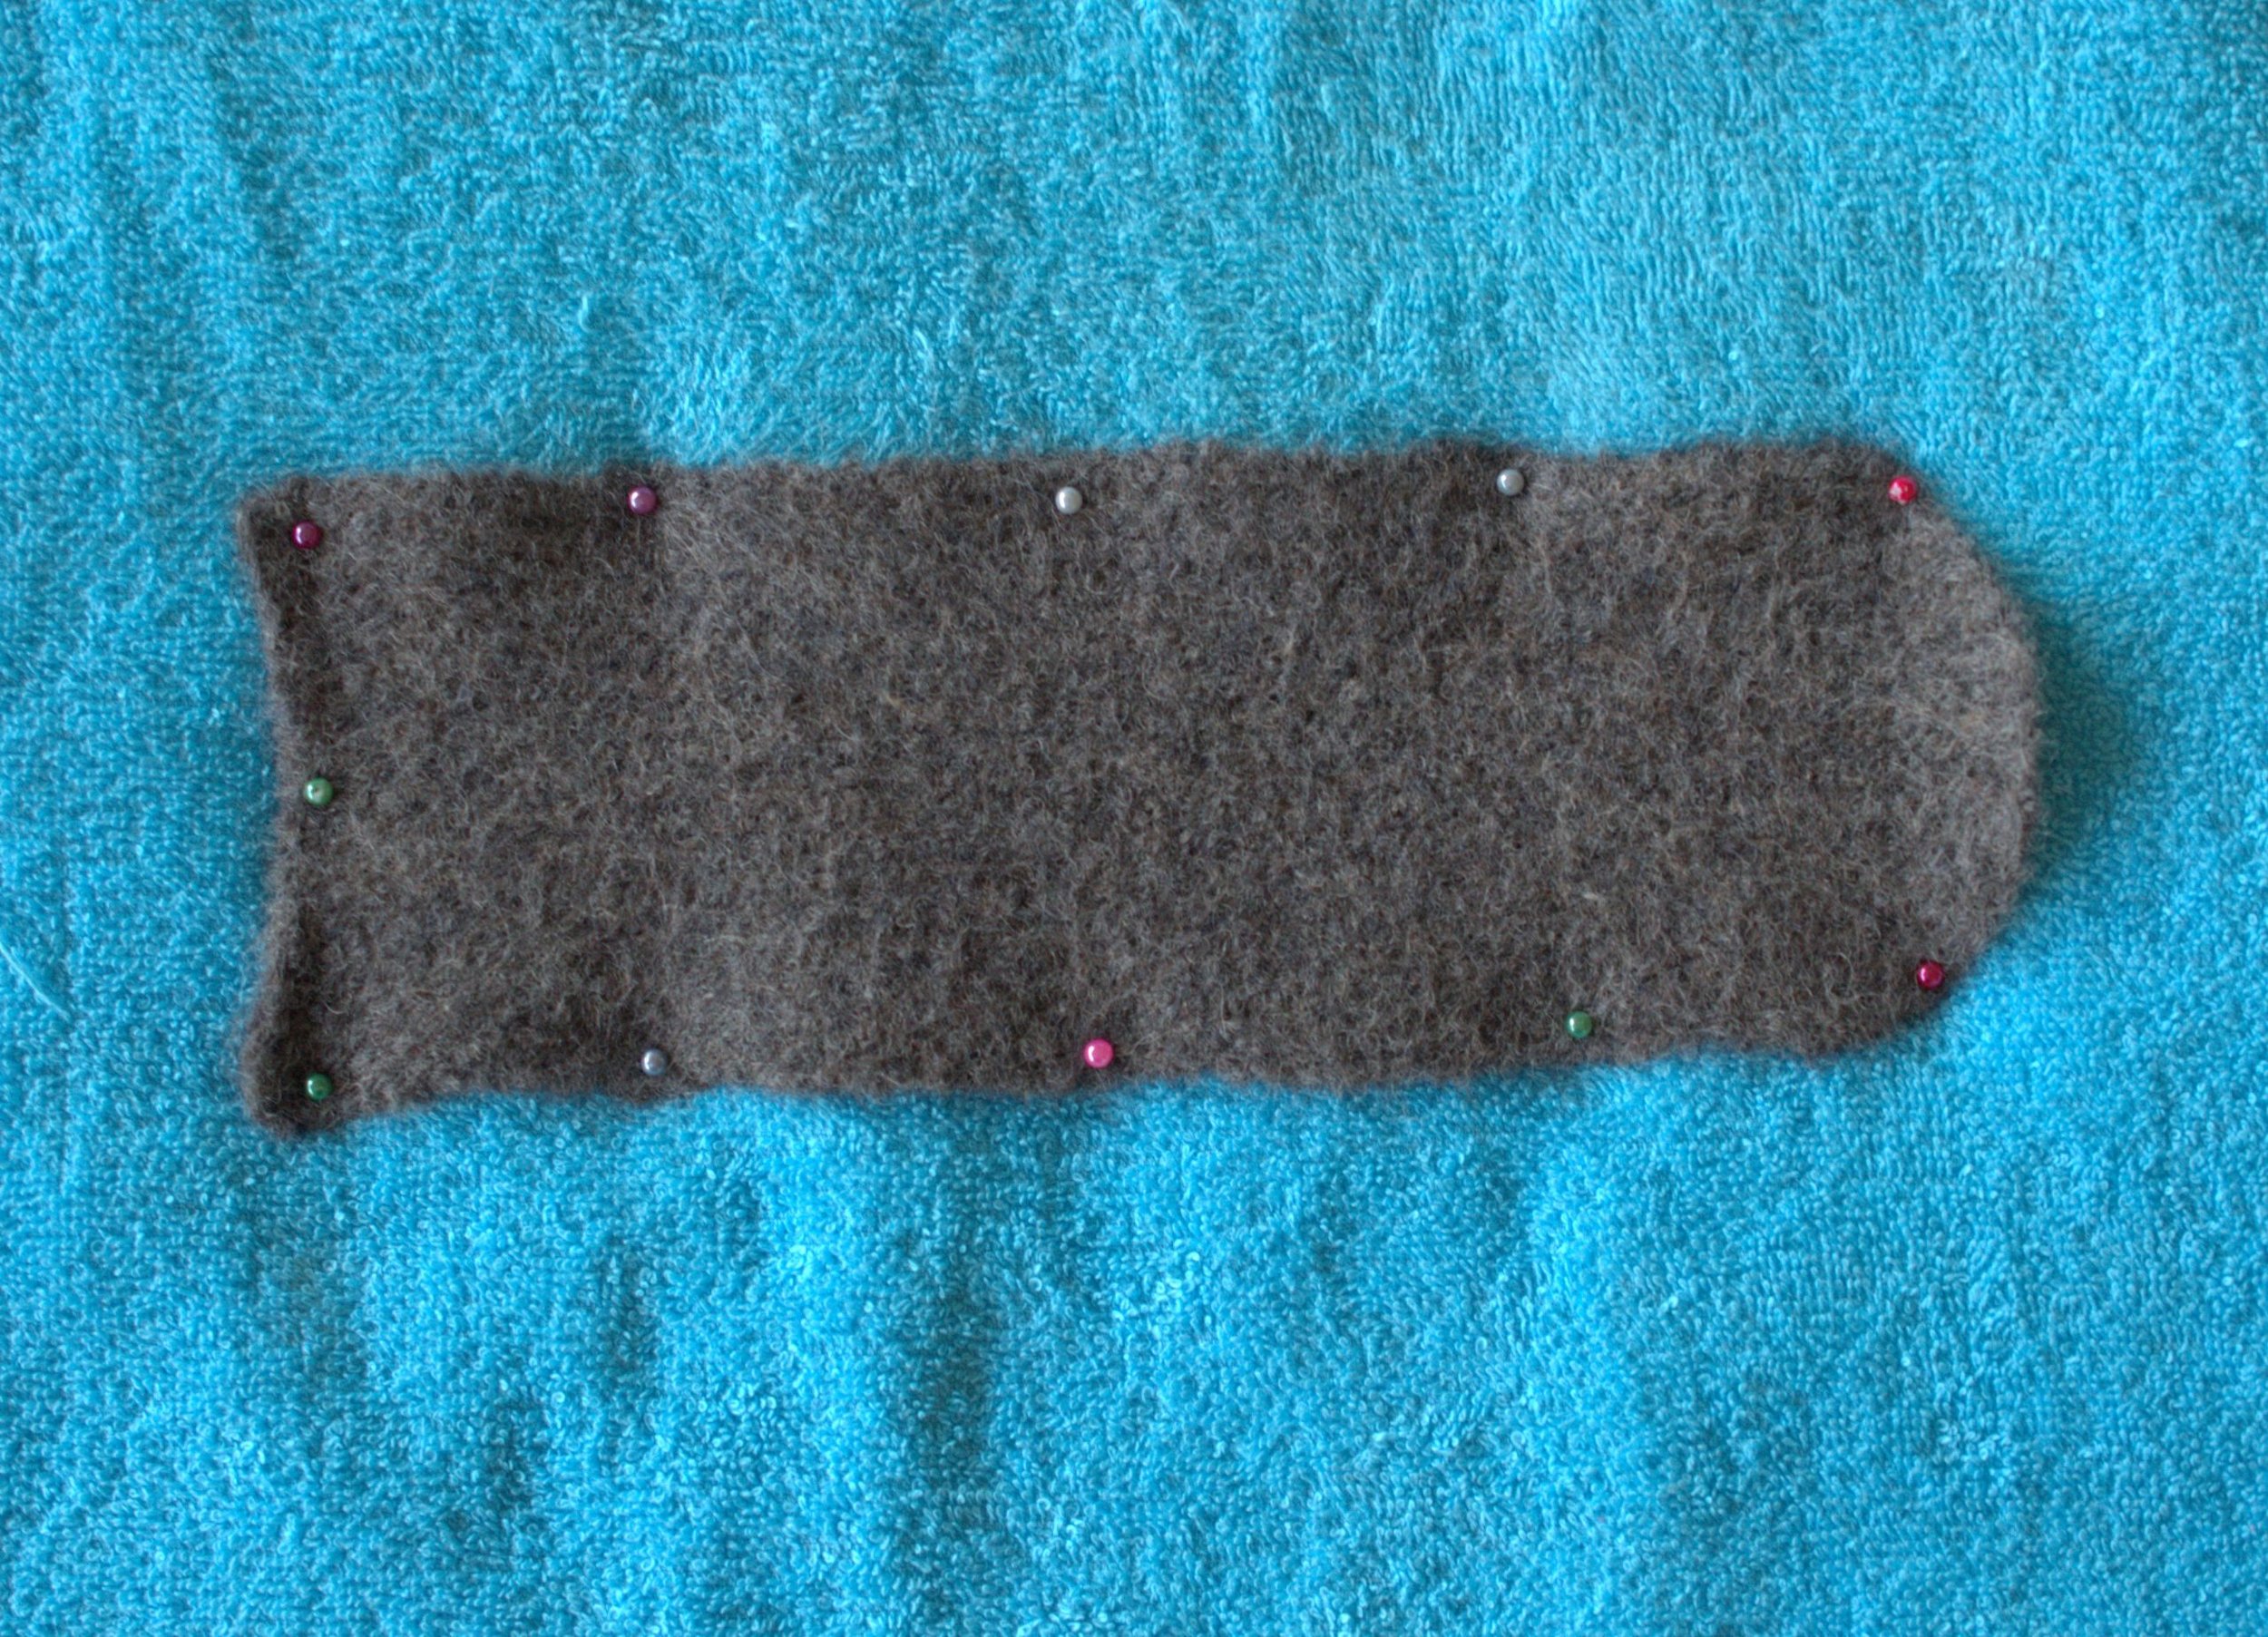
The final step is to shape your piece and let it dry. I did this by first rolling the soles in a towel to gently squeeze out as much water as possible. Next, I pinned each piece down to keep the shape and left it to dry. You can see that the crochet fabric will shrink once it's felted:
And once I finish the slippers I'll have the felt soles ready to attach.
This felting technique would work for just about any project that requires a sturdy and thick fabric with very little to no stretch - pot holders, fashion accessories, baskets, bowls, etc.
Now that you know how easy it is to felt crochet pieces go crazy and experiment! But please PLEASE be careful - cannot stress enough the need to take care when using hot water, especially if you have little ones running around.


