Crochet Granny Square Bag
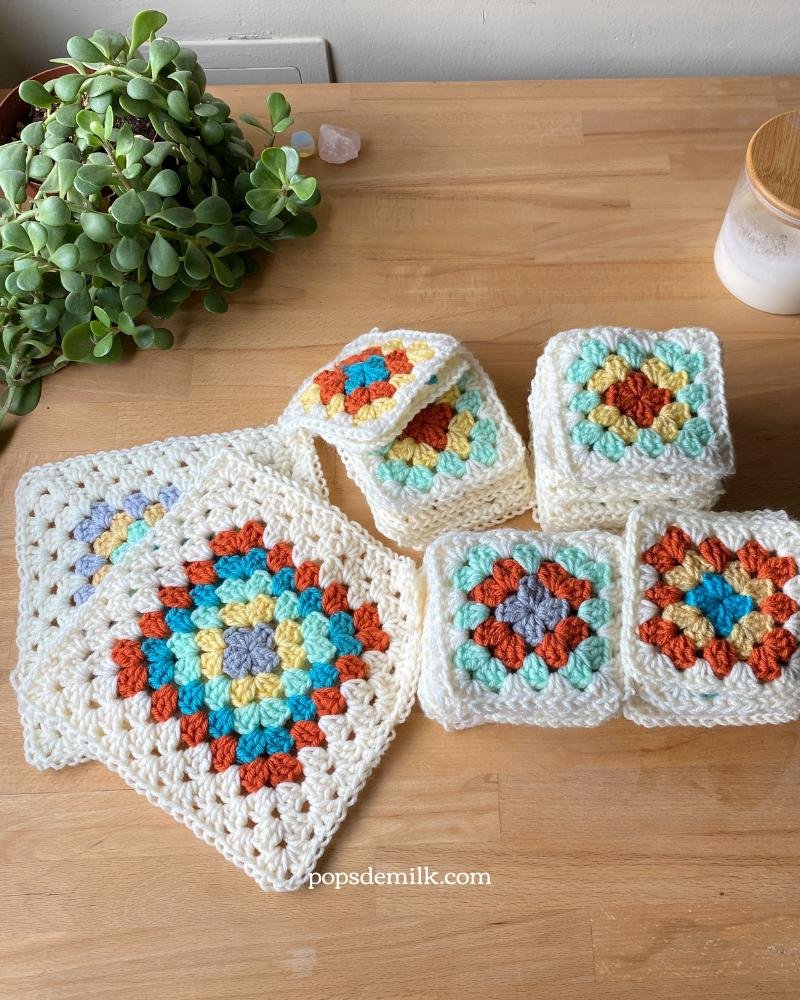
You know that feeling when you have leftover squares from a project that never quite came together? Well, that’s exactly how this granny square bag started. I had these two larger squares just sitting there, collecting dust in the basket of forgotten unfinished objects. Originally, these squares were destined to become part of a cardigan or blanket, but as things evolved, they ended up on the sidelines. I couldn’t just leave them there, could I?
New to granny squares? I’ve got a tutorial right here!
I mulled over a few ideas—maybe a bag, maybe some wall art, perhaps a basket, or even crocheting more squares to finally complete that elusive blanket. But nothing really clicked. Then, I kept seeing crochet bags popping up everywhere, and suddenly, it hit me. A bag! That’s what these squares were meant to be.
But I didn’t want a basic bag. I wanted to experiment, to play around with shapes and really make this project my own. I decided to join the three squares in a unique way, with the third square serving as the base of the bag. And to avoid any awkward gaps at the top, I whipped up a granny triangle to fill in the space.
I’m not going to lie granny triangles confuse me sometimes. I rarely make them, so every time I do, it feels like I’m learning all over again. But once I got the hang of it, the triangle came together, and it was time to piece everything into a cohesive design.
This project came at just the right time, too. I needed something relaxing, something I could lose myself in without much thought—a break from the more intense projects I had on the go. Granny squares, granny triangles, and granny stitches in general are just so soothing. Sure, if you’re doing them endlessly, they can get tedious, but there’s something incredibly comforting in their simplicity.
Once all the pieces were done, I clipped them together with some locking stitch markers and started sewing. For the strap, I borrowed a technique from All About Ami, where you crochet around a cord. I used a nylon cord, crocheted around it with single crochet stitches, and secured it directly to the sides of the bag. The bag was taking shape, but I wasn’t done yet.
I’m a firm believer that a good bag needs a liner, so I dug out an old pillowcase from my fabric scraps. It had a pattern that matched perfectly with the colors of the granny squares, and it just felt right. I traced the outline of the bag onto the fabric, cut it out, and, in true “winging it” fashion, didn’t even bother ironing the fabric. Sometimes, you just need to go with the flow, right? With RuPaul’s MasterClass playing in the background (which, by the way, had me tearing up more than once), I hand-sewed the zipper and liner, taking my time and avoiding the frustration that comes with setting up my sewing machine.
Just when I thought I was done, I had the spontaneous idea to make a tiny granny square pouch to go with the bag. It’s a miniature version of the big bag, complete with three squares and two triangles. Perfect for holding lip balm, gum, and all those little things that tend to get lost in a bigger bag.
And, oh, this bag has been through some real-life tests. Like the time I forgot to bring shopping bags and ended up carrying two bottles of wine in it. Turns out, it’s surprisingly sturdy! The nylon cord worked wonders in keeping the strap from stretching under the weight.
This granny square bag has become my go-to for quick errands and casual outings. I’m so glad I gave those forgotten squares a new life. So, if you’ve got some old projects lying around, here’s your sign to dust them off and turn them into something beautiful and functional.
Looking for more granny square crochet projects? Check these out:
**********
This pattern is for personal use only. The pattern and its photos may not be reproduced, distributed or resold, translated, published, altered, shared or posted in any way over the internet or offline.
You may sell finished items made from this pattern as long as it is handmade by you, not mass produced, giving the credit to Pops de Milk / Patricia Castillo as the designer. If you have any questions, you can email me at patricia@popsdemilk.com


