
How to make a magic ring in crochet
Guys, I finally figured out a crazy easy way to start a magic ring! If you're like me and you find the magic ring (or magic loop or magic circle) a little intimidating and hard to understand, let me tell you, it's not that complicated. I even did a post last year on how to make a magic ring but I don't think I was very clear. In my previous post I explained that you first need to make a loop and then pull up a chain but I can understand how that might be confusing. Instead, my "newly-found" way to understand this easy magic ring is to say, make a slip knot but don't tighten the slip knot. Here’s how to make a magic circle!
Scroll to the end for a chunky version of the magic ring.
Here’s how to crochet a magic ring:
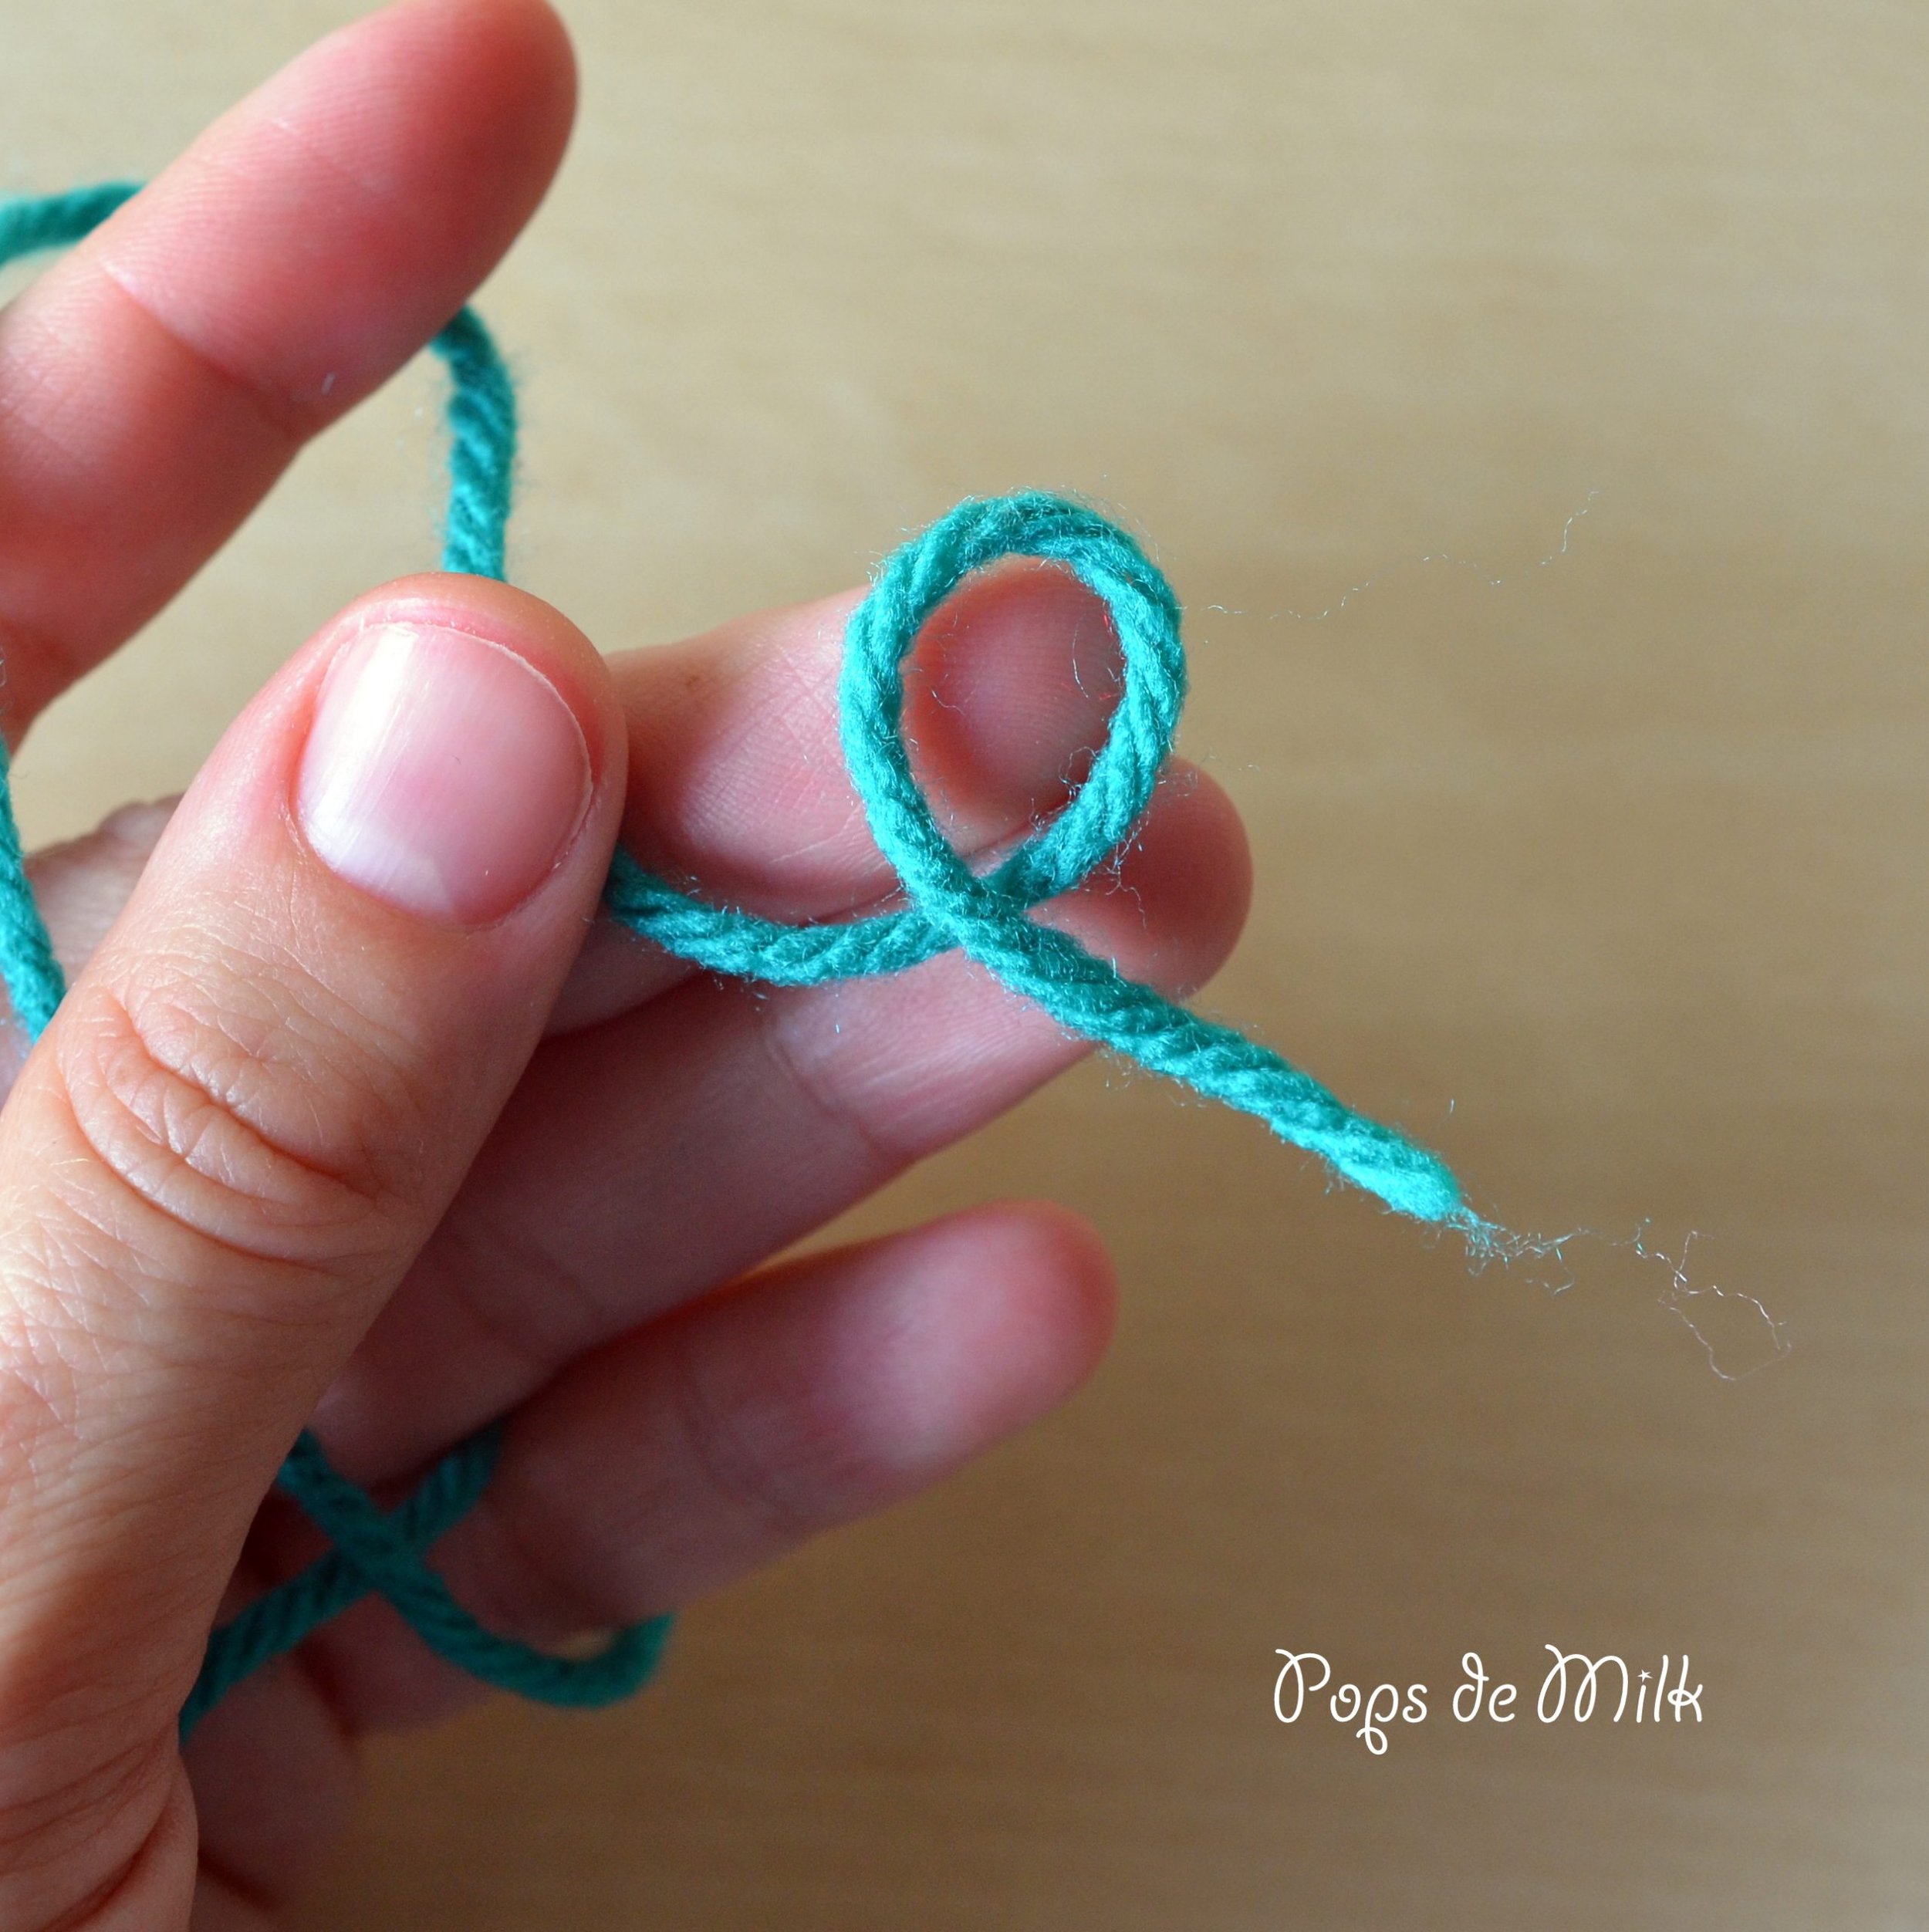
Start by making a loop as you would to make a slip knot.
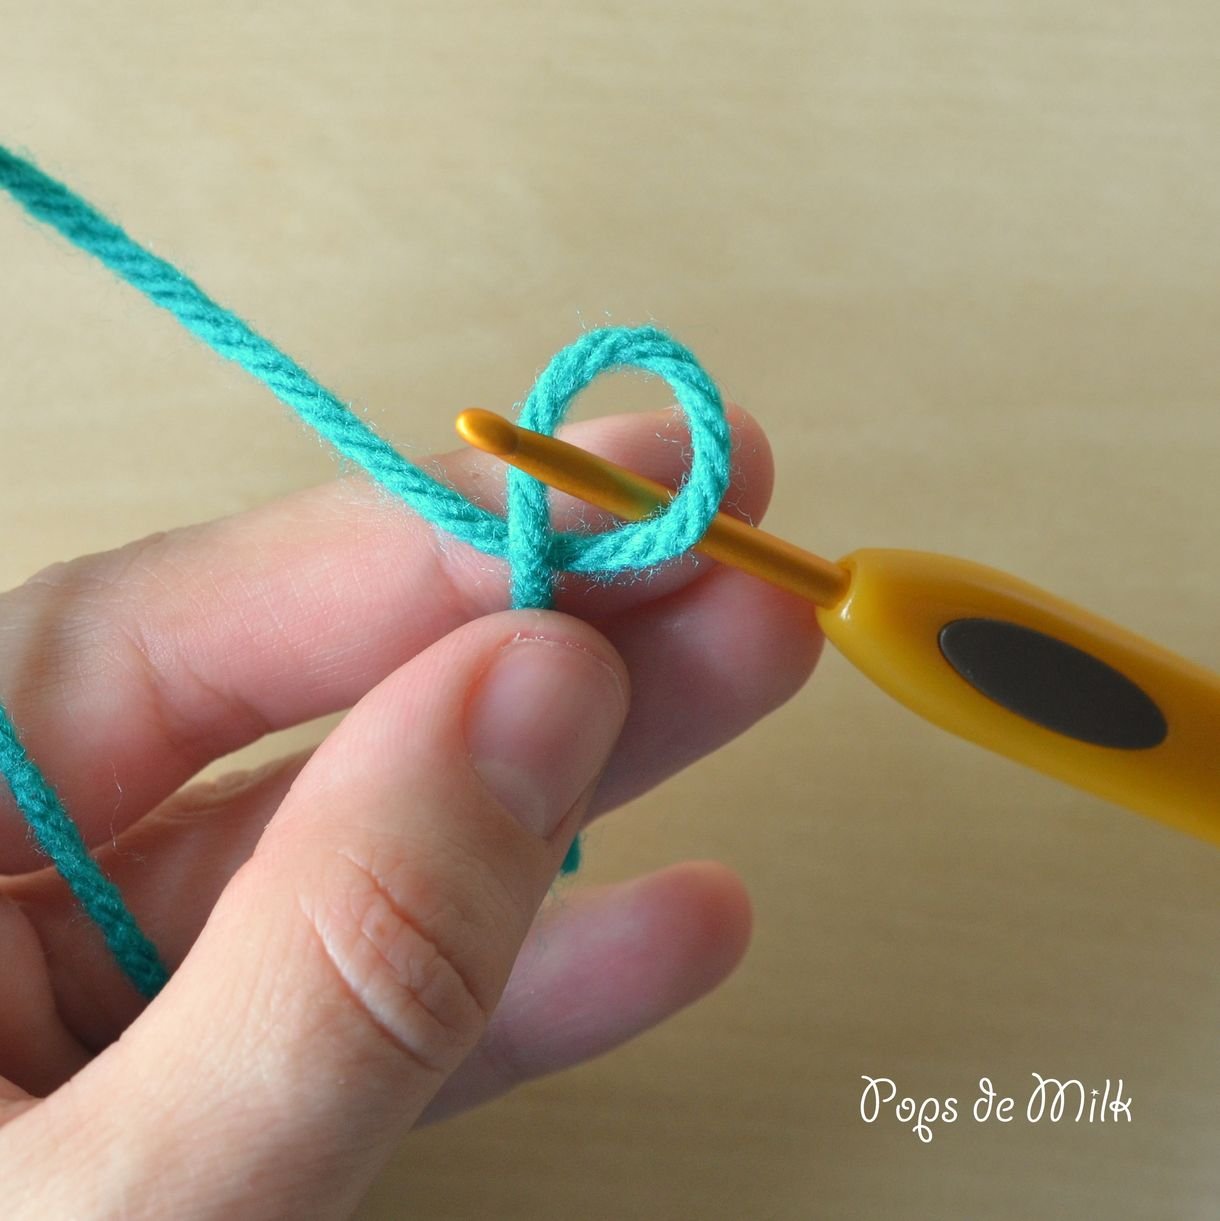
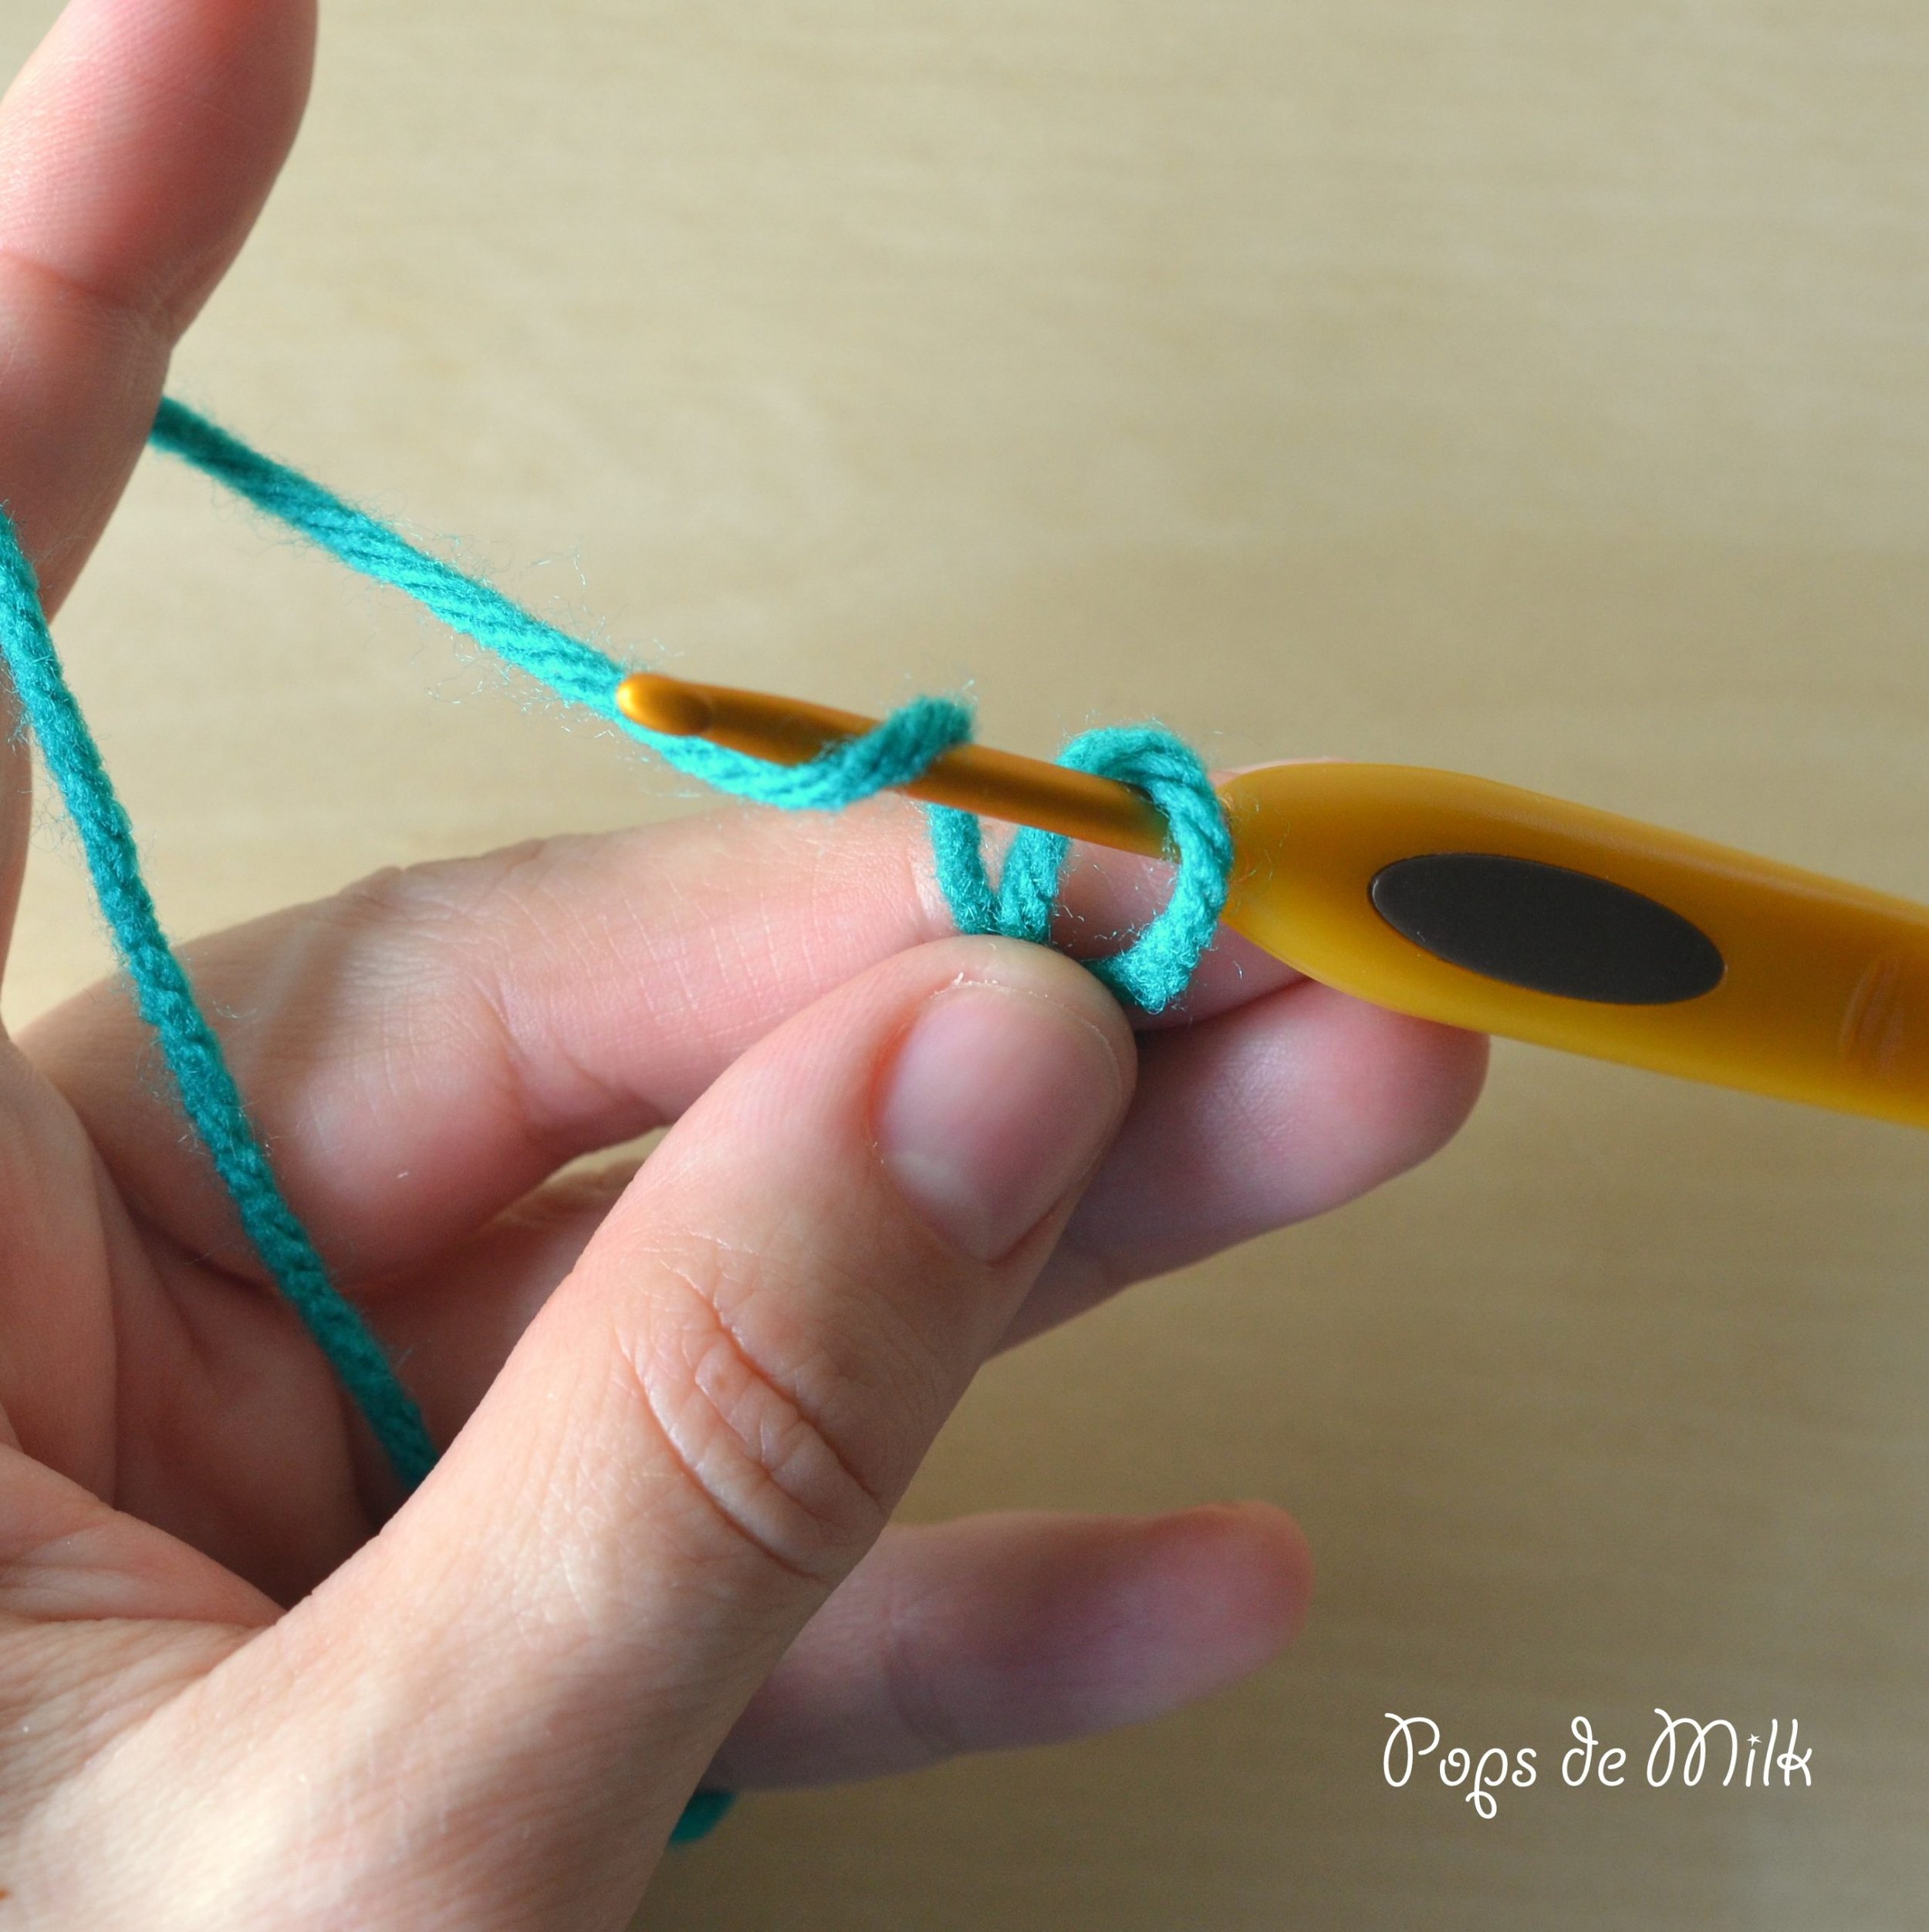
Insert the hook from back to front and wrap yarn to pull through but don't tighten.

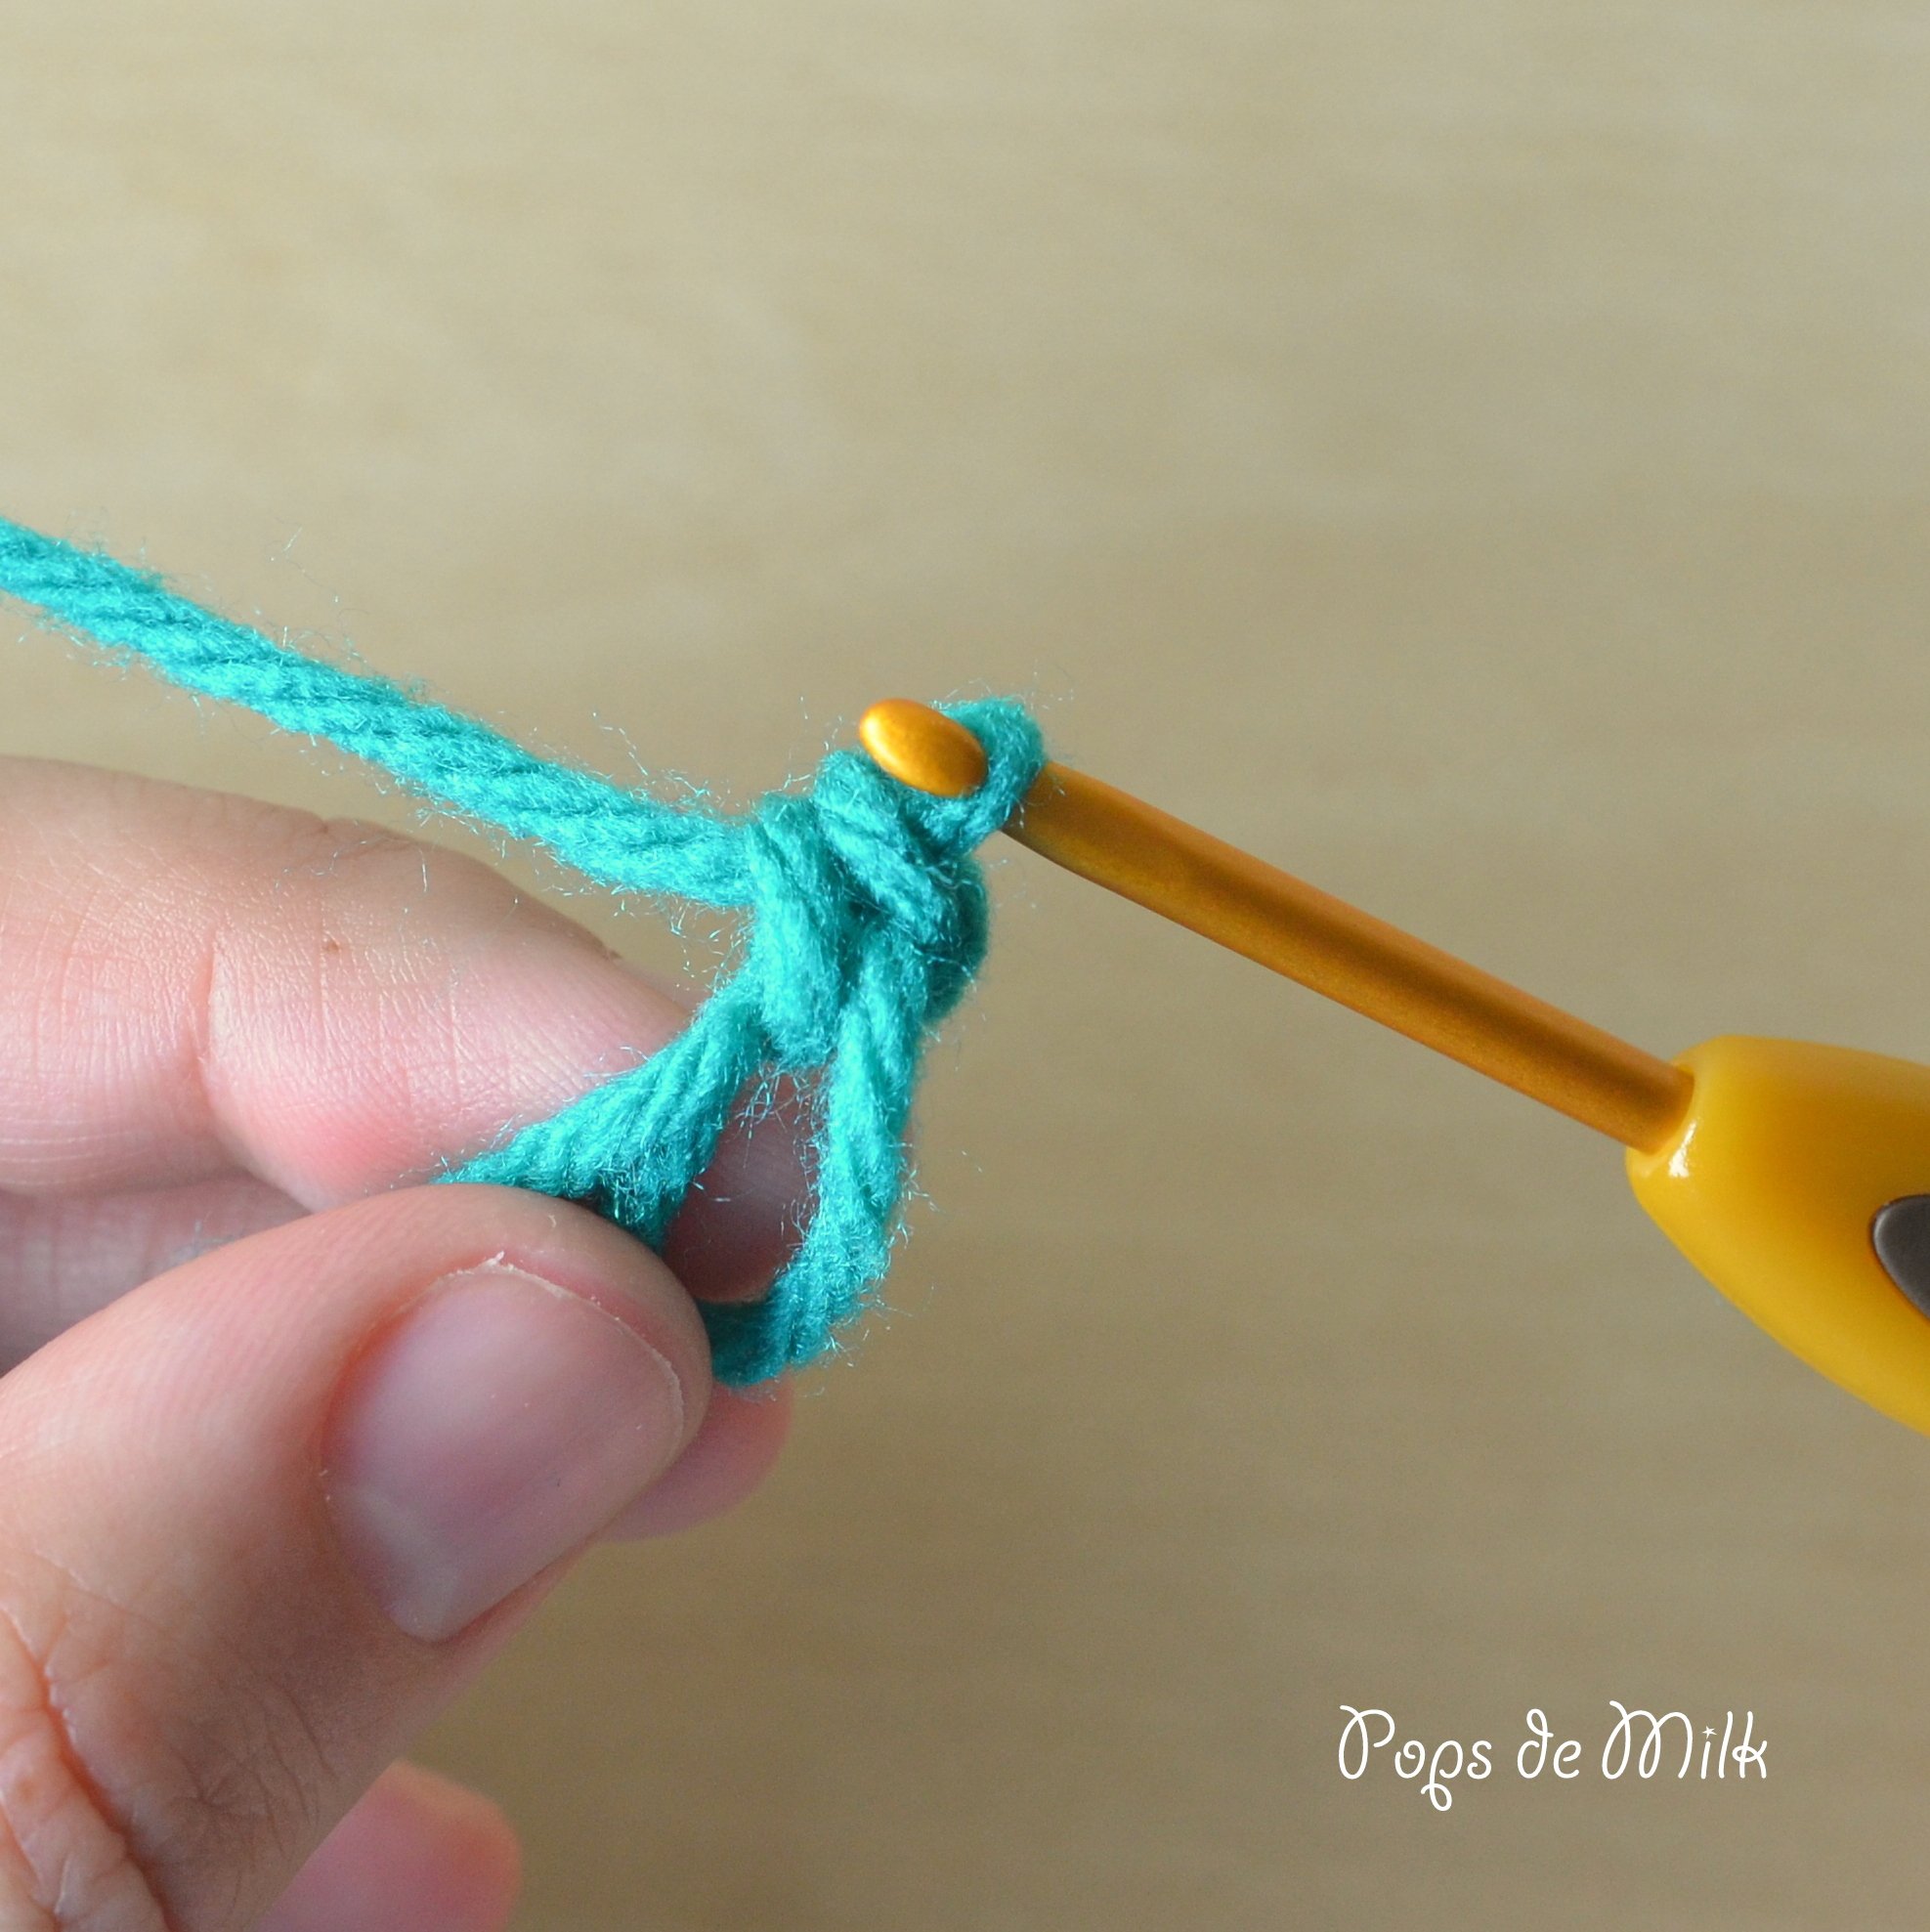
To make your first stitch simply insert the hook back into the loop (front to back), making sure to trap the yarn tail, and make your first stitch.

Continue making stitches until you have the number you need. In this example I've got 6 single crochet stitches.

Once you've got the necessary number of stitches, carefully pull on the yarn tail to tighten the loop and close the ring.

In case your last stitch is lost during the closing of the ring you can always make another stitch before you fully close the ring OR when you start, first make a chain before making your stitches in the ring.


And that's it! Now you can continue with whatever round crochet project you're working on!
I hope this how-to guide has been helpful and inspiring. Be sure to follow me on social media for more tips, tutorials and news, just check out the links at the top of this page!
Looking for more crochet stitch tutorials? Check these out:
How To Crochet the Trellis Stitch
How to Crochet the Zigzag Stitch
How to Crochet the Long Wave Stitch
How to Crochet the Moss Stitch
How to Crochet the Shell Stitch
**********
This tutorial is for personal use only. The photos may not be reproduced, distributed or resold, translated, published, altered, shared or posted in any way over the internet or offline.
You may sell finished items made from patterns designed by me as long as it is handmade by you, not mass produced, giving the credit to Pops de Milk / Patricia Castillo as the designer. If you have any questions, you can email me at patricia@popsdemilk.com