DIY Christmas Wrapping Paper
Years ago I bought a package of brown paper bags because a friend of ours told me of this genius way to make microwave popcorn in a paper bag. I think I tried this idea once and the paper bags became forgotten kitchen items, smushed against the back wall of the plastic container cupboard. Until it was clear I was in need of DIY Christmas wrapping paper.
Fast forward to last week when I made the Santa gift tags. As I cut out the tags I was also thinking of a way to wrap the handmade gifts I'll be bringing to my family in Toronto. I thought about maybe waiting until we get to my mom's place and raiding her gift wrapping paper stash but what if I didn't have enough time? Jay and I are taking the red eye and we'll be landing on Christmas eve and I know I will be crazy busy with dinner. I need something portable that I can assemble quickly at my mom's place and something that I already have at home. Brown paper bags.
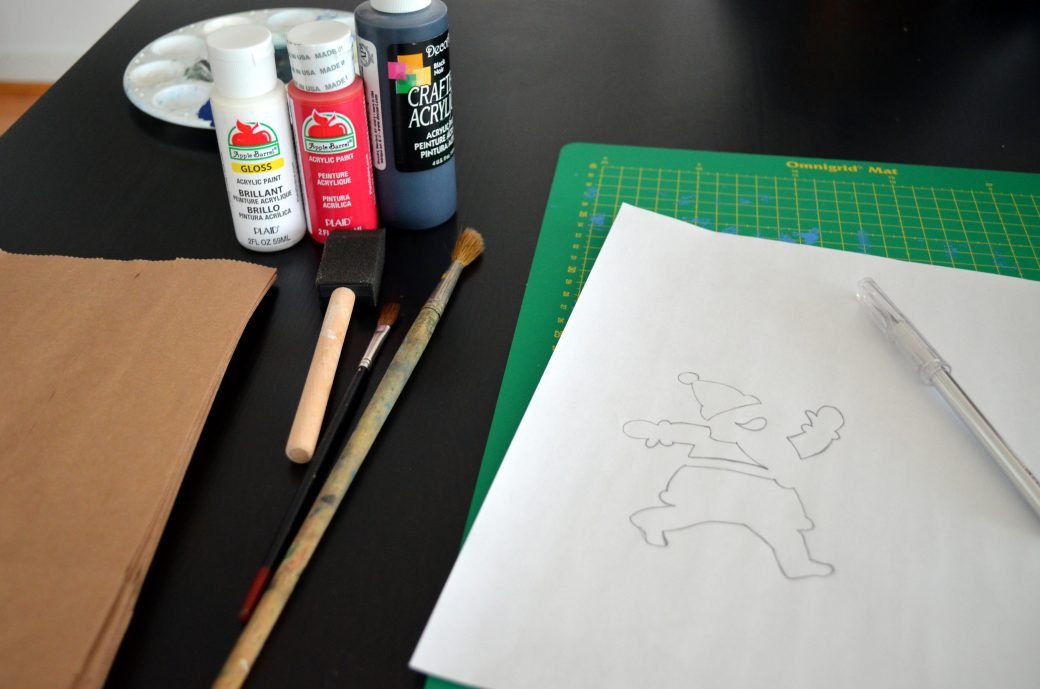
The brown paper bags have come out of hiding and I have decorated them with a Santa stencil I found here. I liked the overall design but wasn't in love with the nose (I'm assuming it's a nose) or the fingers (don't ask). So I changed the look of my Santa stencil a bit by giving him mittens and removing the eye and nose.
To make your own gift paper bag you will need:
brown paper bags
acrylic paint
sponge or sponge brush
stencil of your choice
hole punch (if you're using tags with string)
Draw your design on thick paper, if you have it, or even parchment, wax, or freezer paper as the paint will make regular paper weak and soggy after a few uses.
Next, cut out the stencil and use a sponge brush to paint the stencil over the paper bags.
I made a couple without the white moustache. I can't decide which I like more.
Of course not all gifts will fit into a paper bag so you can take apart the bags until you have several sheets of paper to put together. Other stencil ideas you can try are stars, bells, angels, snowflakes, etc. It's super fun to do and doesn't take very long at all. I finished it off by folding the top, punching a hole and securing the Santa tag through.


