
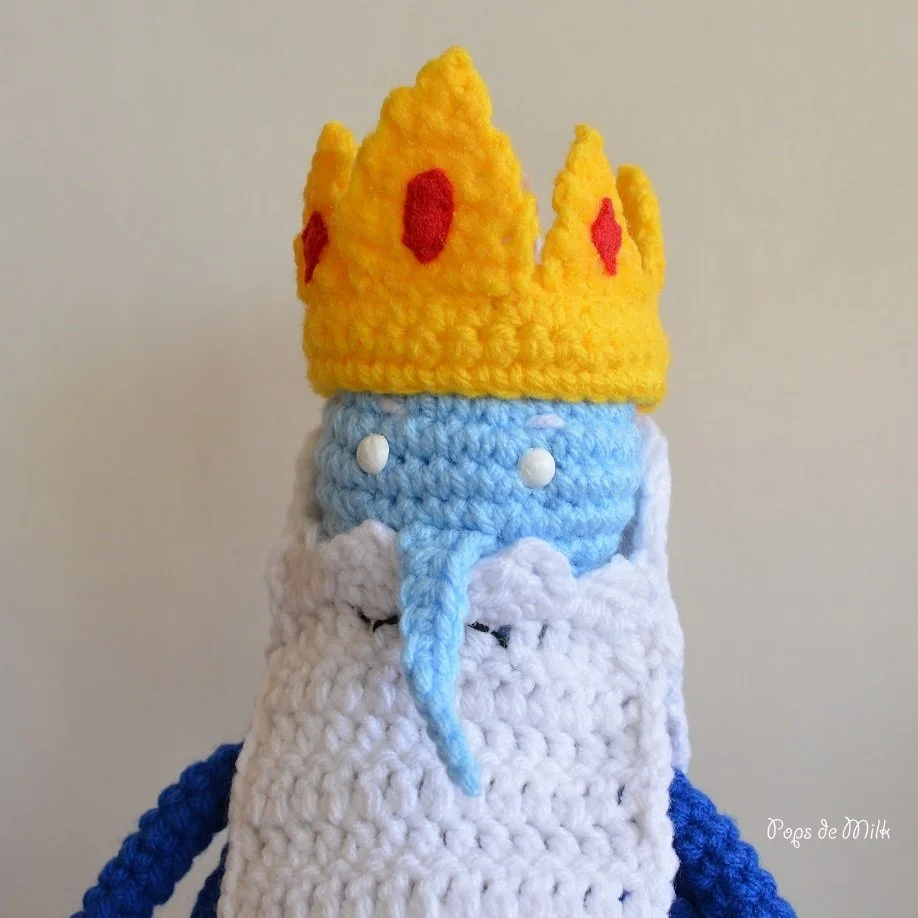
Ice King and Nice King Crochet Amigurumi
One of my favourite Adventure Time episodes is Loyalty to the King where the Ice King (after having his captured princess "taken away" by Finn and Jake) becomes depressed and eventually decides to shave off his beard and get in shape. The drastic makeover ends up attracting princesses who unknowingly refer to him as the Nice King. But deep down he is still the Ice King, a misunderstood and sad individual, searching for a princess to kidnap and marry. In a way I feel bad for him because he really just wants people to like him. Inspired, yet again by this cartoon, here is the Ice King and Nice King Crochet Amigurumi.
Keep scrolling for the free crochet pattern or you can support my small business and purchase the inexpensive and ad-free PDF version of the pattern in my shop and on Etsy.
From mean old Ice King...

To smiling Nice King.

For a while I'd been wanting to make the Ice King but after seeing Loyalty to the King I was inspired to design a doll that could change from one character to another. This particular pattern took me a while to work on. It was a bit of a challenge figuring out how to make a removable robe as I'd never made anything like it before. Also, getting the eyebrows "just right" definitely tested my embroidery skills - I really wanted his expression to change from mean to nice by only adding/removing the beard. And let's not even talk about the beard and hair piece yet!
Ice King and Nice King Crochet Amigurumi
Size: Approx. 12 inches tall
Materials:
Worsted weight yarn such as: Bernat – Sky, White, Kelly Green, Tan, Royal Blue, Black, and Yellow.
Size 3.75 mm crochet hook
7mm safety eyes that have been painted white.
Black embroidery thread and needle.
Polyester fiberfill for stuffing.
Scrap piece of white and red felt.
Tapestry needle for joining parts.
Needle and thread in white and red for sewing felt pieces.
Stitches used:
St – stitch
Sc – single crochet
Inc – increase (2sc in st)
Dec – decrease (sc2tog)
Dec – decrease (dc2tog)
BLO – back loop only
Hdc – half double crochet
Notes: Unless otherwise stated, this pattern is worked in continuous rounds using stitch markers to locate the beginning/end of a round. Work in somewhat tight stitches. Colour change happens when you have two loops on hook, finish stitch by pulling through loops with new yarn.
Head
Starting with Sky (light blue)
Round 1: start 6 sc in ring.
Round 2: inc in each st (12 sts)
Round 3: [sc, inc] x 6 (18 sts)
Round 4: [sc in next 2 sts, inc] x 6 (24 sts)
Round 5: sc around (24 sts)
Round 6: [sc in next 3 sts, inc] x 6 (30 sts)
Round 7: [sc in next 4 sts, inc] x 6 (36 sts)
Round 8: sc around (36 sts)
Round 9: [sc in next 4 sts, dec] x 6 (30 sts)
Round 10: [sc in next 3 sts, dec] x 6 (24 sts)
Round 11: sc around (24 sts)
Round 12: [sc in next 2 sts, dec] x 6 (18 sts)
Attach eyes (between rounds 7 and 8, 3-4 stitches apart) and begin to stuff head.
Round 13: sc around (18 sts)
Round 14: [sc, dec] x 6 (12 sts)
Rounds 15-17: sc around (12 sts)
Switch to White yarn.
Round 18: sc around (12 sts)
Switch to Kelly Green yarn.
Round 19: [sc, inc] x 6 (18 sts)
Round 20: [sc in next 2 sts, inc] x 6 (24 sts)
Rounds 21-22: sc around (24 sts)
Round 23: [sc in next 3, inc] x 6 (30 sts)
Round 24: sc around (30 sts)
Round 25: [sc in next 3 sts, dec] x 6 (24 sts)
Rounds 26-27: sc around (24 sts)
Round 28: [sc in next 2 sts, dec] x 6 (18 sts)
Rounds 29-30: sc around (18 sts)
Fasten off and leave long tail for sewing to pants.
Shoes/Pants – Make 2
Starting with Black yarn
Round 1: ch 4, sc in 2 nd ch from hook and next ch, sc 3 in last ch. Continue on bottom of foundation ch, sc, 2 sc in last st (8 sts)
Round 2: sc in next 3 sts, dec, sc in next 3 sts (7 sts)
Round 3: sc in next 3 sts, dec, sc in next 2 sts (6 sts)
Switch to Tan yarn.
Begin sc and use new yarn to pull through and complete st.
Round 4: [sc, inc] x 3 (9 sts)
Rounds 5-18: sc around. For the first leg sc in first 2 sts and fasten off. For the second leg make only 7 sc sts in the last round and do not fasten off. Align legs so the leg with the working yarn has the loop next to what would be the next stitch in the fastened off leg.
Round 19: join legs with sc to fastened off leg and sc around in each st and then continuing to second leg (18 sts)
Use a bit of scrap yarn to sew gap closed.
Rounds 20-21: sc around.
Switch to Black yarn in last st of round 21.
Round 22: sl st in BLO and fasten off.
Arms for the Nice King – Make 2
Starting with Sky
Round 1: start 5 sc in ring
Rounds 2-3: sc around (5 sts)
Switch to Kelly Green yarn.
Rounds 4-13: sc around.
Fasten off and leave tail for sewing.
Ice King Robe
With Royal Blue yarn
For a dc dec, start a dc but do not finish, start another dc in next st and once you have 3 loop on hook, yarn over and pull through all loops to complete dec.
Round 1: ch 54, join to first ch with sl st to form ring. Ch 2 (counts as first dc) dc in each ch around, sl st to join, do not turn (54 sts)
Rounds 2-6: ch 2 (counts as first dc), dc around, sl st to join.
Round 7: ch 2, dc in next 6 sts, dec, [dc in next 7 sts, dec] 5 more times, sl st to join (48 sts)
Round 8: ch 2, dc around, sl st to join (48 sts)
Round 9: ch 2, dc in next 5 sts, dec, [dc in next 6 sts, dec] 5 more times, sl st to join (42 sts)
Rounds 10-12: ch 2, dc around, sl st to join (42 sts)
Round 13: ch 2, dc in next 4 sts, dec, [dc in next 5 sts, dec] 5 more times, sl st to join (36 sts)
Round 14: ch 2, dc in next 3 sts, dec, [dc in next 4 sts, dec] 5 more times, sl st to join (30 sts)
Round 15: ch 2, dc in next 2 sts, dec, [dc in next 3 sts, dec] 5 more times, do not join (24 sts)
Round 16: ch 2, turn, dc in next st, dec, [dc in next 2 sts, dec] x 6, do not join (18 sts)
Make sure head/body fit through hole. Remove hook and pull yarn so it makes a loop big enough for the button you’re using. Fasten off and secure loop by weaving and tying a knot.
Ice King Arms – Make 2
Starting with Sky
Round 1: start 5 sc in ring
Rounds 2-3: sc around (5 sts)
Switch to Royal Blue yarn.
Rounds 4-13: sc around.
Fasten off and leave tail for sewing.
Nose
With Sky
Ch 10, sl st in 2 nd ch from hook and next 2 ch, sc in next 3 ch, hdc in next 3 ch.
Fasten off and leave tail for sewing.

Beard
With White yarn
Round 1: ch 7, dc in 3 rd ch from hook and in next 4 ch, turn (5 sts)
Round 2: ch 2 (counts as first dc), dc in next st, inc, dc, inc, dc, turn (7 sts)
Round 3: ch 2, dc in next st, inc, dc in next 3 sts, inc, dc, turn (9 sts)
Round 4: ch 2, dc in next st, inc, dc in next 5 sts, inc, dc, turn (11 sts)
Round 5: ch 2, dc in next st, inc, dc in next 7 sts, inc, dc, turn (13 sts)
Rounds 6-12: ch 2, dc across, turn (13 sts)
Round 13: ch 2, dc in next st, dec, dc across, turn (12 sts)
Round 14: *ch 2, 3 dc dec, ch 4, sl st in same space as 3 rd dc in dec st* repeat to end to create 4 points. For a 3dc dec, follow same instructions as dc dec just add a 3 rd dc.
Fasten off and weave ends.
Hair
With White yarn
Round 1: ch 9, dc in 3 rd ch from hook and in next 7 ch, turn (8 sts)
Round 2: ch 2 (counts as first dc), inc, dc in next 4 sts, inc, dc, turn (10 sts)
Round 3: ch 2, inc, dc in next 6 sts, inc, dc, turn (12 sts)
Round 4: ch 2, inc, dc in next 8 sts, inc, dc, turn (14 sts)
Rounds 5-6: ch 2, dc across, turn (14 sts)
Round 7: ch 2, inc, dc in next 10 sts, inc, dc, turn (16 sts)
Round 8: ch 2, inc, dc in next 12 sts, inc, dc, turn (18 sts)
Rounds 9-12: ch 2, dc across, turn (18 sts)
Round 13: ch 2, dec, dc in next 12 sts, dec, dc, turn (16 sts)
Round 14: ch 2, dec, dc in next 10 sts, dec, dc, do not turn (14 sts)
Continuing along edge of piece, make 4 evenly spaced sl sts. Take the beard piece and align the top edge with hair edge where hook is positioned and join with 5 evenly spaced sl sts. Next, working only on hair piece, continue to sl st along edge and at the bottom of foundation ch make sl st, sc, hdc, dc, hdc, sc, sl st, then continue to sl st along edge toward top of hair piece. Join opposite side of beard piece the same way as before and end with 4 evenly spaced sl sts on hair piece edge. Fasten off and weave ends.
Working with beard piece, pick up a sl st in space next to where the join left off and continue to sl st along edge in same fashion as hair piece. Fasten off and weave ends.
Alternatively, you can sl st along edge and then attach hair and beard by sewing together.
Hair Tuft
With White yarn
Ch 8, sc in 2 nd ch from hook, ch 4, sl st in 2 nd ch from hook and next 2 ch, sc in next 2 ch of foundation ch, ch 5, sl st in 2 nd and 3 rd ch, sc in next 2 ch, sc in next 3 ch of foundation ch, ch 5, sl st
in 2 nd and 3 rd ch, sc in next 2 ch.
Fasten off and leave tail for sewing to top of head.
Crown
With Yellow yarn
Base
Round 1: Ch 34, sc in 2 nd ch from hook and each ch across, turn (33 sts)
Rounds 2-3: ch 1, sc across, turn (33 sts)
Fasten off and leave long tail for sewing triangles and ends together.
Big Triangle – Make 2
Round 1: ch 7, sc in 2 nd ch from hook and across, turn (6 sts)
Round 2: ch 1, sc across, turn (6 sts)
Round 3: ch 1, dec, sc in next 2 sts, dec, turn (4 sts)
Round 4: ch 1, sc across, turn (4 sts)
Round 5: ch 1, dec x 2, turn (2 sts)
Round 6: ch 1, dec, turn
Round 7: ch 1, sl st.
Fasten off and weave ends.
Small Triangle – Make 4
Round 1: ch 6, sc in 2 nd ch from hook and across, turn (5 sts)
Round 2: ch 1, dec, sc, dec, turn (3 sts)
Round 3: ch 1, sc across, turn (3 sts)
Round 4: ch 1, dec, sc, turn (2 sts)
Round 5: ch 1, dec, turn
Round 6: ch 1, sl st.
Fasten off and weave ends.

Assembly
Join torso and legs by sewing behind the slip stitch round to give more definition. Option to stuff legs or add pipe cleaner/wire to make them bendable.
Sew nose to face and embroider a smile underneath.
Cut out jewel shapes with red felt and sew on to two of the small triangles and one big triangle. I did a Google image search of the Ice King to help me with the jewel shapes and location. With crown base yarn tail, sew the triangles along base and then sew the seams closed. Use Mod Podge to help hold the crown’s shape. I used a glass jar to hold the crown while I applied an even layer of glue to the triangle portion only – this will still allow flexibility in the base.
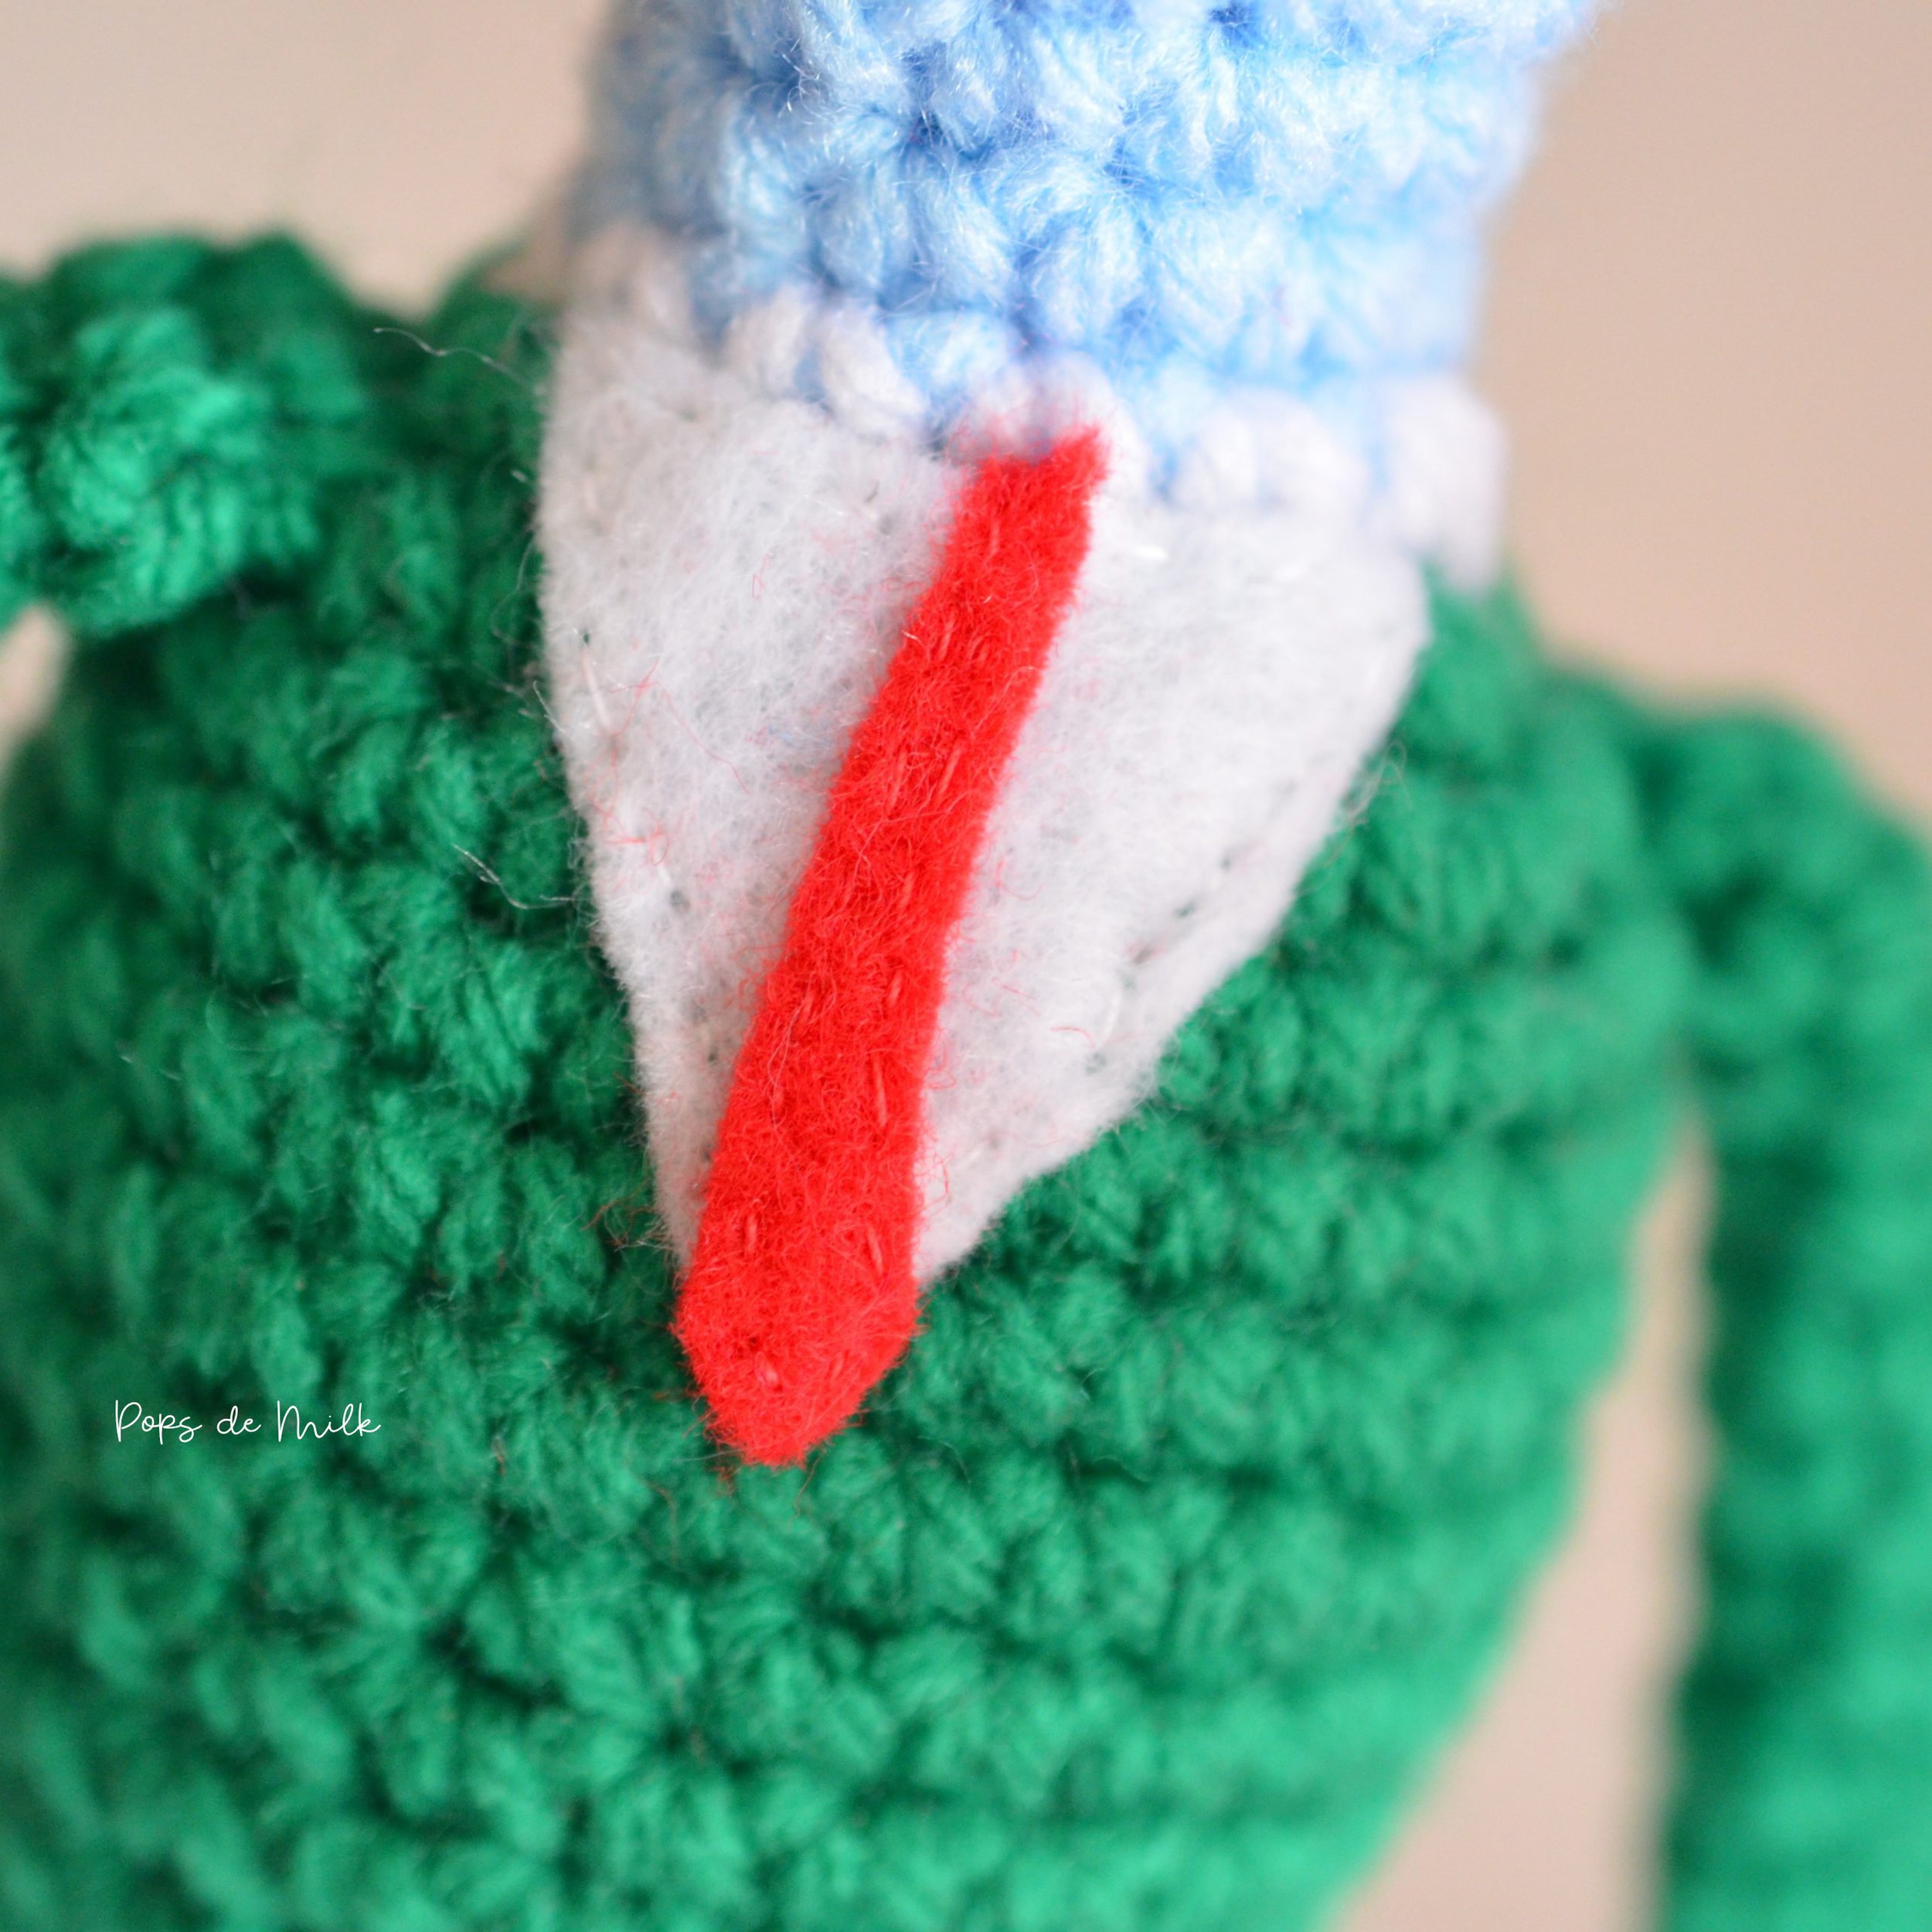
Use scrap pieces of white and red felt to make the shirt and tie piece. Note that the white piece is slightly curved so it aligns to the round shape of the body.
Add any other fun embellishments and you’re done!
If you make this Ice King crochet pattern I'd love to see your creation, just tag me on Instagram @popsdemilk_crochet and use the hashtag #popsdemilk
Looking for more Adventurous crochet projects? Then you might like these:
Lumpy Space Princess Sleep Mask
**********
This pattern is for personal use only. The pattern and its photos may not be reproduced, distributed or resold, translated, published, altered, shared or posted in any way over the internet or offline.
You may sell finished items made from this pattern as long as it is handmade by you, not mass produced, giving the credit to Pops de Milk / Patricia Castillo as the designer. If you have any questions, you can email me at patricia@popsdemilk.com