
Hashtag Blanket Joining Tutorial
After making all the squares for this blanket it's finally time to join them together! So exciting! Okay, let's begin:


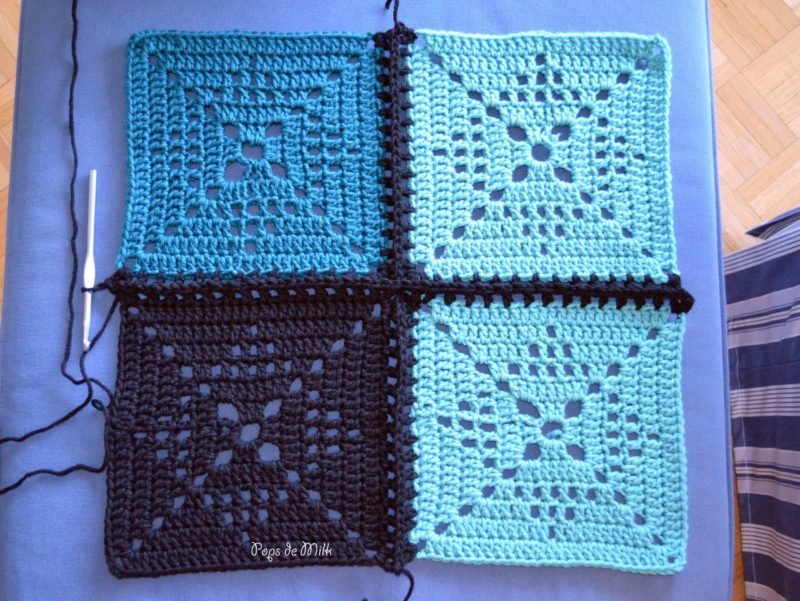
I like to use a standing stitch to begin but you can also start by making a sl st and chaining 3 (this will count as a dc). Start by taking 2 to 4 squares and laying them flat, right side up, one above the other as pictured:

In the top right corner of the bottom square make a dc, then in the bottom right corner of the top square make a dc.

Repeat once more so there are 2 dc in the corners.

Skip a st and dc in the next st of the bottom square. Repeat with the top square.

Continue this way across until you reach the next corner where you will again make 2 dc, just like in the beginning.

Continue joining squares this way.


When coming across intersections just continue to join as you did in the first join.

When you come across an intersection where 3 squares have already been joined it's a good idea to first sl st to an existing dc before adding the next square - this will help to avoid large gaps. Or you can always use a bit of scrap yarn to sew the gaps together.


And that's it for how to join squares. Next post I'll show you how to add a finishing trim to the blanket. We're almost there!!
**********
This pattern is for personal use only. The pattern and its photos may not be reproduced, distributed or resold, translated, published, altered, shared or posted in any way over the internet or offline.
You may sell finished items made from this pattern as long as it is handmade by you, not mass produced, giving the credit to Pops de Milk / Patricia Castillo as the designer. If you have any questions, you can email me at patricia@popsdemilk.com