
DIY Vintage Gift Tags and How To Tea Dye Paper
Christmas is quickly creeping up on me and I have yet to finish making all my presents. Reason is that I get very easily distracted by various things like baking and making "stuff" that's not related to the important task at hand. To add to my distractions I've decided to make my own DIY vintage gift tags....and eventually I'll make my own wrapping paper but for now let's focus on one thing.

I could have bought brown stock paper but I thought it would be nice to tea dye the stock paper I already have to give it a more antique look. I used white, pastel yellow, and pastel pink stock paper.
First you will dye the paper. You'll need about two cups of boiled water and two black tea bags (I used orange pekoe). In a rectangular baking dish (sadly I only have a square dish) place the tea bags and then pour the hot water over them to steep. Immerse one sheet of paper at a time and let it soak for a few minutes. I wasn't timing this part but instead removed the paper when I liked the colour it had.

Next, you will squeeze out as much water as possible by pressing the wet sheet of paper between a dish cloth or two. I used a rolling pin to press the water out and in doing so the cloth gave the paper some interesting marks, which I really liked and purposely tried to recreate on the rest of the sheets.

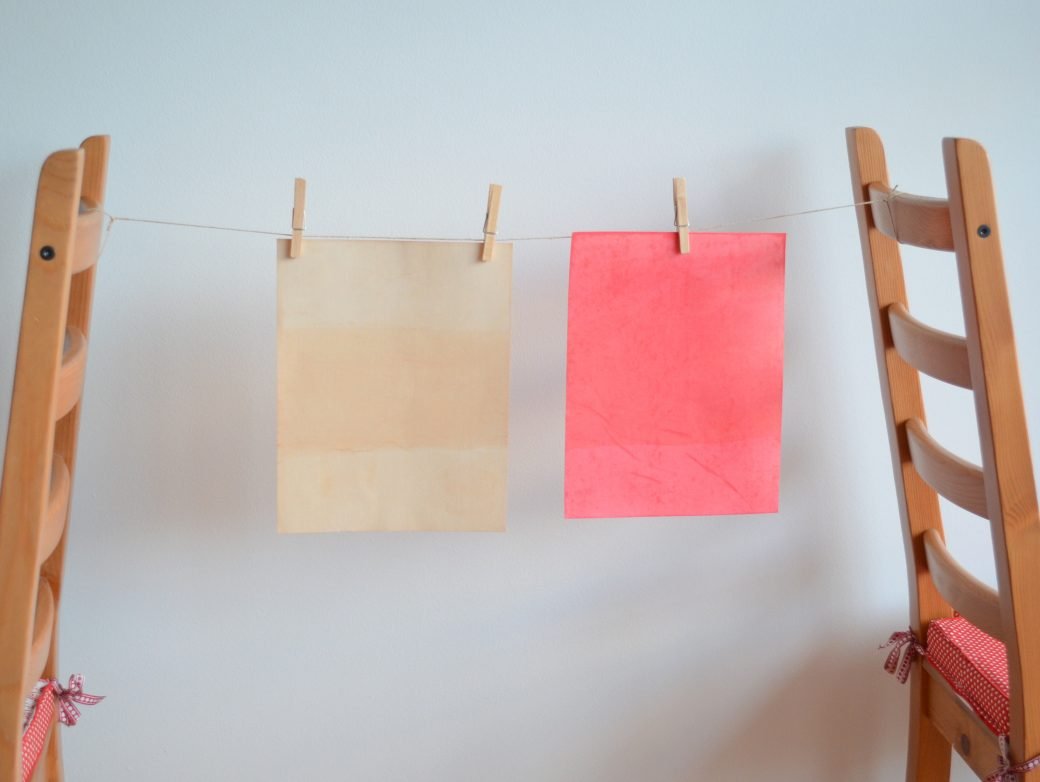
Or you can simply hang your sheets of paper to dry. How do you like my makeshift paper dryer haha.
The paper curled, of course, so I put the sheets inside a heavy book, with added weights on top overnight.
Now for the tags!
You will need:
A free printable template (Download santa tags or blank tags)
A printer that won't jam if you feed it thick paper
Scissors, or preferred cutting tool
Hole punch
Twine
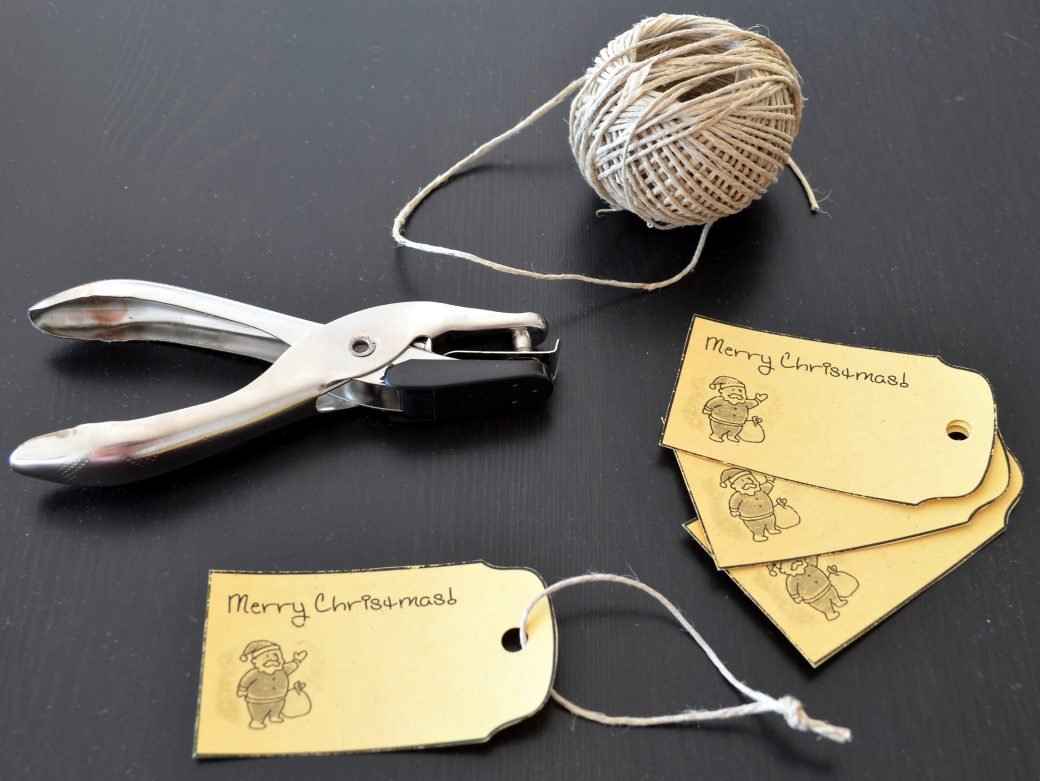
Print the tags, cut them (I chose to keep the black outline), punch holes at the top, tie some twine and you're ready to tag those gifts!
